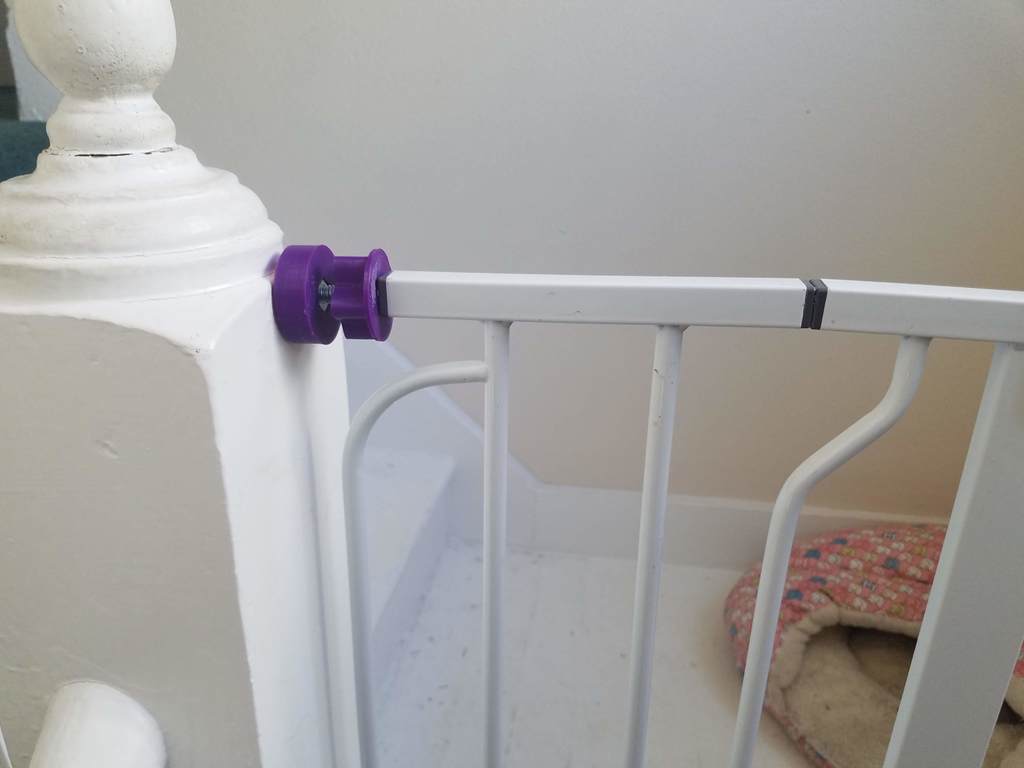
Dog Gate Replacement Rods
thingiverse
Included two pictures - one closed, and a close up photo showing the nut. The TPU insert is barely visible in the second one...I added an extra couple of millimeters of thickness since then. I used 5/16 bolts & nuts, as a substitute for 8mm bolts that I think were the original (now lost) bolts. The design can probably handle 8mm bolts/nuts, but no promises...the hardware store I had access to, the 8mm threaded bolts were only 60mm long. My project used 5/16-inch x 4-inch hex tap bolts (Lowe's, product number 214123 - a two-pack of bolts). It does not *need* glue, but it does make it easier to assemble and put up. (Once the gate is up, glue is unnecessary.) Glue nut to inside of spinner, glue insert into base, glue top of bolt into other side of base. Okay without. If you don't use TPU to make rubbery-end stop, you can cut down a rubber stop found in the furniture feet area, which is what my first prototype used.
With this file you will be able to print Dog Gate Replacement Rods with your 3D printer. Click on the button and save the file on your computer to work, edit or customize your design. You can also find more 3D designs for printers on Dog Gate Replacement Rods.
