Dolls House Garden Shed
thingiverse
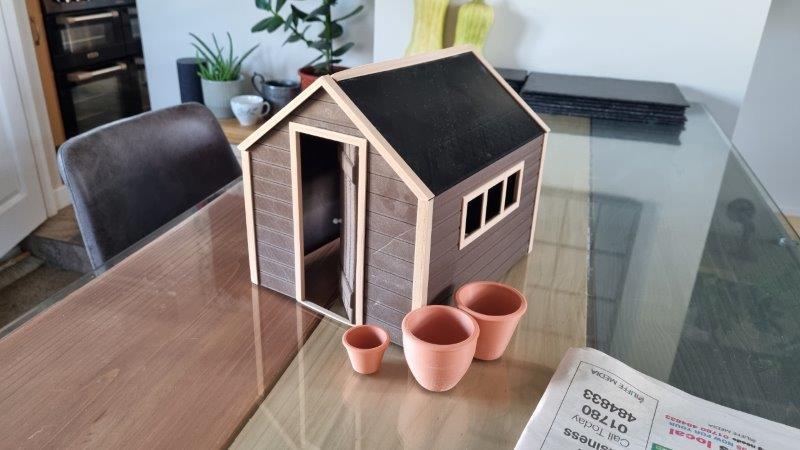
I made this Dolls house shed for my wives doll house. You need to print the following parts and then glue it together. - Back - Front - Door Frame - End Cap x 2 (for the roof front and back centres) - Front (Door frame glues into this but need to drill for hinge first) - Left Edge x 2 (One for the front and one for the back) - Left Side (this is interchangeable with Right Side but has window cut out. You can put on both side if you want) - Right Edge x 2 (One for the front and one for the back) - Right Side (this is interchangeable with Left Side but has NO window cut out. You can put on both side if you want) - Roof Cap (Goes along top of roof) - Roof Edge x 2 (Front and back) - Roof Left - Roof Right - Window Frame (If you printed 2 x Left edges then you will need to. None if 2 right edges) Once they are all printed out place the door in the door and drill through the flaps with a 1mm bit and glue a cut down paper clip to make a hinge. The door opens inwards. The roof does not get glued to the main shed so it can be lifted off and things placed inside it. You may need to orientate some of the pieces to your bed better. For the big panels I did flat sides down but for the door I had to put the planked side down. Nothing needed supports.
With this file you will be able to print Dolls House Garden Shed with your 3D printer. Click on the button and save the file on your computer to work, edit or customize your design. You can also find more 3D designs for printers on Dolls House Garden Shed.