Doorman with eye holder & eyeball improvements
thingiverse
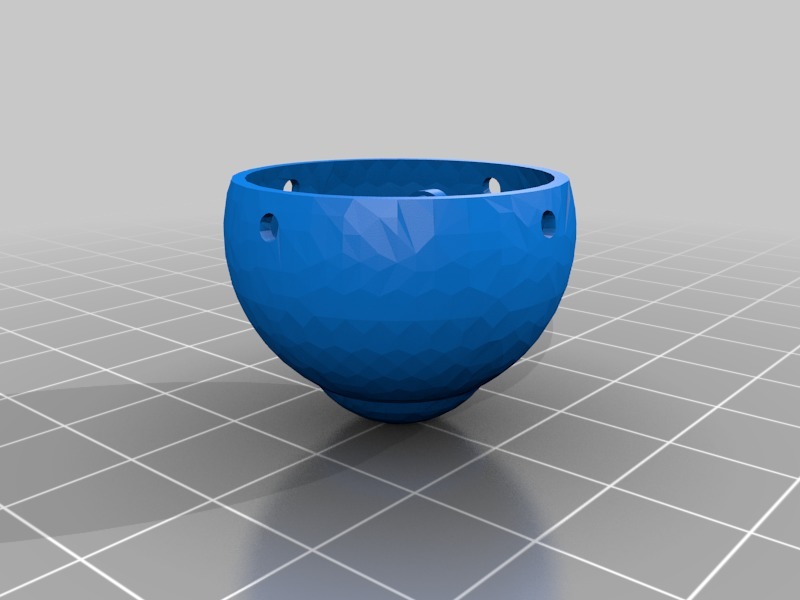
I made some modifications to the original Doorman files after they failed during printing or assembly. The Eyeball holder has 2mm holes to help fix the servos in place (use M2 screws). There is also a slot to move the middle servo towards the right eye so it doesn't touch the left eye servo's arm. Use supports when printing this. I joined the universal holder (more info below) with the eyeball so it doesn't break so easily. Print eyeballs with 8-10 mm wide rafts, while gazing down without supports. Make sure you use 100% fan or it will deform and turn into a nipple (been there, done that). Print the universal joint with coupler, attach the coupler to the joint in the eyeball, and then attach them to the eyeball holder. Be careful during assembly as the eyeball holder is fragile and can break while attaching the eyeballs. The face has a makeshift bar joining the two sides together so it doesn't open up and remove itself from the plate during the print (happened to me). Rip it off after printing. Use a raft to print the face. Grab the other parts from the original Doorman. Uses a modified version of the universal joints from: https://www.thingiverse.com/thing:2640996 (found via the comment @ https://www.thingiverse.com/make:472182 ) I ended up using a Raspberry Pi Zero W, with a pi camera in the forehead to do face detection and tracking with eyeballs (very slow due to low processing power). Attached is a video showing random eyeball movements.
With this file you will be able to print Doorman with eye holder & eyeball improvements with your 3D printer. Click on the button and save the file on your computer to work, edit or customize your design. You can also find more 3D designs for printers on Doorman with eye holder & eyeball improvements.