Downspout Hydroponics Components
thingiverse
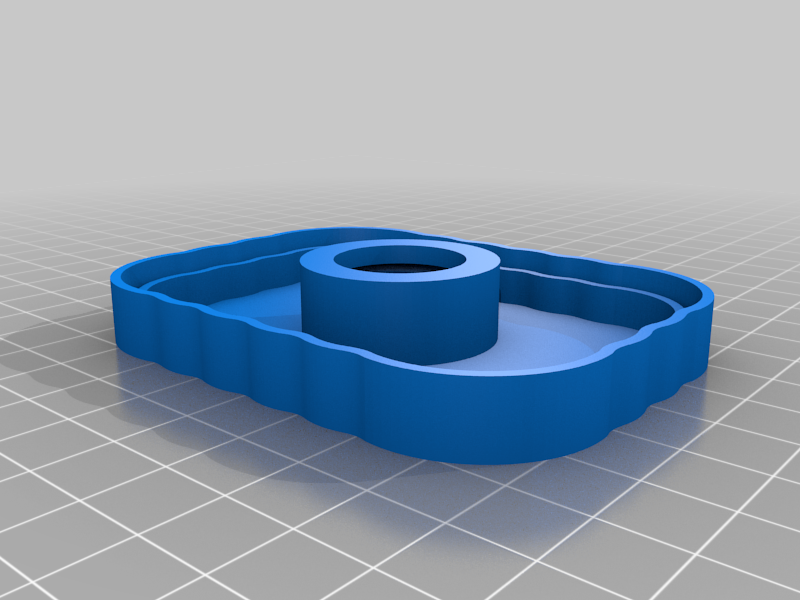
Parts to utilize scalloped Vinyl downspouts as hydroponic watering tubes. <b><u>Updates</u></b> <b>12/07/2020</b> I have noticed that parts made out of PLA tend to get brittle over time when exposed to the elements. Thin parts will probably break. I am using PETG now to see if there is an improvement in strength. I found that a wrap of teflon tape around the threads of the connectors helps if there is any leakage. <b>29/05/2020</b> I just noticed that the orientation of the Hex Net Pot V2 was slightly off. If you positioned it yourself its not a problem but if you relied on my positioning it was slightly tilted. I have just re-uploaded it with its brim sitting flat on the bed. <b>20/05/2020</b>(2) I realized I left a lip on the inside of the pot that makes them a little harder to stack. Uploaded a new copy with the lip removed and flipped the stl so it sits on its upper edge for slicing. <b>20/05/2020</b> Looked for inexpensive net pots but found the prices are getting up there. I designed a model that prints pretty well without supports and costs less than $0.10 CAD each. They take a little over 20min each to print. It is a hex design that prints top down so if your holes are larger you can add a brim to the print for extra support or just increase the collar diameter. If it is required I can adjust the size of the net pot. <b>13/05/2020</b> Added another pump connector with a 1/2" NPS thread. Changed the V2 file of the "7mm to hose adapter" as I don't think the threads were long enough to seat against a gasket properly. <b>12/05/2020</b> Uploaded a stronger version of the hose adapter. It has slight thicker walls (ID is a little smaller) and it fits the 1/4" ID tubing a little better, especially the stiffer stuff. I have included an adapter for some small pumps to attach the 1/4" line to. It fits M20x1.5 threads. I have also included a small clip to attach tubing to a wall. <b>22/04/2020</b>(2) All the pots are designed to be printed sitting on their bases except V0 which was designed to print sitting top down. The small hose adapter was designed to be printed sitting on the large end and the plugs were also designed to be printed sitting with the threaded side down. Sorry about not flipping the STLs that proper way. <b>22/04/2020</b> I have not been able to get my hole saw (lent it prior to the covid thing and have not been able to go get it) so I have not been able to construct and test this out. I have made several different net pots to try and have some trees growing in them (see pics.) The solid sided ones print the fastest and cleanest but do not allow the same amount of flow for the roots and may not allow the roots to obtain enough nutrient. This would have to be tested. I also added an adapter to use some smaller tubing to connect the parts together. Again, not sure about flow as I have not been able to test this out. I have decided to make this available as I do not foresee me being able to get this going in the near future and maybe others would like to try. Feel free to experiment and post back your findings. <i>For more information on Nutrient Film hydroponics just search NFT hydroponics on the internet.</i> <b><u>Summary</u></b> I designed these last year while I was making elbows for my downspouts and had posted them with my downspout parts. I decided that it might be a good time to repost them, on their own, in case there were people that were thinking of supplementing their food supply with home grown additions. Using a hydroponic model, anyone can grow plants in a small area (such as a small balcony) that gets enough sunlight. By using hydroponics you only need to supply - a water source (a bucket) - a small pump to move the water - a path for the flow in which you can place your plants - some nutrients (dissolved in the water) This means the system is relatively light and requires no soil. The downspouts I use are the serrated vinyl ones found in the big box stores. Extrusion profiles may be different so verify the fit before going to far. You will need a hole saw to cut out the spots for the plant holders (propagation pods) and hose fittings to join the pipes. You will also need some shorts hose lengths, a bucket and a water pump. The parts here, to be 3D printed, are - the pieces that block off the ends of the downspouts and allow a hose fitting to attach as well as some plugs - a basic plant propagation pod. It is possible to 3D print the plant baskets but it is probably easier, faster and cheaper just to buy these in bulk, on-line. - some plugs for closing off the ends if needed - a gasket that needs to be printed in TPU if you don't have hose gaskets available I have printed the parts in both PLA and TPU. In both cases you will need to glue the ends to the vinyl downspout. I have not done any testing as to what the best glue would be but possibly a bead of silicone may work. Be sure you do not set this up in a location where you may have water damage should any parts leak. If you print in PLA or other hard plastic you will most likely need rubber gaskets to seal the screw in hose connections. <b><u>Basic Hydroponic Concept</u></b> The idea is that you take a couple of lengths of downspout, cut to a length that fits your space. Cut small circles out of the side of the pipe, spaced for your plants. You can use a hole saw for this. These need to be sized to hold whatever propagation pods you choose to use. Place the lengths of pipe horizontally (at a slight slope for water flow) one above the other in a zigzag pattern, starting high and moving down for each length of pipe. The direction is reversed for each pipe. Some kind of support structure or frame needs to be constructed for this. A wooden frame or something else that can hold the tubes relatively firmly in place. Some people construct a small A frame structure so the pipes are not directly above each other making it easier to access individual plants. Water is pumped to the top horizontal tube where it flows down the tube to the end. It is then channelled to the next tube using a small section of hose. The water then flows back through the next pipe towards the starting point. Each pipe has a slight slope so the water will flow. This can be repeated multiple times in a zigzag pattern. Adjust the height and angle to control your water flow. Plants are placed in small mesh pots that sit in the holes that were cut out of the downspout side. These pots are set so they sit into the flowing water. Seeds can be placed inside a fibrous host (such as a peat or rockwool) to help hold them in place and these can then be placed into the pods. A pump is placed inside a water reservoir (bucket) that holds the systems water supply and where nutrients are added. The water is pumped up to the start point where gravity then moves it back to the reservoir. The water can be re-aerated by having it fall from the last pipe back into the bucket. If more air is required a small aquarium air pump can be added to the reservoir.
With this file you will be able to print Downspout Hydroponics Components with your 3D printer. Click on the button and save the file on your computer to work, edit or customize your design. You can also find more 3D designs for printers on Downspout Hydroponics Components.