Dquad Obsession Custom Accessories
thingiverse
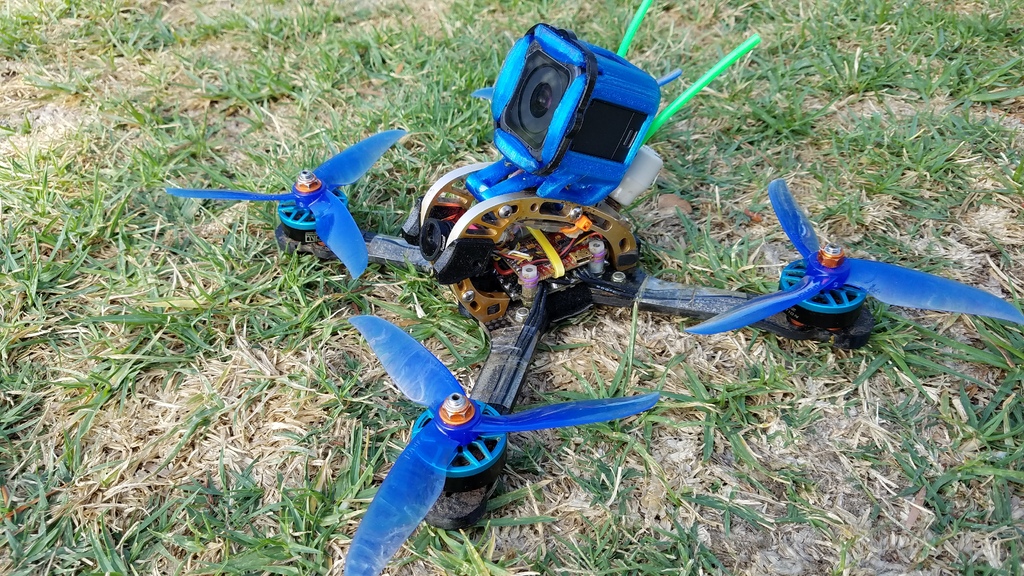
Never planned on uploading any of these designs because not long after I bought this frame Dquad them selves made a bunch of accessories available to print. Been flying this frame daily for over a year now and making modifications constantly during that time. I think I've got some stuff here that's unique enough to put out there without them being redundant. First off the GoPro mount. Tpu of coarse. You'll need supports. With a .5mm nozzle I use 3 parameters on the walls, a .2mm layer height times 4 top and bottom and typically don't need any infill on these mounts. If using the SMA mount with this I run the cable up and over the back standoff (see photo instructions in the images). Once the mount is in place leave the screws of the front standoffs loose. Push and hold down on the mount till the front screws move forward then tighten them in that position. This will add tension to the side to side movement of the mount. The band is not necessary to keep the GoPro in the mount. Because of the direction of the layers it is possible that if the mount were to tare it would do so where the band wraps around. A second but more likely issue the band helps with is keeping debris from wedging it's way in. As an analogy think of a little kid standing up after a spill on the lawn with a mouth full of grass. The SMA Mount. I recommend TPU but it could be anything, just print it solid. Micro Cam Mounts. TPU again. Infill can be what ever. The first option is great for most micro cams and allows you to keep the carbon side plates. However when I moved to the Micro eagle I couldn't lower my camera angle past 35 degrees without the wiring crashing into my Unify HV (not an issue with the 5v unify). The second option comes with and without bumpers. Don't forget to duplicate and mirror in your slicer. They are all symmetrical but I only uploaded one side Replacement Arms. The first time I broke an arm on this frame I couldn't find replacements anywhere. Don't know it that's changed since. I drew up a copy and had it cut by CNC Madness. After breaking more I decided to mod the design to my liking. Be warned that this design changes the overall frame by a very small amount that intentionally causes other changes. The original horizontal standoffs between the aluminum are 19mm. You'll now need 20mm (which are easier to find). The new hole pattern in the arms are off set to cause that change. I've included replacement bottom plates with the same offset but have found that is possible to just force the screws through the OEM. The other mod to the arms was to incorporate soft motor mounts/bumpers. I don't recommend using these arms without the bumpers because of the lack of motor protection it would offer. However if requested I could add an option that would work without the TPU bumpers Just pointing out that I was able to shave off 3 grams per arm with this design as long as your comparing them both with TPU bumpers
With this file you will be able to print Dquad Obsession Custom Accessories with your 3D printer. Click on the button and save the file on your computer to work, edit or customize your design. You can also find more 3D designs for printers on Dquad Obsession Custom Accessories.