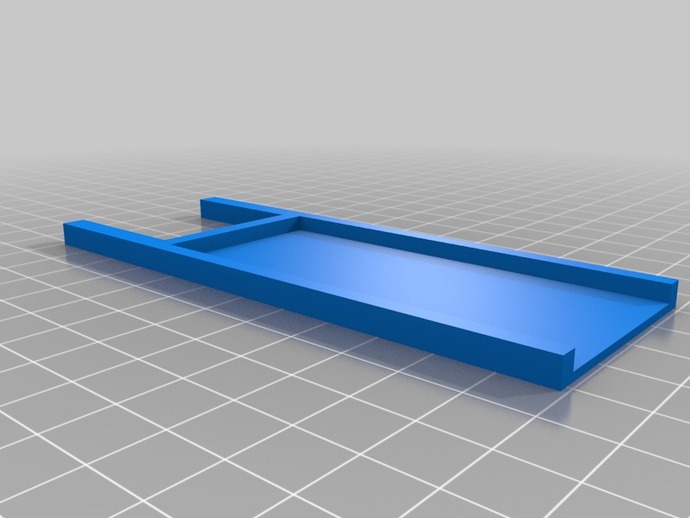
Dr.RobotLabs DIY (recycleable) microwell plate / microarray slide
thingiverse
This method involves creating a small gel caster for surface coating using agarose, which is commonly utilized in DNA electrophoresis gels. By casting consistent coatings with this technique, you can also attach gaskets to form small wells in a 16 pad setup. Agarose's versatility allows it to be mixed with various chemistries for enhanced functionality. After completing an assay, the agarose layer can be rehydrated and scraped off for reuse. While chemiluminescence hasn't yielded optimal results, fluorescence works exceptionally well with this method. The agarose retains spots remarkably well, as observed in pre and post washes of a protein array. A small transparency is glued to make the surface waterproof after printing, while silicon glue seals the sides. To prepare the agarose, it should be melted at 1% concentration in water before loading onto the slide for solidification. After removal of plastic and drying on a hot plate, the surface can be coated with functionalization chemistry. This method enables easy stripping and reuse of the agarose layer. For more information, refer to this resource: http://www.htsresources.com/recycleable_surfaces_for_bioassays.php
With this file you will be able to print Dr.RobotLabs DIY (recycleable) microwell plate / microarray slide with your 3D printer. Click on the button and save the file on your computer to work, edit or customize your design. You can also find more 3D designs for printers on Dr.RobotLabs DIY (recycleable) microwell plate / microarray slide.
