Drag Chain for CNC, two-piece, snap-open, 20mm x 40mm, 64mm radius (v1.13)
prusaprinters
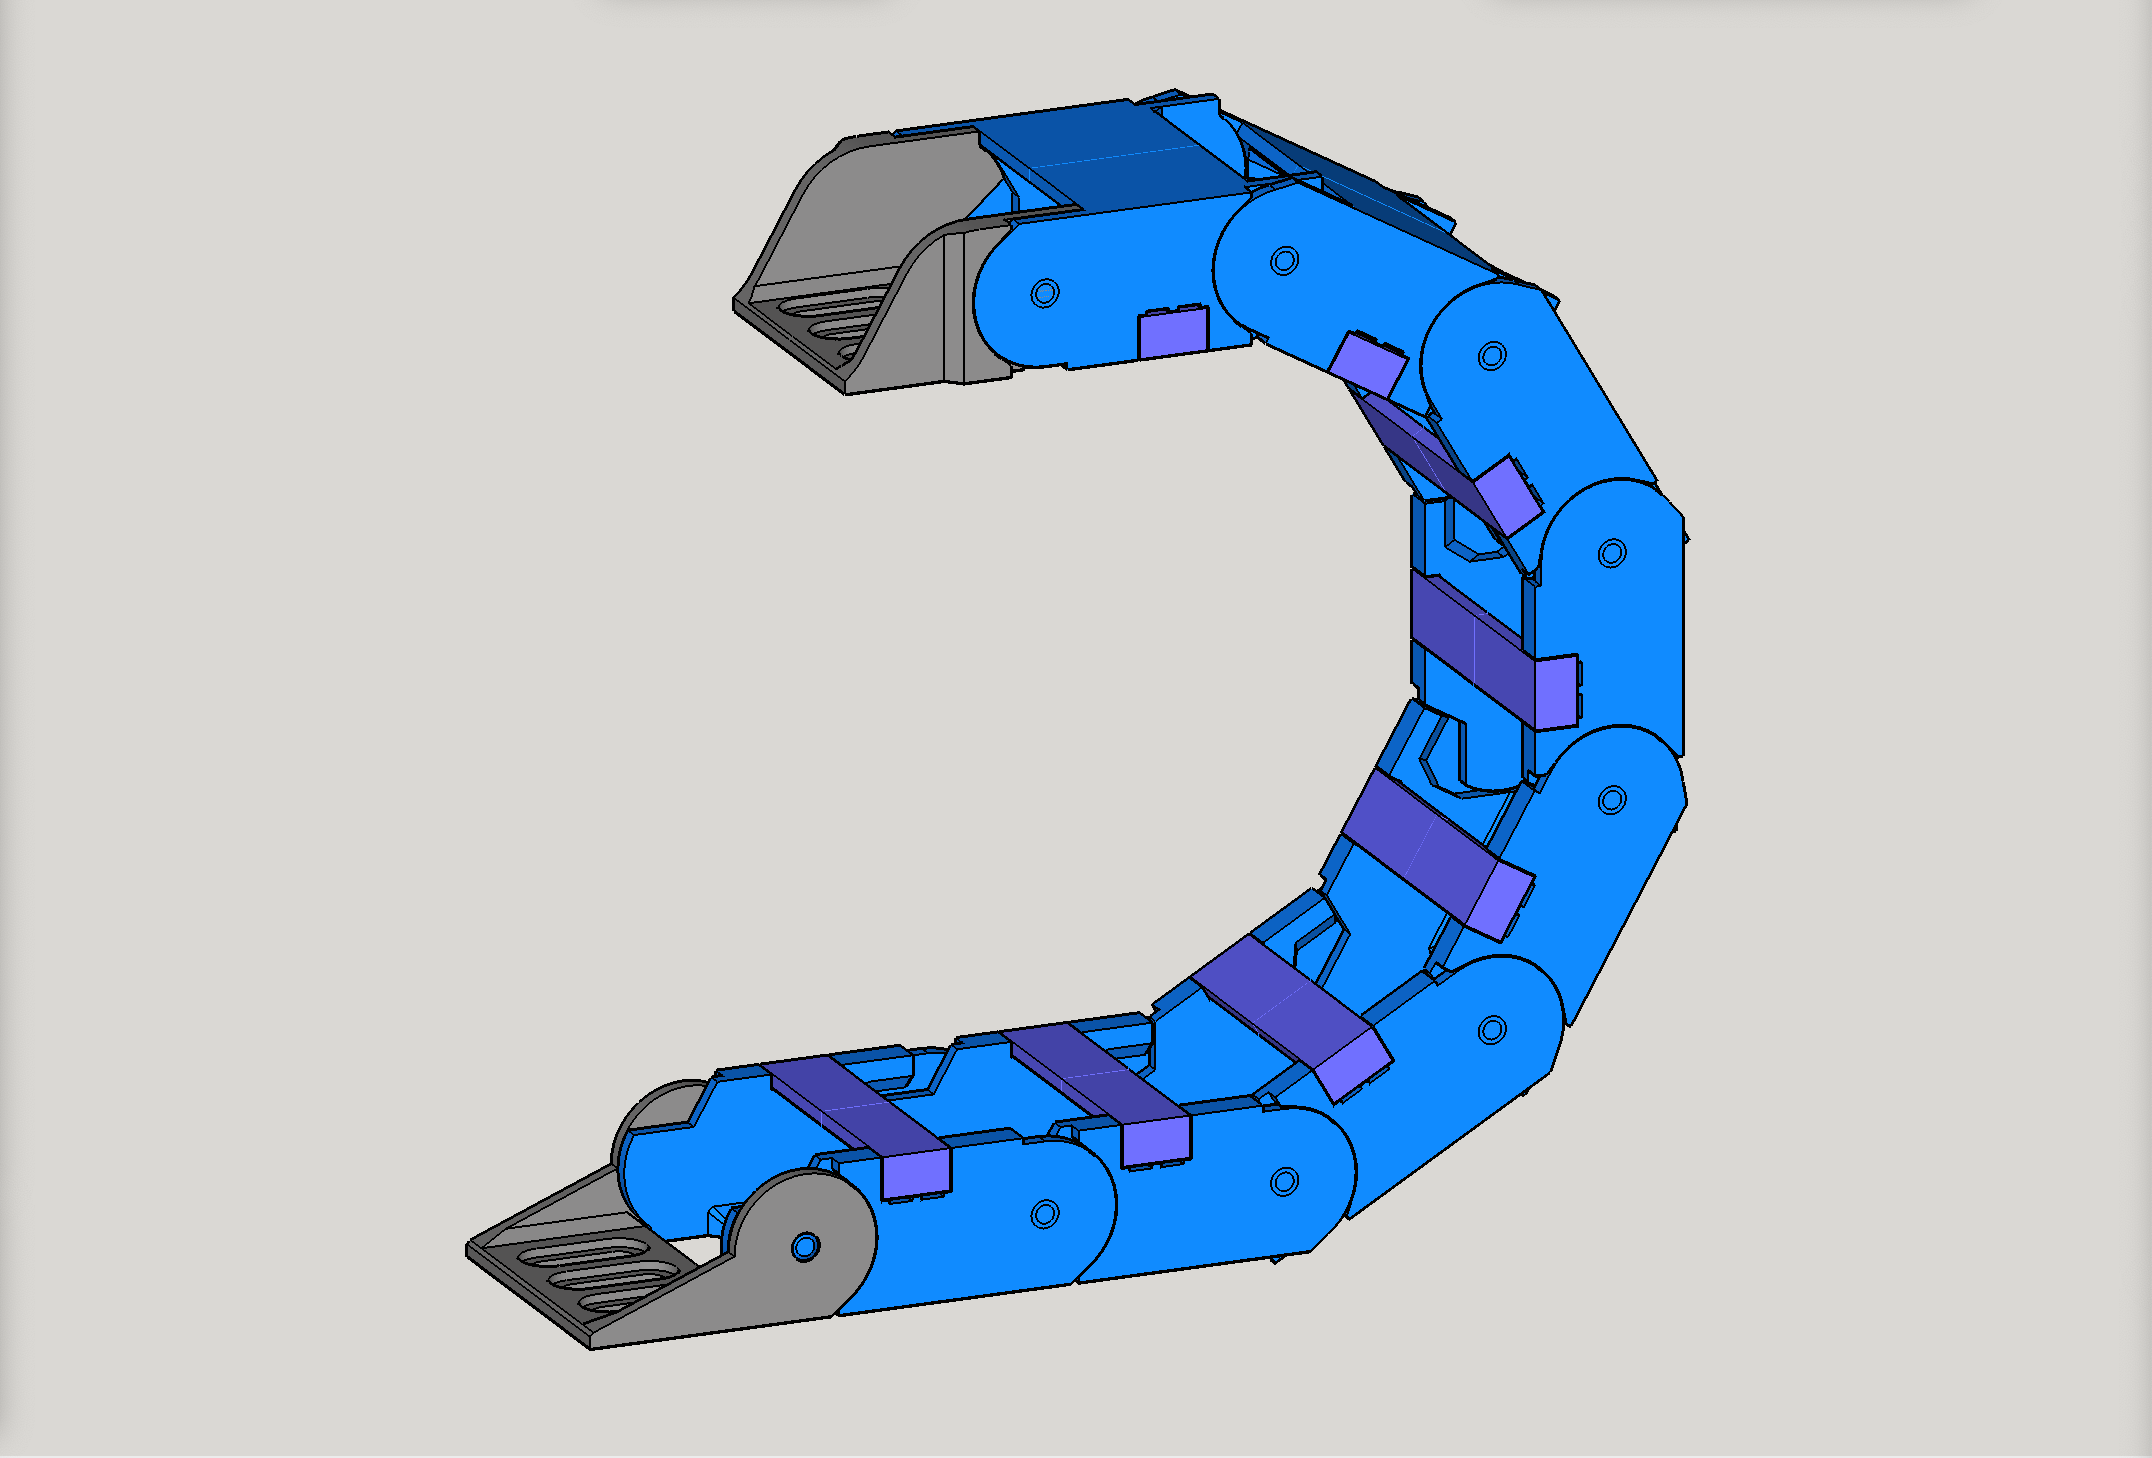
<p>Larger sized drag chain for CNC plasma cut tables, CNC routers, CNC mills, power, data, coaxial, and other cables/cords. </p><p>This is a two-piece, snap-open drag chain, with an inside track dimension of 20mm x 40mm, and it's designed for a 64mm radius. As such, it should aid in protection against strain for wires/cables that should not be bent in curves tighter than 128 mm in diameter.</p><p>It's optimized for 3D printing, and prints with no supports needed.</p><h5>Printer Settings</h5><ul><li>No supports needed.</li><li>Nozzle diameter can be 0.4 mm or (optimally) 0.6 mm.</li><li>Layer height: 0.3mm</li><li>Wall thickness: 0.6mm</li><li>50%-100% infill</li><li>Perimeters: <ul><li>3 perimeters if using 0.4mm wall thickness </li><li>2 perimeters if using 0.6 mm wall thickness </li></ul></li><li>Number of bottom layers/top layers: <ul><li>3/3 bottom/top layers if using 0.4mm wall thickness </li><li>2/2 bottom/top layers if using 0.6 mm wall thickness 2/2</li></ul></li></ul><h5>Printing Tips</h5><p>A given printer’s calibration has an impact on how straight of a line the drag chain (cable chain) holds when suspended. If you find (after printing a batch of the chain links and assembling) that you have some sag, use your printer’s percentage settings to increase flow. If the batch won’t quite lay straight, do the reverse, reducing flow. I would think 3-5% at a time, depending on how far off perfect it is. Maybe only 1-2%.</p><p>Also, I had my best success at getting the clips printed (the snap-on tops) by printing a whole sheet of nothing but them. For some reason my attempts to print the clips along side the chain links, resulted in the clips separating from the bed and just being a lost part of the print. Thanks to them not being a lot of grams worth, there was not much “spaghetti.” I allowed those flawed print jobs to complete because the chain links were still good.</p><p>Prepping the bed with a coating of hairspray first is probably a good idea. That and making sure the Z height is zeroed in for that all-important first layer.</p><h5>FAQ</h5><ul><li><strong>Q:</strong> Can these be arranged for “print-in-place” printing?</li><li><strong>A:</strong> Perhaps, but seems the answer is no. I attempted that without success. The chain link parts fused to each other.<br> </li><li><strong>Q:</strong> What size screws are to be used for attaching the front end and back end parts?</li><li><strong>A:</strong> M5 bolts/screws are what the mount holes are designed for. <br> </li><li><strong>Q:</strong> The clips open from the inside or outside of the curve?</li><li><strong>A:</strong> Inside.<br> </li><li><strong>Q:</strong> What print orientation within the slicer is best for printing batches of the chain links? </li><li><strong>A:</strong> There are at least two approaches. (1) The first (shown below, first illustration), has the chain links oriented all same way and has the columns “nested” into each other for maximum use of the printer bed (set of 9 on a bed that's 235x235 or so). (2) A friend on the V1 Engineering forum remembered once printing drag chain and having a curve in the resulting chain because the printer had some imperfection. So, he recommends having the chain links oriented in all four directions (shown below, second illustration) to protect against the printer being off a bit.</li></ul><p> </p><p>Illustration: chain links oriented all same way with columns “nested” into each other for maximum use of the printer bed:</p><figure class="image"><img src="https://media.printables.com/media/prints/250838/rich_content/adf05bcb-639a-4b26-aeeb-046b0a727f04/oriented-all-same-way-and-nested-for-maximum-use-of-printer-bed-screen-shot-2022-07-30-at-75706-pm.png#%7B%22uuid%22%3A%22b283b696-a53b-427d-a4fe-11cf62daff04%22%2C%22w%22%3A2880%2C%22h%22%3A1800%7D"></figure><p>Illustration: chain links oriented in all four directions to protect against the printer being off somewhat:</p><figure class="image"><img src="https://media.printables.com/media/prints/250838/rich_content/d4351a9e-15ed-4660-9f40-3243b026a21c/oriented-in-all-4-directions-to-protect-against-printer-being-off.png#%7B%22uuid%22%3A%221268e8dc-8d09-452d-a9c6-dbd11626170b%22%2C%22w%22%3A1629%2C%22h%22%3A952%7D"></figure><p> </p><p>Change log:</p><ul><li>August 11, 2022: added screw holes onto mount fronts and ends, so that the mounts become bidirectional, while still being backwards compatible with previous version 1.12 parts.</li><li>August 4, 2022: provided additional choices so that the fronts and backs can have wires/cords exit “above” or “below.” Renamed design to version 1.12. All added new parts are compatible with the previous versions of this design.</li><li>July 30, 2022: posted tweaked version of both chain link and snap-on clip, to strengthen the clip's grip on the chain link.</li></ul><p> </p><p><strong>My PayPal tip jar: </strong><a href="https://paypal.me/design8studio"><strong>https://paypal.me/design8studio</strong></a><strong> </strong></p><p> </p><p><strong>Various LowRider 3 CNC remixes:</strong></p><ul><li><a href="https://www.printables.com/social/127223-doug-joseph-design8studio/collections/175217"><strong>LowRider 3 CNC Collection</strong></a></li></ul><p> </p><p><strong>View all my models and remixes on Printables:</strong></p><ul><li><a href="https://www.printables.com/social/127223-doug-joseph-design8studio/models"><strong>Design8Studio 3D models</strong></a></li></ul><p> </p><p><i>*Amazon product links are affiliate links. </i> </p>
With this file you will be able to print Drag Chain for CNC, two-piece, snap-open, 20mm x 40mm, 64mm radius (v1.13) with your 3D printer. Click on the button and save the file on your computer to work, edit or customize your design. You can also find more 3D designs for printers on Drag Chain for CNC, two-piece, snap-open, 20mm x 40mm, 64mm radius (v1.13).