Drag Chain
thingiverse
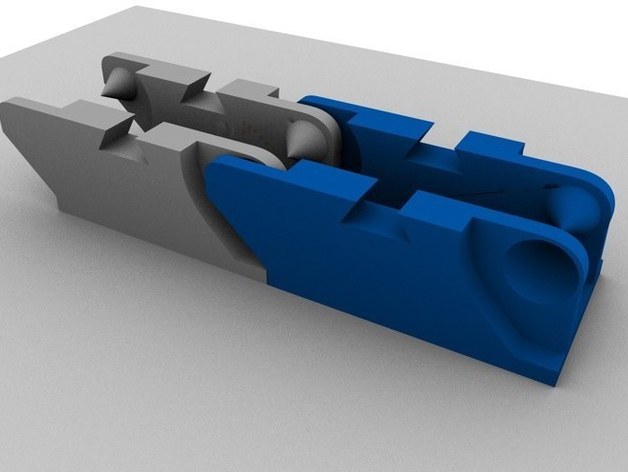
This is a drag chain that organizes your MakerBot extruder cable, keeping it away from the Z-stage belt for a professional look. To print these detailed objects, you'll need good tuning of your MakerBot and Skeinforge settings. The ZIP file includes GCode files for various chain lengths, printed on one raft. Customize your GCode with personalized settings for optimal results. Use as many chain links as desired, with 12 links fitting my extruder cable. Standard patch cables may not require additional closing mechanisms, while single wires can be secured with "Closing Sticks." If your extruder is mounted vertically, no special end link is needed; otherwise, print the "End Corner Extruder" piece and attach it to the RJ45 jack. Secure the drag chain to the MakerBot body using the "Chain Anchor" piece, attaching it to the upper Z endstop bolts on the outside of the body.
With this file you will be able to print Drag Chain with your 3D printer. Click on the button and save the file on your computer to work, edit or customize your design. You can also find more 3D designs for printers on Drag Chain.