Draw your Learning: Makerbot Printshop Tutorial
thingiverse
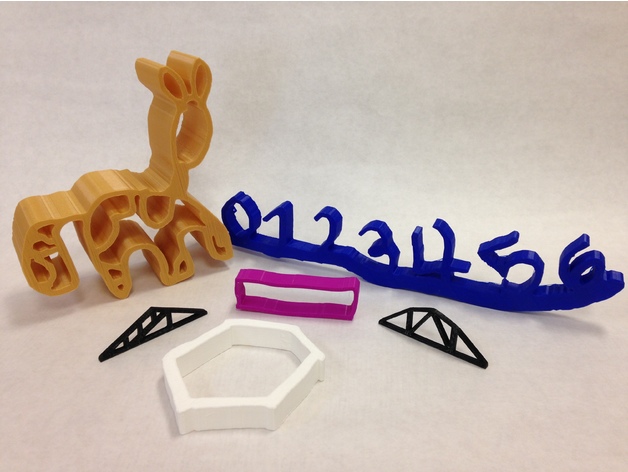
Human: 3D printing through CAD (Computer Aided Design) lets students design, print, and interact with their learning instantly. Most CAD tools take multiple class sessions to complete a design and require content knowledge on the tool being used. The Shape Maker tool in the Printshop app produces students' learning quickly and easily, making it ideal for those who can draw - they can also create CAD designs! Standards: NGSS Overview and Background This tutorial helps students create various objects using the Printshop app's Shape Maker tool, including Tessellations, Rulers, Geometric Shapes, Clock Faces, 5/10 Frames, Nets, Area vs. Perimeter Models, Graphs, Visual Fraction Models, Words for Foreign Language Learners, Protractors, and Scientific Models. Lesson Plan and Activity Shape Maker The Printshop app offers interactive CAD modeling tools that allow students to see how they can manipulate a 3D shape. This is an excellent introduction to CAD for many students. The Shape Maker section in the app provides endless design options for students. There are two ways to use Shape Maker: through graph paper or free form drawing. Graph Paper Some applications require students to create learning using graph paper, such as math manipulative creation or providing a reference point for drawings. However, standard graph paper cannot be used for this purpose. If you have students draw an outline of a planned building on regular graph paper and take a picture with the Shape Maker app, the 3D model will not turn out as expected. To achieve the desired result, use the graph paper found in the Thing Files, which has lines that are light enough for the app to ignore but dark enough for students to use. There is both a ¼ “grid and 1 cm grid paper available. Free Form Drawing If using graph paper is not necessary, students can draw their learning on plain white A4 paper using dark and thick lines with black, brown, blue, or purple broad tip or felt tip markers. When taking the picture of the drawing, ensure that only what needs to be turned into a 3D model is captured in the shot. Additional Options Once you have taken a picture with the Shape Maker app and it has turned the drawing into a 3D model, there are three additional options available for editing the model: 1. Height: Use this tool to change the height of the model. 2. Backing: This tool offers four different options for the back of the model. 3. Ind. Piece Height: You can use this tool to delete individual pieces within your design or change different parts of the model to have varying heights. Saving and Printing The Printshop app works seamlessly with the Makerbot Desktop or Makerbot Print software. When setting up your desktop software for the first time, you will be prompted to create a Makerbot account. You can use these same account details to register all of your school's iPads with the Printshop app. Materials Needed - Makerbot Printshop App (iOS only) - Attached Graph Paper Duration of Lesson Lessons will vary, but all student creations can be designed and made in one class period.
With this file you will be able to print Draw your Learning: Makerbot Printshop Tutorial with your 3D printer. Click on the button and save the file on your computer to work, edit or customize your design. You can also find more 3D designs for printers on Draw your Learning: Makerbot Printshop Tutorial.