Drill bit stand
prusaprinters
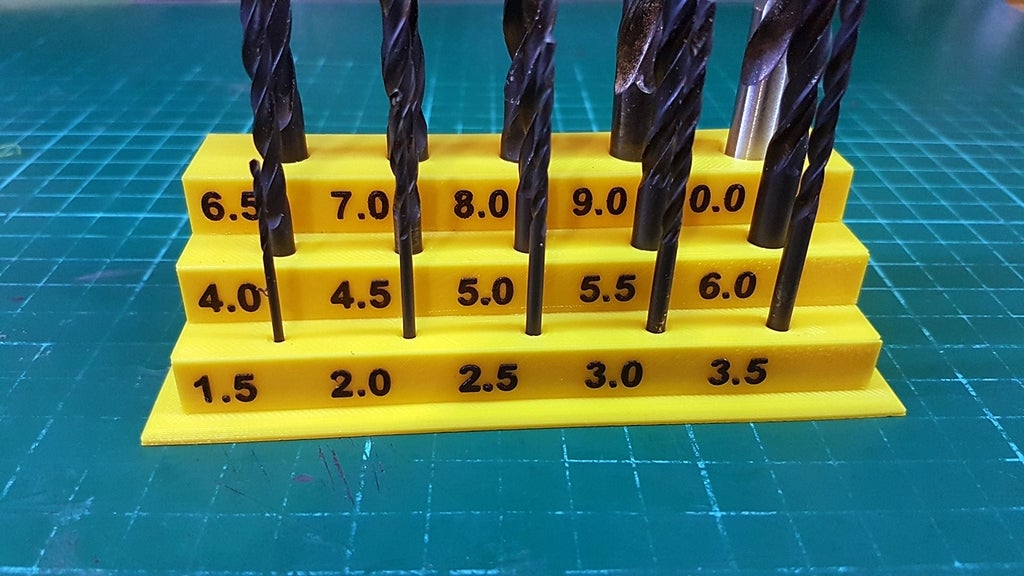
<p>I bought a Chinese drill set. Just typical, not so bad.</p> <p>Looking through various stands, I noticed that the biggest problem is the clear marking of the drill diameters.</p> <p>Since almost every printer allows you to use the filament change function, you can make this stand with a single head.</p> <h3>Print instructions</h3><p>I bought a Chinese drill set. Looking through various stands, I noticed that the biggest problem is the clear marking of the drill diameters.</p> <p>Since almost every printer allows you to use the filament change function, you can make this stand with a single head.</p> <h3> Print Settings</h3> <p><strong>Printer Brand:</strong> Anycubic<br/> <strong>Printer:</strong> Kossel<br/> <strong>Rafts:</strong> No<br/> <strong>Supports:</strong> No<br/> <strong>Resolution:</strong> 0.15, 0.4 mm<br/> <strong>Filament:</strong> PLA+</p> <p><strong>Notes:</strong><br/> I printed the stand with a standard 0.4mm nozzle. Drill size labels were made with a 0.2mm nozzle and 0.15mm layer height.<br/> I used the Cura slicer and the "Change filament" script.</p> <h3><strong> Post-Printing</strong></h3> <p>Because after changing the filament in the nozzle 0.2mm there is excess material left, I used the "0" sign, which allows you to get rid of excess filament.</p> <p>You must set it closer to the zero position of the table than the rest of the printout. Thanks to this, Cura will start printing from this element.</p> <p>You just need to set the print start to this element. There, the printer will choke out the rest of the filament and calm down for proper printing with a different colour.</p> <p>I did many different attempts, only adding waste sign did all the dirty work.</p>
With this file you will be able to print Drill bit stand with your 3D printer. Click on the button and save the file on your computer to work, edit or customize your design. You can also find more 3D designs for printers on Drill bit stand.