Dry Box - Complete Set-Up
thingiverse
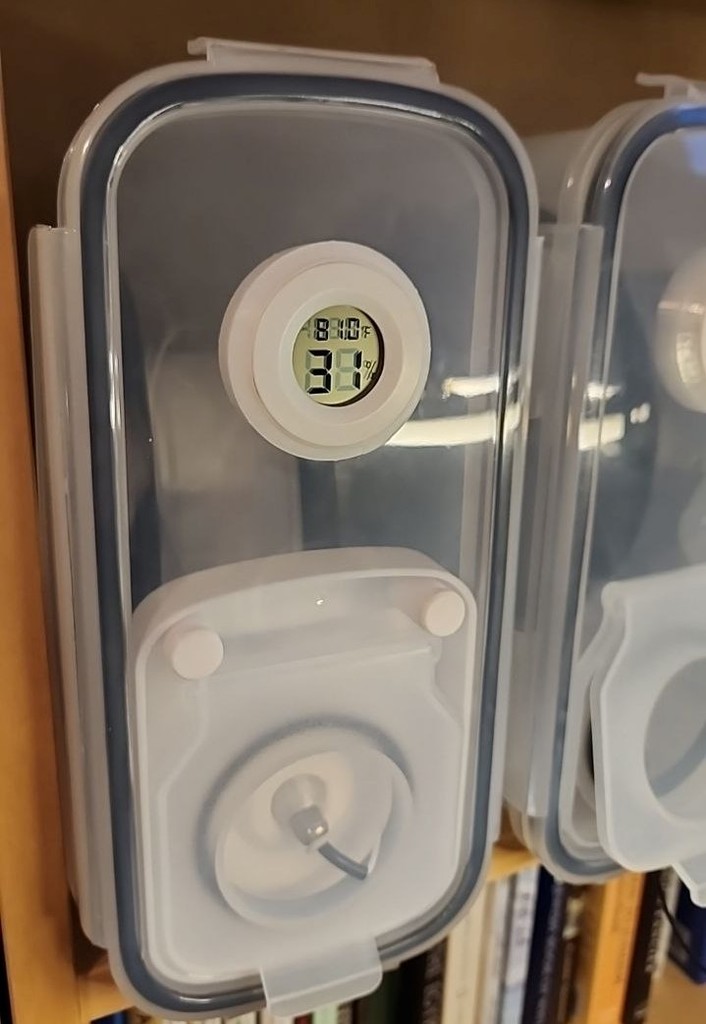
I loved a lot of different dry box setups but i wanted to create something that didn't take up a ton of space inside and didn't utilize any external hardware to attach it to the container. All pieces attach to the container by cutting holes and securing the pieces with threaded parts. The filament stays sealed up in the container and the lid closed when not in use. The Exploded View STL is for a visual of how everything fits together. Container being used is the 6L Chef's Path and can be found on Amazon. https://www.amazon.com/gp/product/B081J8CY7B Hygrometer can be found at this link https://www.amazon.com/gp/product/B08SBNM72Y Tubing and Filament Fitting can be found at this link https://www.amazon.com/gp/product/B098QL6Y58 The Silica Roller is a variation on another of my designs. I was originally not going to do a side installation but then changed my mind. https://www.thingiverse.com/thing:6065846 There are many projects out there that do the same thing and the following models were used as part of my design inspiration. The idea for the Filament passthrough came from these four designs. Because I was designing my own version for the passthrough, I also designed my own ball to go with it but it is based on the one listed below. https://www.thingiverse.com/thing:3951296 https://www.thingiverse.com/thing:4035357 https://www.thingiverse.com/thing:4879850 https://www.thingiverse.com/thing:3024407 The following project was used to create all the threaded connection pieces. I cannot say enough good things about this project as it is extremely helpful. NUT JOB https://www.thingiverse.com/thing:193647
With this file you will be able to print Dry Box - Complete Set-Up with your 3D printer. Click on the button and save the file on your computer to work, edit or customize your design. You can also find more 3D designs for printers on Dry Box - Complete Set-Up.