DS18B20 Climate Shield
prusaprinters
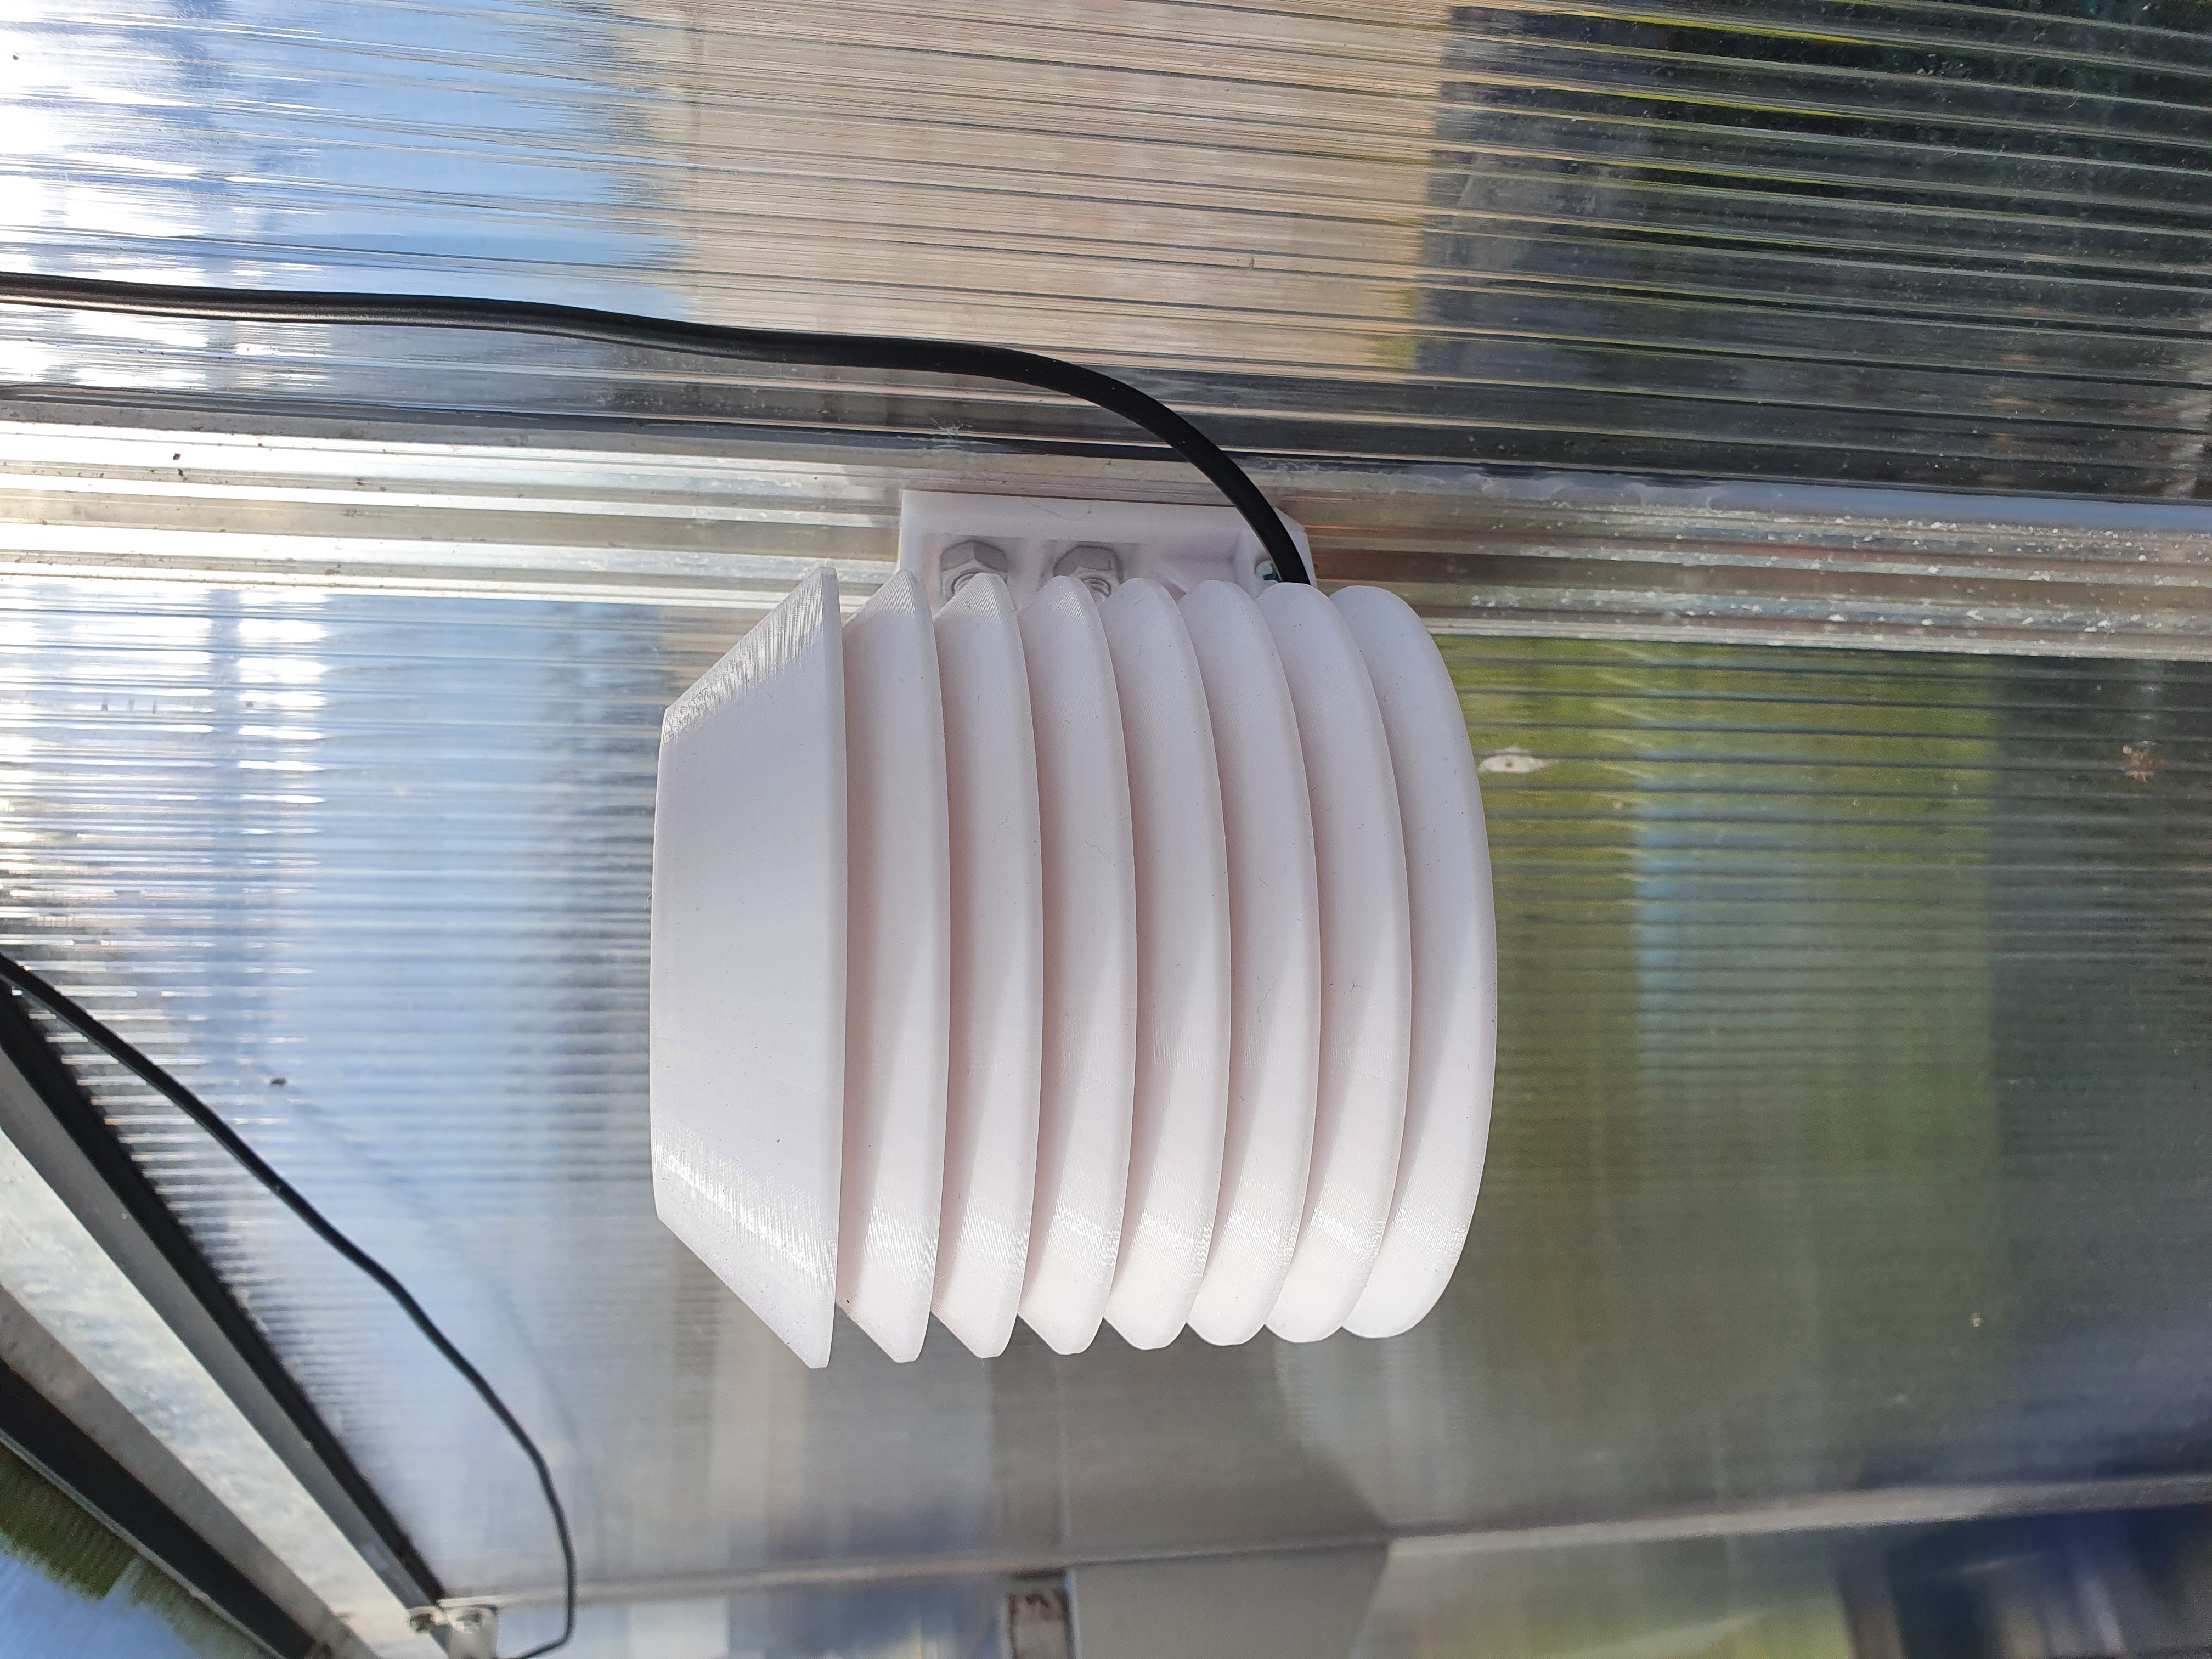
<p>Climate shield made to hold 1x DS18B20 (waterproof) sensor. <br>Including a mount that fits the railing system inside Juliana Greenhouses and the corresponding bolts/nuts (might fit other greenhouses with similar systems)<br><br><strong>Needed materials:</strong></p><ul><li>4x M4x25 screw (tapered head)</li><li>4x M4 nut (used locking nut, but regular should fit as well)</li><li>Superglue (whatever you prefer to glue parts together with)</li></ul><p><strong>Print instructions:</strong><br>Print 1 of each STL, except ‘layer 4-5-6’ which you need 3 of. (more if you want more air above sensor)<br>Print Mount with a raft.<br><br>Printed on Prusa i3 MK3S+, PLA+/PLA MAX, 15% infill, 0.15 layer height, no support needed. <br><br><strong>Assembly:</strong></p><ol><li>Screw Bottom and Layer 1 together with M4 screw + nuts. </li><li>Glue layer 2 to layer 1, apply small bead of glue around notch on layer 2.</li><li>Glue rest of the layers together, and press together so it lines up even. </li></ol><p><i>Note!</i> They should fit together, depending on precision of printer there might be some pegs/holes that needs a bit of trimming with stanley knife/sandpaper<br><br>Once everything is glued together, you can now unscrew the bottom from the rest and insert sensor through the bottom into the holder in the upper part. Screw together again and place cable into the trench in the bottom. <br><br>Happy Tinkering!<br> </p>
With this file you will be able to print DS18B20 Climate Shield with your 3D printer. Click on the button and save the file on your computer to work, edit or customize your design. You can also find more 3D designs for printers on DS18B20 Climate Shield.