DSLR Tilt
thingiverse
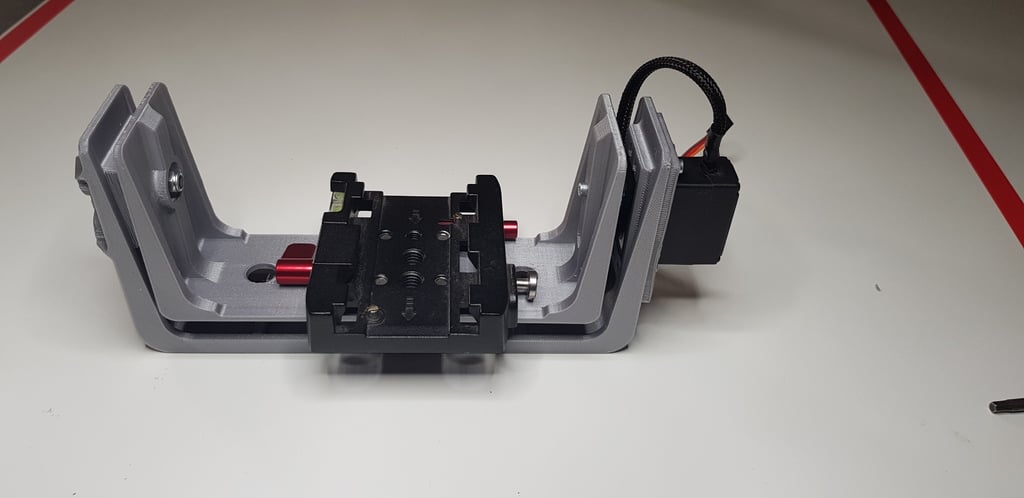
This is a project of camera tilter built on standard size servo. Thanks to ball bearing it is suitable for big mirrorless cameras and also DSLR's. Rotation is not needed because it works perfect with Turtle Rover (www.turtlerover.com) which can be used as a rotation base. Things needed for this project: 3D printed parts: - Base x1 - Camera_Holder x1 - Bearing_Housing x1 - Spacer x1 Mechanical parts: - Standard size servo x1 - metal servo horn (http://www.feetechrc.com/product/servo-horn/feetech-metal-servo-arm-horn-spline-25t-3-5cm-fk-ap-3-bl/) - 626 ball bearing x1 - Fitted bolt 6x10(M5) - M5 nut and washer - M4x16 Hexagon socket head cap screw x4 - M4 nut x4 - M3 nut x4 - M3x8 Hexagon socket head cap screw x5 - M3x12 Hexagon socket head cap screw - 1/4 inch Hexagon socket head cap screw for camera mount x4 - Camera mount (I used Massa P200 which is compatible with Manfrotto standard) Tools: Set of hex keys 8mm flat wrench At first You need to push the ball bearing 626 and m4 nuts into the Bearing_Housing. Using M4 bolts attach Bearing_Housing to the Base. Next step is to attach servo horn to the Base by M3x8 screw (check if the horn is parallel to the base - if not you can use press or chuck to press it harder). Then press M3 nuts to the Base and attach camera mount to the Camera_Holder by inch screws. Using Fitted bolt, Spacer and M5 nut attach Camera_Holder to the Base (You will need hex key and flat wrench at the same time). Last step is to attach servo - insert servo shaft to the servo horn, secure the connection at first by M3x12 bolt from Camera_Holder side, then by two small M2 screws on the horn and then using M3x8 screws attach servo to the Base. That's it ;)
With this file you will be able to print DSLR Tilt with your 3D printer. Click on the button and save the file on your computer to work, edit or customize your design. You can also find more 3D designs for printers on DSLR Tilt .