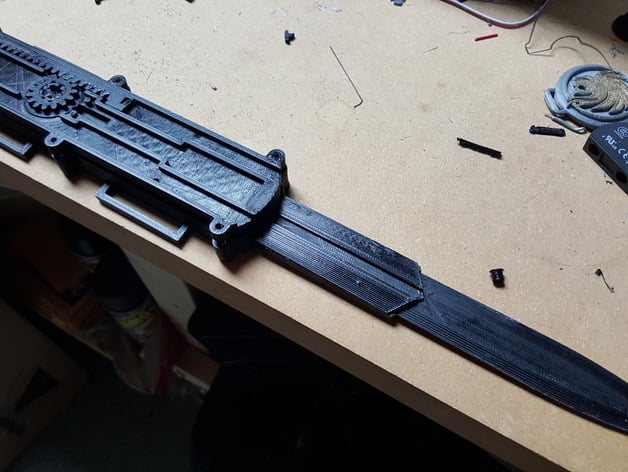
Dual Action OTF Hidden Blade (Assassin Style)
thingiverse
Here's a rewritten version of the instructions in a more readable format: **Step 1: Assemble the Blade** * Insert a small Ouch-less rubber band into the slot on the outer blade, making sure it lies flat and not twisted. * Cut a straight piece of paper clip to fit through the holes on top and bottom of the outer blade. * Insert one of the inner blade latches, with the rounded end facing down, and the rubber band fitting into its notch. * Align the holes and insert the metal pin through all three parts (OB-Top, IB-Latch, OB-Bottom). Ensure it doesn't protrude from the bottom. * Repeat this process with the other latch on the opposite side of the blade. **Step 2: Assemble the Main Body** * Clean up the hole in the main body, ensuring the flipper moves easily inside. * Insert the assembled blade into the body, which should slide freely. If not, sand the interior wall to facilitate movement. * Insert the four main flippers, ensuring they lock the blade with no resistance. **Step 3: Assemble the Switch Plate** * Clean and sand the switch plate carriage until it slides freely inside its rail. * For Single Hook Version: + Insert one of the rubber bands between the hook on the switch plate and the carriage hook. * For Double Hook Version (recommended for rubber band setup): + Stretch a rubber band through one of the holes in the switch plate carriage, then hook it back to the second switch plate hook. **Step 4: Assemble the Switch Plate Assembly** * Repeat the process with the other carriage. * Clean up the flat side of the switch plate so it slides freely inside the top rail of the body (over the blade). **Step 5: Assemble the Main Components** * Insert the assembled blade into the main body, pressing the lock latch during insertion. * Insert the four main flippers into their holes, with the pin-side up. * Place the switch plate assembly on top, ensuring the off-center slide opening faces back and the carriage pin faces down. **Step 6: Load the Rubber Bands** * Add rubber bands to join the two pairs of flippers.
With this file you will be able to print Dual Action OTF Hidden Blade (Assassin Style) with your 3D printer. Click on the button and save the file on your computer to work, edit or customize your design. You can also find more 3D designs for printers on Dual Action OTF Hidden Blade (Assassin Style).