Dual Extrusion with Marlin and Pronterface
thingiverse
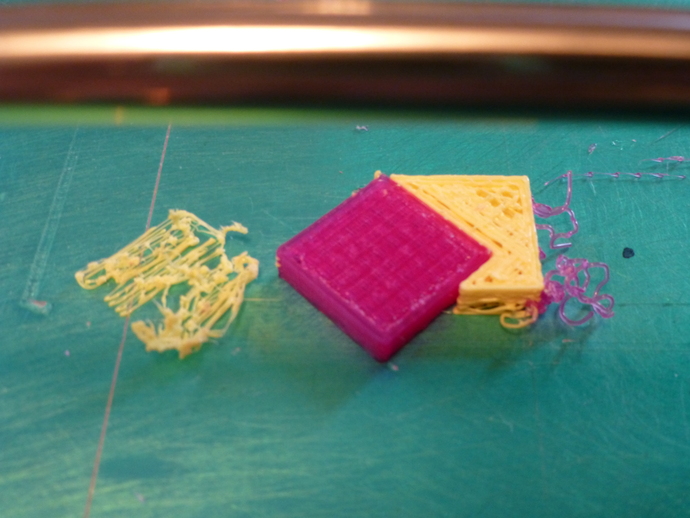
As promised in http://www.thingiverse.com/thing:123609 showing my dual extruder in successful operation, here is a version of Marlin to support dual extrusion on a Printrboard. Basically, the hard work was done by Denis Bakin (dob71) https://github.com/dob71/Marlin/tree/m (I refer to this as €œMarlin-M) , but was not merged into the version of Marlin used on the Printrboard ( http://blog.lincomatic.com/?p=537). If you are using Printrboard, you are probably already familiar with Lincomatic. If not, please refer to the Lincomatic link for build instructions. I have merged the Marlin M code with the Lincomatic code to provide control for dual extruders. You can download the code, called Marlin LM, as a zip file from the downloads area for this Thing. Use the code in the zip file in place of any other Marlin code you may be using with your dual extruder. While I have not intentionally done anything to limit the use of the code to Printrboards only, I have no way to test it on other boards. Note that I have not tested it with SD cards nor with LCD panels. Use at your own risk in those applications. Details of Extensions G-codes T0 and T1 select one or the other of the dual extruders. Mostly, you won't have to worry about this. Slic3r uses these g-codes appropriately. We will add controls to Pronterface in a few paragraphs for switching extruders. Default settings for Steps per Unit, Max Feedrate, etc. are still set in Configuration.h. The only change is that five values can be set instead of four. The fifth, of course, is for the second extruder. There are two values (one for each extruder) for Retraction Acceleration and Ejerk. Note that Marlin-M allows the extruder offset (between extruder 0 and extruder 1) to be included in the Marlin code so Marlin will automatically move the selected extruder to the position of the previous one. That is, if you stop printing with one nozzle and switch to the other, the newly selected nozzle will be moved automatically to the position where the first nozzle was when the switch occurred. I did not consider this to be a desirable feature and did not fully implement it. Therefore, leave the Extruder_Offset values in Configuration_adv.h set to 0. Slic3r handles the needed offset perfectly and is easier to tweak if needed. I didn't want my extruders to jump while I was priming or calibrating them with Pronterface. Instructions Using Pronterface to control Dual Extrusion Pronterface does not natively support dual extruders, but it is not hard to extend it satisfactorily. All that is really required is to be able to switch between extruders using T0 and T1 gcodes. Note that for these to work properly, you also need to issue €G92 E0€ before and after the T0 or T1 gcodes. (Otherwise position and acceleration from one extruder interfere with the settings of the other.) While the necessary gcodes can be issued from the Pronterface command line, it is easiest to set up macros and assign them to buttons. Here is the process. To create a macro in Pronterface, choose Macros / from the Settings menu. Give your macro a name in the text box (enter MT0) and click OK. Then Enter g-codes in the text box. For the MT0 macro, enter: G92 E0 T0 G92 E0 Click Save to complete the macro creation process. Repeat this to create a macro MT1 using T1 instead of T0. If you need to edit your macro, choose Macros from the Settings menu, pick the name of the macro to edit, make your changes, then Save. If you want to delete a macro, choose Macros from the Settings menu, pick the name of the macro to delete, delete all the statements, then Save. You'll be offered the option to delete the macro entirely. Our new macros can be used by simply entering the macro name in the Pronterface command box and clicking Send, and that works fine. But Pronterface makes it easy to add buttons which will run our macros. To create buttons in Pronterface to use our new macros, just click the €œ+ button (the right-most button in the second row of buttons -€“ next to Pause if you haven't added any custom buttons). Enter €œExtruder 0€ for the Button title and MT0€ for the command, then select OK to create the button. Create Extruder 1 for MT1 in the same way. There are your buttons for switching extruders. To use them, just click the appropriate button. Then all commands for extrusion (Heater Off, Set, Check temp, Extrude, Retract, and settings for mm/min extruder speed and mm extrusion length) will apply to the selected extruder. The temperature and target temperature will also track the extruder selection, as will the value plotted for the extruder temperature. Note that the plotted target temperature will not track the selection. It is probably best not to use these during an extrusion. If you want to turn off your extruder heaters at the end of printing, add the following g-codes to the Printer Settings / Custom g-code / End G-code area in Slic3r: M104 T0 S0 M104 T1 S0 (M104 is the command to set temperature, T0 or T1 selects the extruder, and S0 sets the target temperature to 0C.) So now you're all ready to do dual extrusion printing! If only you had a way to create suitable objects... Happily, that's the subject of the next Thing that I'll post. Stay tuned!
With this file you will be able to print Dual Extrusion with Marlin and Pronterface with your 3D printer. Click on the button and save the file on your computer to work, edit or customize your design. You can also find more 3D designs for printers on Dual Extrusion with Marlin and Pronterface.
