Dual HyperPixel 4.0 display case for OctoPrint / OctoDash
prusaprinters
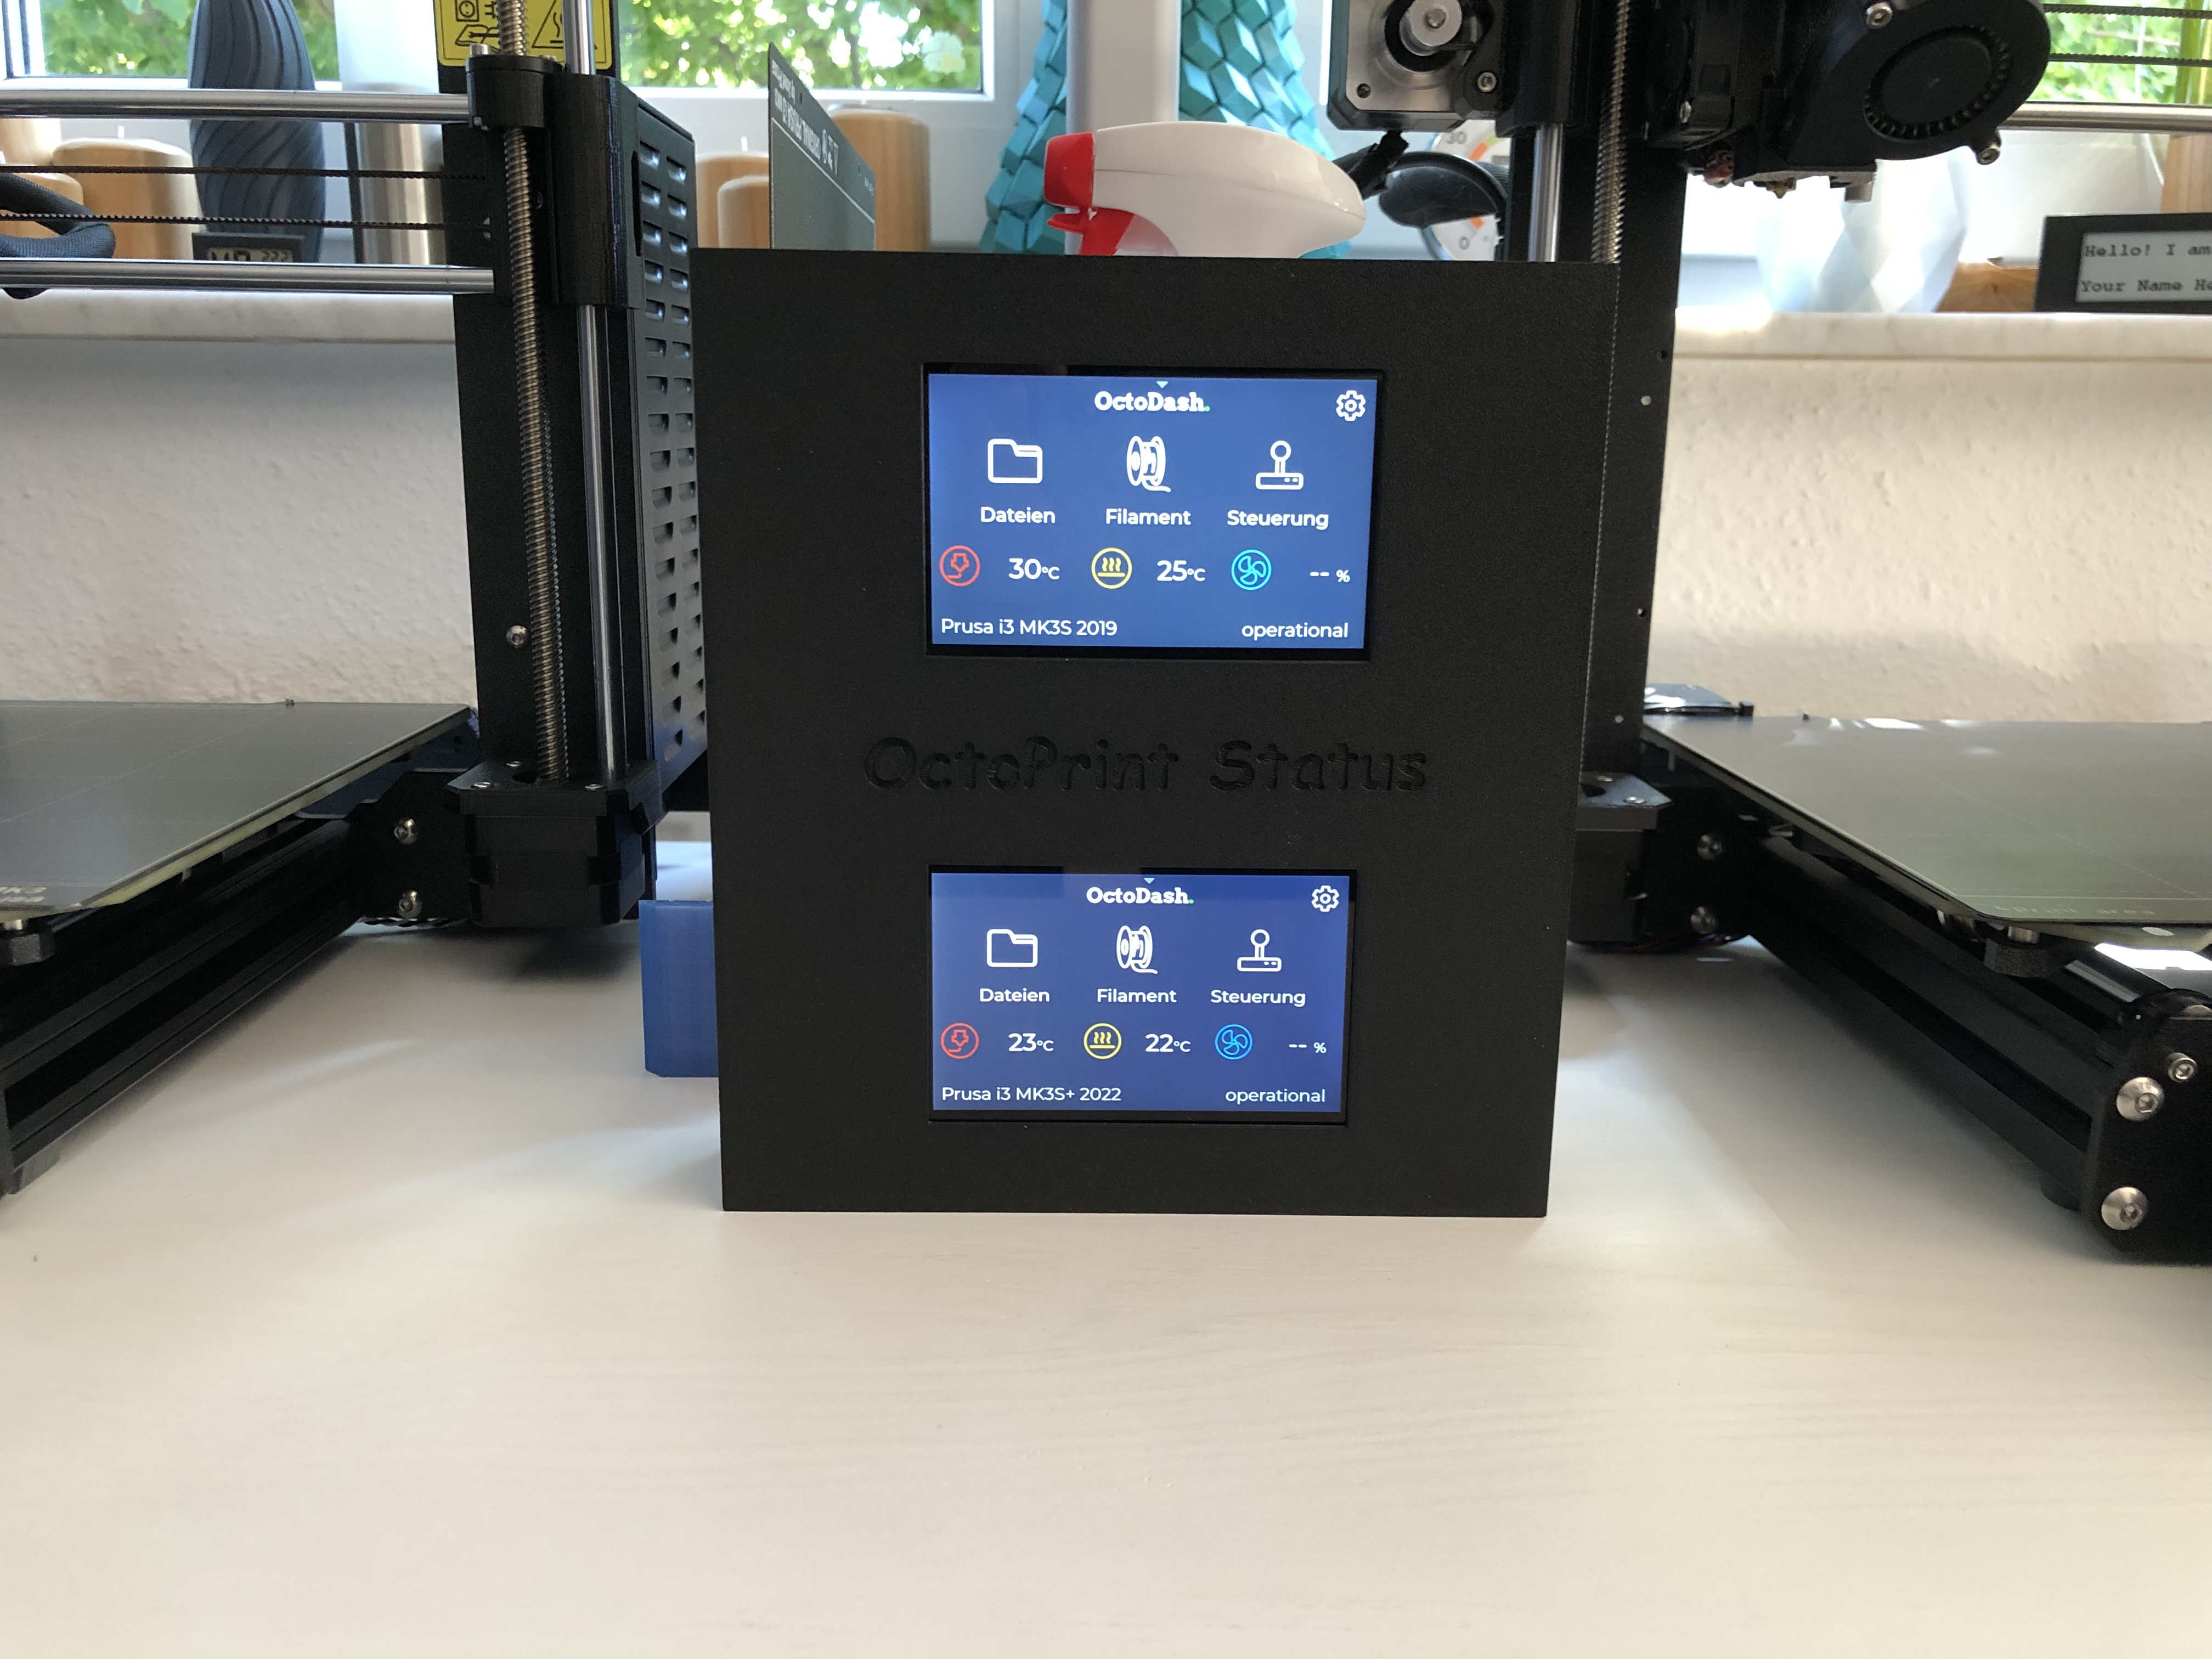
<p>I use OctoPrint mainly with <a href="https://github.com/UnchartedBull/OctoDash">OctoDash</a> some time now with 2 printers, but I was always not happy with the existing HyperPixel 4.0 display cases and I tried a few of them. </p><p>They did not offer an almost hidden cable solution. The cables came loose often and I did not like that they stick out of the case. Dust was also a problem, because the case I used was in an angle so dust was always visible. Having 2 such display cases on the table looked also not good, because they were moving around and the cables from the one display often were above the display from the other one…</p><p>Therefore I designed my own case now that can keep 2 HyperPixel 4.0 displays and the cables are not that visible anymore and kept well in place inside the case. It also solved the other small problems much better.</p><figure class="image"><img src="https://media.printables.com/media/prints/205010/rich_content/ef34f2cc-e633-4497-b97b-14bdaf182a40/e540cc34-27ba-4b5f-b1b1-d5c3caac5346.jpeg#%7B%22uuid%22%3A%22c9010ef0-63d1-4da7-bb97-21f28118aee2%22%2C%22w%22%3A4032%2C%22h%22%3A3024%7D"></figure><p> </p><p>I am using the HyperPixel 4.0 displays still with Raspberry Pi 3B+, but I think using a Raspberry Pi 4 will also fit well. You can move them around on the inside quite a lot also to center the visible display area.</p><p>When you want to print this case too, please keep in mind to have the Mini-USB power port facing inwards to the middle of the case. You will need to rotate one of the displays therefore to the left and the other one to the right with “hyperpixel4-rotate left” or “hyperpixel4-rotate right”.</p><figure class="image"><img src="https://media.printables.com/media/prints/205010/rich_content/bfd3e612-a53f-4573-be7b-a3bbfda6bf2b/7.jpeg#%7B%22uuid%22%3A%2239bf9c43-4d1a-43f4-a0b3-5a8cca763c0d%22%2C%22w%22%3A4032%2C%22h%22%3A3024%7D"></figure><p>My USB-A cable sides went in easy into the ports as connection to the printers, but this may be more easy or not depending on your used USB cables..</p><p> </p><figure class="image"><img src="https://media.printables.com/media/prints/205010/rich_content/f9d8a451-7418-4e11-9a4a-70a7f93ca718/9.jpeg#%7B%22uuid%22%3A%22afde65b2-438e-4fa8-aed6-58da6ba170dd%22%2C%22w%22%3A4032%2C%22h%22%3A3024%7D"></figure><p>PS: If you do not like to see this logo, just flip around the lid and it will be on the inside…</p><p> </p><p>For those of you who are now wondering about heat problems, I can say that I am using this case now for about 6 weeks with several days of permanent printing with no extra fans inside the case and the Raspberry Pi 3B+ seem to feel really well and there is not much heat inside the case. The big amount of holes on the lid seem to work fine.</p><p> </p><p>I used SUNLU black PLA+ filament with the default 0.3 draft profile of the Prusa Slicer with the textured sheet. I just changed the print temperature to 215°C in the general PLA filament settings. I always use a 4-5mm brim around such big models. You may need to turn off the skirt line then.</p><p>The 8 holders inside were printed with 100% infill, just to be sure that they were stable enough. You will need some screws, washers and nuts as shown in the pictures. For the case that will be M3 and for those connecting to the Raspberry Pi it should be M2.5 in your case too.</p><p> </p><p>Happy printing. :)</p>
With this file you will be able to print Dual HyperPixel 4.0 display case for OctoPrint / OctoDash with your 3D printer. Click on the button and save the file on your computer to work, edit or customize your design. You can also find more 3D designs for printers on Dual HyperPixel 4.0 display case for OctoPrint / OctoDash.