Duplicator 7 Screw spacer
thingiverse
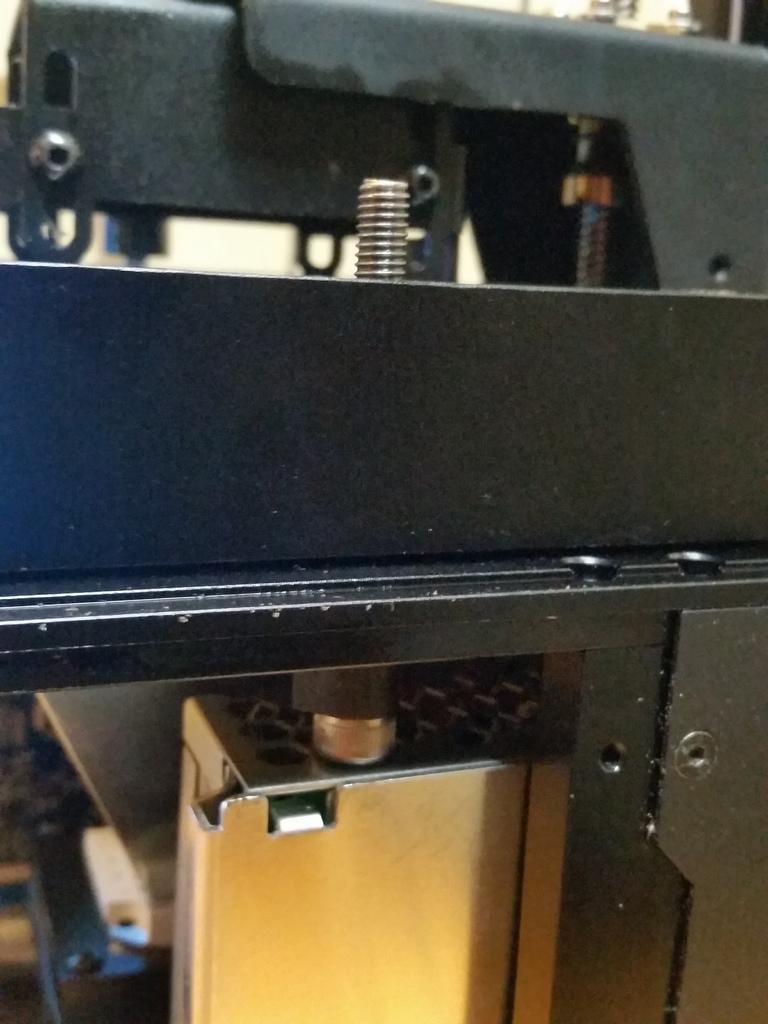
Did you ever stop to think why it takes so long to unscrew the build vat hold downs on the D7? Is the design optimized for an extra deep vat? I highly doubt that. It's probably just a matter of the length of screws used at the factory. However, because of this sub-optimal setup, it takes extra time unscrewing the knobs every time you pull the build vat out. You could replace the offending screws with something more convenient, but that is difficult due to the right-hand screw requiring removal of the power supply on a v1.4 at least. I came up with this quick fix that doesn't require buying anything or making permanent alterations to your printer. Print two spacers on your D7. Open the front of the case. Unscrew the vat hold-down knobs. Back out the hold down screws until the spacers fit. Slide the spacers in place and tighten the screws against the spacers. Close up the case, and you're done. Note that an ideal spacer would be a few millimeters longer, but the right-hand screw runs into the power supply, limiting how much we can lower that screw. In the interest of symmetry, I made the left one match. We talked about this and a whole lot more on the 3D Printing Today podcast available on iTunes or Stitcher radio. Learn more at http://www.threedprintingtoday.com/
With this file you will be able to print Duplicator 7 Screw spacer with your 3D printer. Click on the button and save the file on your computer to work, edit or customize your design. You can also find more 3D designs for printers on Duplicator 7 Screw spacer.