Dust Collection Blast Gates
thingiverse
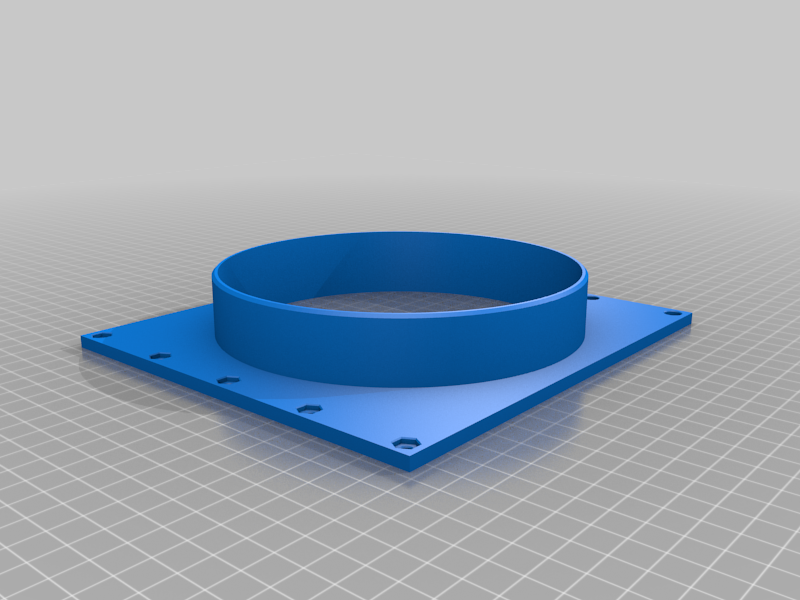
Copyright (c) 2020 Michael Graff I've installed a duct collection system in my home shop, and needed to get several blast gates for each tool, so I can get the maximum air flow on the tool in use. I use three common duct sizes: 6 inch, 4 inch, and 2.5 inch. I've created a gate assembly for each. While these are built for my use case, I am happy to create any inner / outer diameter as needed for others, as well as spacers. Please contact me if you have suggestions for common metric dimensions. Printing: * I use 0.3mm or 0.2mm layer height * 2 perimeters, more if desired. * I use PETG, but PLA should also be fine. * No supports needed. Parts needed: * 3/16th inch thick plywood. Other sizes could be used by adjusting these spacer height. One dimension should be cut to fit in the gate slot, and approximately 3 inches wider than twice the hole size. Example: 6 inch gate needs about a 15 inch length to open and close. * 4mm x 12mm hex cap screws and nuts. * For 6 inch gates, you will need a total of 10 of each. * for 4 inch gates, you will need 6 of each. * for 2.5 inch gates, you will need 6 of each. Instructions: * Print two spacers for the correct hole size. * Print two inner, two outer, or one of each. The only difference between the inner and outer variants is if it is sized to slide inside another part, or go on the outside. Most flexible ducting will use a clamp to attach to the outside of the gate. * Assemble the parts together. Each part has one side with round holes For the cap screws, and hex holes for the nuts. This makes it easy to mix and match inner/outer dimension parts as needed. * Cut a strip of plywood to slide into the slot, and at least 3 inches longer than twice the hole size. For 2.5 inch gates, you can also use the 3d printable sliding gate part instead. * Take another thin strip of wood, and glue it onto one end. This will act as a stop block. I usually use a cut-off of the same plywood, but any thickness will work. I usually make this about 0.5 inches wide. * After the glue dries, slide the wood in all the way to the stop block. Draw a circle around the inside of the hole, remove the wood, and cut out the circle to the line. I usually use a large bit to make a starter hole, a jigsaw to remove the material, and then a spindle sander to snub up to the line. Accuracy isn't critical, but try not to overcut. * Put the wood back in, and slide the part all the way out such that the hole is fully exposed. Push the wood down to make it snug against the plastic edge with screws, and glue on another stop block on the other end. * Trim if desired. When attaching to ductwork, make sure the gate is fully closed. If it is open, you may find that you have locked the gate open due to the duct going into the hole in the wood. See https://youtu.be/dVnIXaBIefA for a video on how to put one together. -- Michael <explorer@flame.org>
With this file you will be able to print Dust Collection Blast Gates with your 3D printer. Click on the button and save the file on your computer to work, edit or customize your design. You can also find more 3D designs for printers on Dust Collection Blast Gates.