Dust shoe
thingiverse
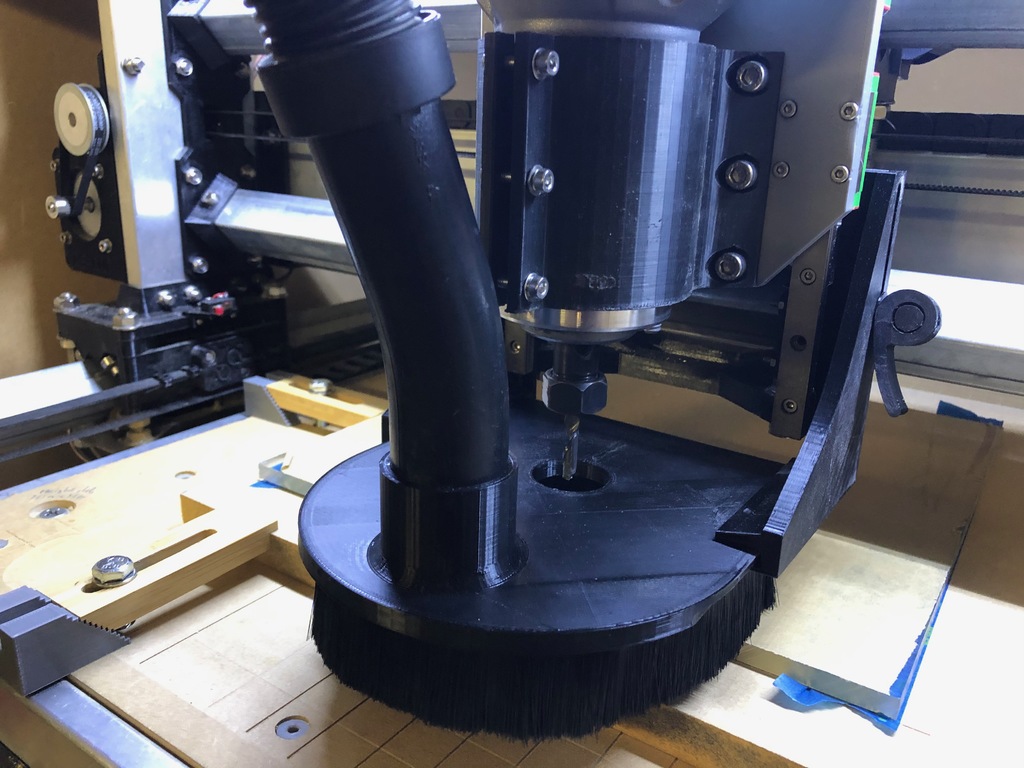
After trying the other shoes avail I had trouble containing chips when using longer tools and deeper plunge cuts so designed this, it works great for me hopefully it does for you Only cons I have found are : The X axis travel is slightly reduced. The shoe plate should be removed when setting up wcs The shoe plate should be removed if using a tool length probe The x axis limit switch needs to be moved or an extension for the top carriage designed, I chose to design a bracket so I could move the switch, it can be seen in the pic on the left hand y axis carriage. I use magnets to hold the plate in place and have added springs to lift up the sliders so I don't risk breaking if they drop down when not clamped and moving about. 1st design used a 3d printed plate, but then milled out a piece of plexiglass to use so I can see what is happening whilst milling Parts required 4 x 10mm x 2mm rare earth magnets 2 x 30mm x M4 Hex Socket Bolts 2 x M4 Nylock nuts 8 x 15 x M3 Hex Socket Bolts 8 x M3 Nuts 2 springs to help hold shoe up (not required but nice to have) Brush strip I used one off a door brush
With this file you will be able to print Dust shoe with your 3D printer. Click on the button and save the file on your computer to work, edit or customize your design. You can also find more 3D designs for printers on Dust shoe.