Dustshoe CNC 3018 Pro
thingiverse
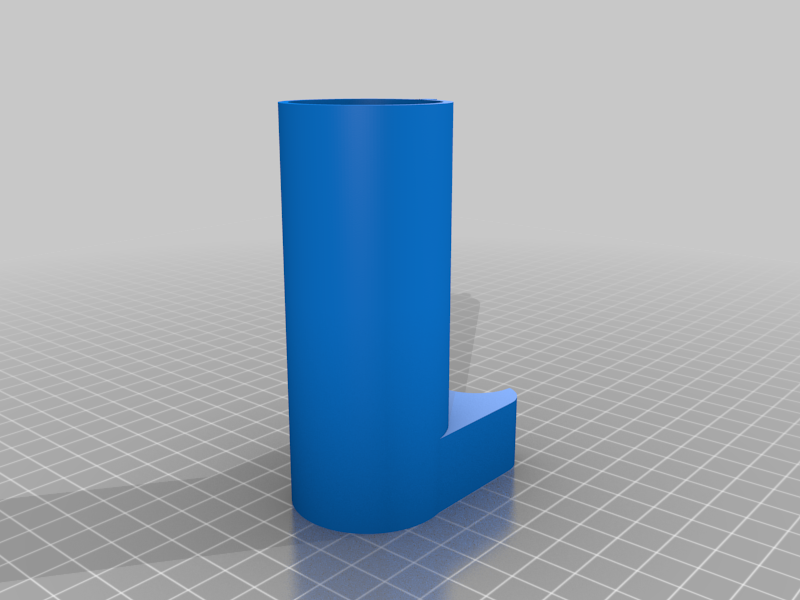
Since a CNC router makes a load of dust i decided, like many before me, to design a dustshoe for my CNC 3018 Pro. This 3018 is not in all cases the same and sizes can differ. Therefor the stl's can be adjusted by the user if needed. And by the way i can confirm it works. I was not very precise and i will still have some testing to do. I was not looking for a totally symetrical piece so there are still a load of things to improve. The base model called basis for instance might need some measurement tweaking to make it an exact fit but as it is a tight fit right now i will do with it. The dustshoe has a total of 5 parts that easily can be printed in three parts or maybe even less. It contains: A base part called Dustshoe basis (with the version on the end) Then a part to attach to your vacuum cleaner called Dustshoe nozzlepart (with the version on the end) Last are three cilinder parts in different heights called Dustshoe xx cm collet (with the version on the end) It is designed for a vacuum cleaner hose with a diameter of 40mm and the hose fits into the nozzlepart from the top. The basepart is slided onto the spindlegantry. This part is the very tight one but that has to be because if it would slide it can ruin your project. If it is to loose i would consider on both sides of the spindleholder a small piece of doublesided tape to keep the base in place. There is a gap made into the cilindrical hole in the base to slide the notch on the nozzlepart in. You see the base on the first picture. The nozzlepart is slided into the base from the bottom up. You have to move the z-axis all the way up in order to do so or move the y-axis all the way to the front that will work also. There is a notch on the nozzlepart so there is only one way to slide the part into the base from the bottom. The reason for this is that the nozzlepart cannot turn in the base due to the notch. You can see the nozzlepart on the second picture. Next thing is placing the desired cilinder over the nozzlepart to keep it in place. I did put a strip of painterstape on the inside of the collets simply to make the fit a bit tighter and to ensure the collet would not slide on its own. Last thing to do is to push the hose of your vacuumcleaner in the top of the dustshoe. (the collets can be seen on pictures 5 and 6) A few sidenotes: The notch and gap on the basepart and nozzlepart gives you, together with the collets, the possibility to adjust the height of the dustshoe. Depending on the depth of the cut or the lenght of the bit it can be adjusted. Thats why there are three collets. Second the vacuumhose can be sturdy like mine is and the angle on which it comes in can make a difference on the tension. I noticed that when i put my cleaner higher on a chair for instance, the tension on the dustshoe gets less so you will have to look how that works for you. Third it would be wise to work with a controller that can be paused like UGS. This gives you the possibility to pause when you might need to adjust the height of the dustshoe. Fourth, just have fun using it and remember it is not perfect.
With this file you will be able to print Dustshoe CNC 3018 Pro with your 3D printer. Click on the button and save the file on your computer to work, edit or customize your design. You can also find more 3D designs for printers on Dustshoe CNC 3018 Pro.