Dutch Windmill Wall Decor
thingiverse
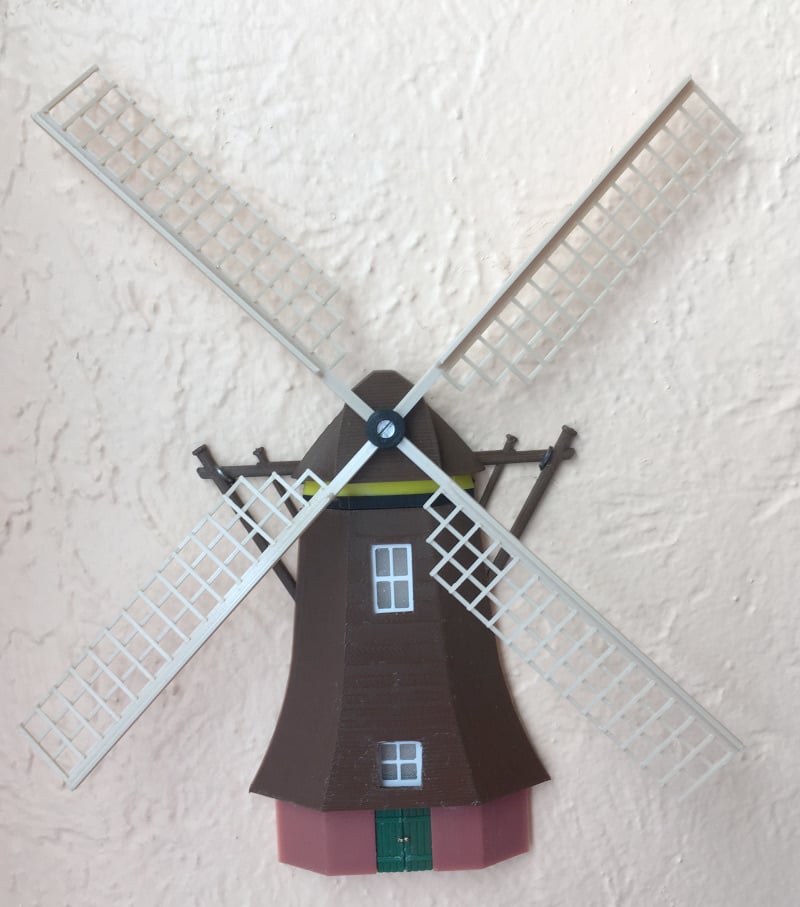
I wanted something to remind me of my trips to the Netherlands. Something I neglected to get when I was there a few years ago before the plague. Pretty simple to put together but the sails are best printed at a high resolution (mine are printed at .1 resolution) with no supports. The Main_Body and Cap are best printed with supports. I printed everything else without supports with no problems. The Sails should fit snugly into the four slots, but a tiny dab of super glue might be needed to keep them in place. Look at the images for the correct placement. I inserted an MR52ZZ bearing in the Cap and used a 2mm screw through the Hub. Secure with nut (I used a piece of 3 mm silicon tube slipped over the screw from the back of the Cap as I was all out of 2mm nuts). Spins nicely with just a puff of breath. The Main Body, Main_Mid, Main_Top and Cap parts are aligned with short pieces of 3mm rod and held together by super glue or some such adhesive. The Main_Top should be placed with the slightly wider end facing down. Glue in the Ground Floor before gluing the Braces which should be done after the Main Body assembly has properly set. I printed the windows using natural filament for the glass part and switched to white for the mullion and frames. About layer 12 depending on your slicer settings. The Windows should press fit into the back of the Main Body. Door fits snug, but still needed a dab of super glue. The Wall offsets should just press in the holes on the back of the Main Body without gluing.
With this file you will be able to print Dutch Windmill Wall Decor with your 3D printer. Click on the button and save the file on your computer to work, edit or customize your design. You can also find more 3D designs for printers on Dutch Windmill Wall Decor.