e-ink digital photo frame
thingiverse
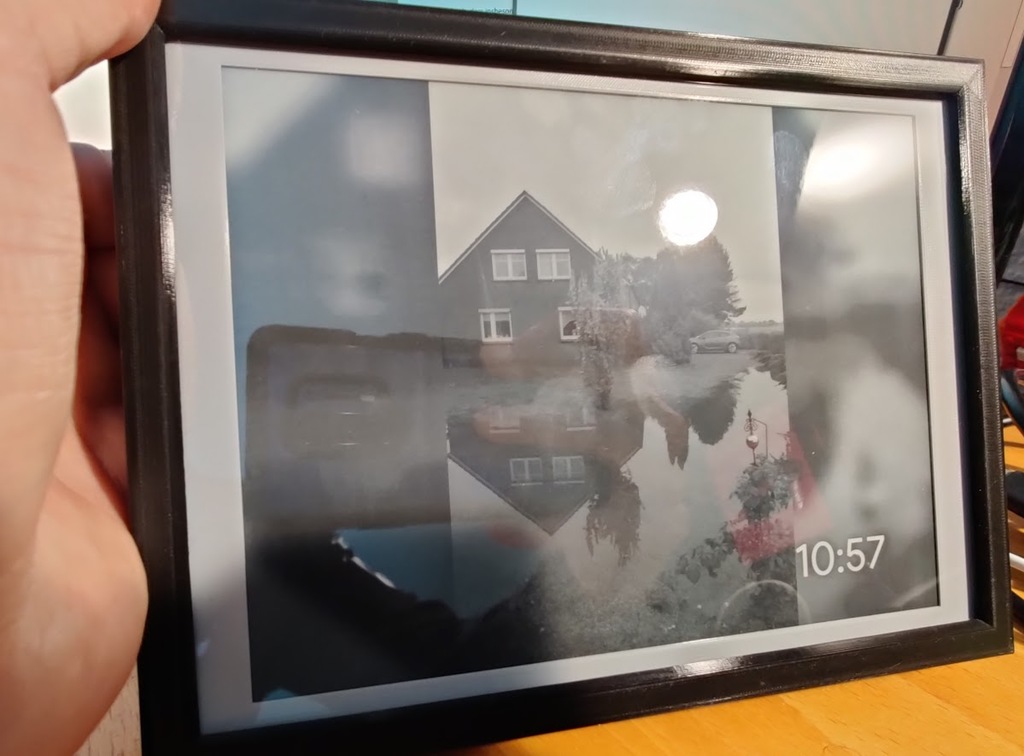
This thing is uploaded due to a user request. So I do not have measured the screws or the dc jack because i dont wanna put that thing apart again. This thingie has no stand or buttons. Maybe i'll add a stand or buttons to the hex vent holes on the back. If your're using a smaller raspberry pi then pi 3 or 4, you can remove the holes on the back plate. otherwise raspberry pi 3 and 4 got very hot. All screws and nuts are M3. What you'll need: - 130x180mm sheet of glass (has to be really accurate in size, not bigger, but can be slightly smaller (about half mm)) - Raspberry Pi B+, Pi 2 B and up or Raspberry pi zero (w) with headers - 7.8 in Waveshare eInk-panel with raspberry pi hat - a sort of dc-jack, i had one in my electronics trashcan, maybe you have to change your version of that outer frame and backplate. - (optional) a 3 amps step down converter pcb (5 Volts), i've added two mounting holes on that component frame for that. Otherwise use a 5 V power supply, but if voltage drops over the line, can cause serious problems with that hat. - 6 screws for the backplate - 6 nuts for frame - 4 screws and nuts for the controller hat - 4 screws and nuts for raspberry, if using zero, only two screws and nuts, or nothing if put directly on that hat (only zero (w)) - 2 or one screw and nuts for voltage regulator (depends on your design) - 2 screws and nuts for the connector pfc connector pcb - for each (except for frame and connector pcb) screw a washer/spacer with 4.5mm height - (optional but recommend) plastic washer between every screw and pcb (except frame) Steps to build, i highly recommend read this complete before build. 1. Print your parts in your color and material. I recommend 0.25mm nozzle width (or smaller) and 0.1mm layer height. take care of the inserts for the nuts in the frame. plan the support for easy remove, you may have to tweak. I didn't plan to publish this thingie. 1. cleanup parts 1. insert nuts into the component frame for your needed parts. If printed correctly nuts should go in well but tight, so no glue needed. 1. shorten the screws if necessary, the screws MUST NOT touch the eInk-panel! 1. if using regular sized raspberry, you have to drill the mounting holes bigger to 3mm. 1. mount the PCBs: - insert ffc/fpc cable to hat - controller Hat, the exposed pin header goes into that slot on the right side. - ffc/fpc connector pcb, without a washer, directly on component frame - connect the other end to the input connector on the fpc-connector PCB - mount raspberry pi, or put pi zero directly on that hat, make sure to fold your ffc cable underneath your raspberry, that looks ok to you, but be very careful! - mount your voltage regulator (if using one) and connect wires. - if using "big" raspberry, connect the SPI cable shipped with the HAT to the raspberry and the hat controller. You'll have do drill the holes to 3mm otherwise M3 screws won't fit (raspi uses very unusual screw sizes) 1. insert sheet of glass, align to small side, otherwise there will be a gap, 1. insert the separator sheet, which separates display from glass, there is a bump on one side, this goes into the gap and prevents the glass sheet from moving around. 1. now, CAREFUL! insert panel, carefully bend the fpc around, so that connector is on back side (see photos), i do NOT recommend to stick that fpc cabling on the back side of that panel. 1. align that panel in the mid of the frame if possible. 1. insert carefully that component-frame into that outer frame, DO NOT push it onto that panel, the fpc cable goes through the bigger squared hole left, stop right before the mid frame touches the panel. maybe go only a TINY bit further 1. align that panel so that this snaps to that components frame indent, use your small finger throgh the hexagonal holes. 1. if that panel is correctly aligned push VERY CAREFUL down that component frame. 1. The panel now should be movable, but only a tiny little bit. 1. insert the nuts of the outer frame into the inner holes. 1. connect your dc-jack to that voltage regulator PCB if you've one. 1. align and place the backplate into that frame. 1. screw the 6 outer screws to the frame on the back. 1. assembly is done.
With this file you will be able to print e-ink digital photo frame with your 3D printer. Click on the button and save the file on your computer to work, edit or customize your design. You can also find more 3D designs for printers on e-ink digital photo frame.