E-Step Calibration Jig (3mm filament)
thingiverse
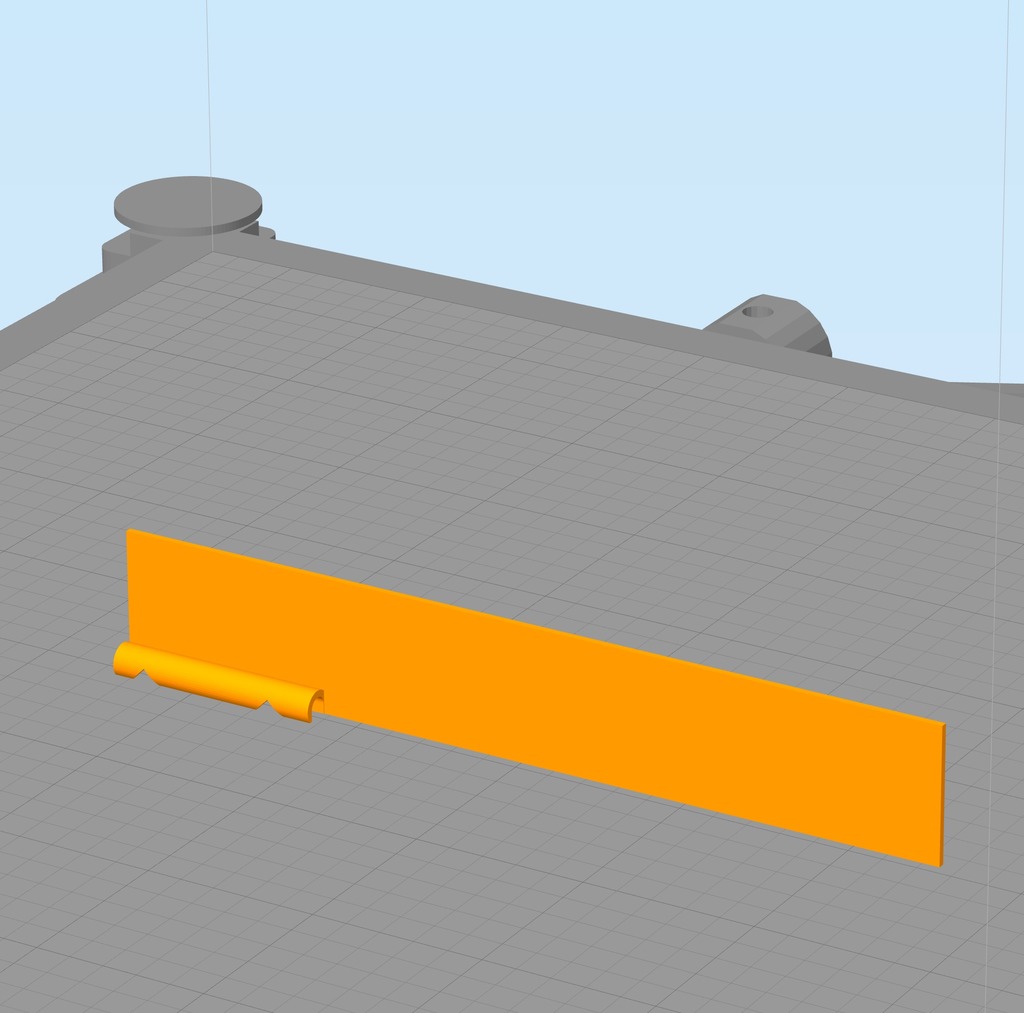
Trying to hold calipers or a ruler next to my filament while marking it for E-Step Calibration can be really tough, especially if your printer is stuck inside an enclosure. This handy jig has two notches that make the job much easier. The lower notch is exactly at 100mm and the upper notch is precisely at 120mm. Simply snap the filament channel onto the filament and gently lower the jig until it touches the top of the extruder. Then, use a fine point marker to mark inside the V slots as shown in the photo. This jig requires your printer to be fairly well tuned. You can use calipers to inspect the printed part for accuracy and make any necessary adjustments. I've found this tool to be incredibly useful. E-Step calibration guides are widely available, but I follow this one: http://reprap.org/wiki/Triffid_Hunter%27s_Calibration_Guide#Measure This jig is designed to print with the filament channel facing downward and a wide brim. It was also optimized for printing with a 0.5mm nozzle, but it should work just fine with smaller nozzles. The brim secures it to the build platform, so make sure to remove it after printing. Check out the photos for usage. Update: On May 24th, I added a 1.75mm filament version to the downloads.
With this file you will be able to print E-Step Calibration Jig (3mm filament) with your 3D printer. Click on the button and save the file on your computer to work, edit or customize your design. You can also find more 3D designs for printers on E-Step Calibration Jig (3mm filament).