E3D 6v For Da Vinci 2
thingiverse
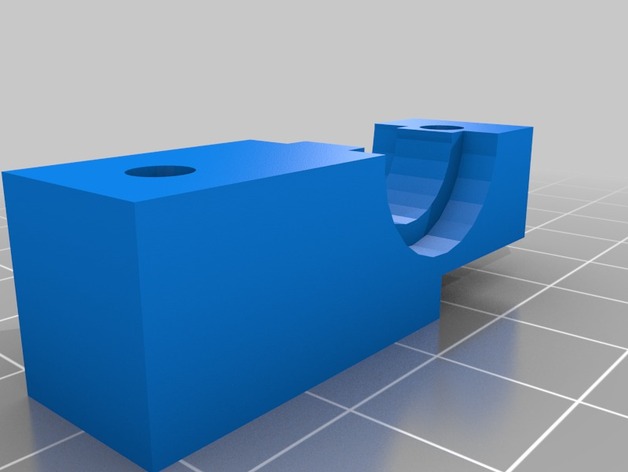
This is a remix of http://www.thingiverse.com/thing:608560 for the Da Vinci 1. My instructions still apply but I suggest you use this thing to download from. http://www.thingiverse.com/thing:1344230 I changed the drill template because the holes are in different locations for the Duo. I made the "Head A" a little taller so the filament is aligned with the drive gear. This makes it easier to load the filament. I added some pockets for the Screws on "Head B" so the 30 mm screws will work. Read the Instructions for more details. Instructions For more information please read my full instructions here http://voltivo.com/forum/davinci-hwmods/353-replace-the-extruder-hot-end#2749 In order to do this same mod you will need the following. Dremel (or a drill and something else to cut hard plastic away with) 4x screws Diameter M3 (3mm) Pitch .50 (that's how far apart the threads are.) and 30mm long. a few zip ties 2x E3D v6 Extruders. (Lite version works as well) 2x 3mm washers Print two sets of the clamps. One set for each extruder. The drill template is used to line up where to drill your holes. You will need to line up the template on one side then the other so you are drilling holes for the first extruder then the second. I did not drill out the large hols around the stepper motor shaft. Instead I lightly scored that large circle with my dremel as you can see in the pictures. Use the washers between the plastic clamps and the Metal arms. IF YOU DO NOT DO THIS THEN the filament may appear to jam. The drive gear will spin and the filament will not move. This is because the plastic clamps can put pressure on the idler arm and cause it to not pinch the filament as tight. Rather than cut and splice wires for the heaters I just reused my old heaters from the original Da Vinci hot ends. They work just fine. I will keep the new ones around as spare parts. You cannot do the same thing with the original thermal couple though. The stock one is too large to fit into the E3D Hot end block. However, the 2pin wire connectors that come with the E3D hot ends for the thermal couples can be used on the circuit board that comes with the Da Vinci 2. All you have to do is slide the white plastic connector off the pins to make room for the new black connector. As shown in the pictures. I used zip ties to attach the circuit board to the top where it will be out of the way. I have this mod working. The hard part was making the two Hot Ends level. I was able to leave the screws loose then move the hot ends into place until they were level. Then I tightened the Screws. I also ordered two 30mm 5v fans to replace the 12v ones that came with the E3Ds. In the meantime I will have to wire the fans up to some other 12 volt power source. I also cut out some additional vents on the sides where the fans are so they can breath a little easier. I want the fans to pull the hot air out to the sides rather than push all the hot air into the middle. I also suggest this Mod to help cool the plastic as it prints. http://www.thingiverse.com/thing:553792
With this file you will be able to print E3D 6v For Da Vinci 2 with your 3D printer. Click on the button and save the file on your computer to work, edit or customize your design. You can also find more 3D designs for printers on E3D 6v For Da Vinci 2.