E3D heat sink clamp
thingiverse
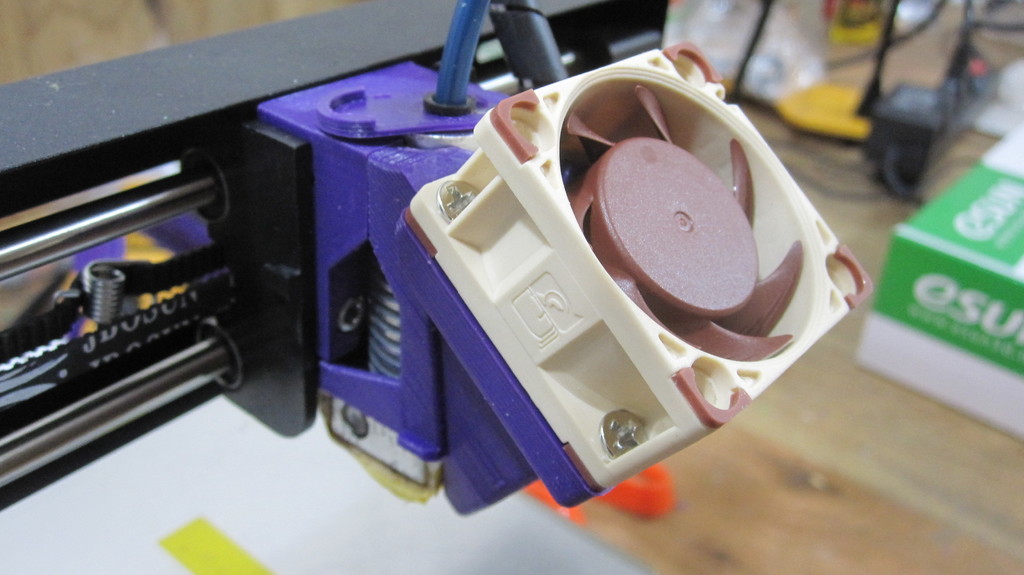
I decided it was time to make the break and switch my Monoprice Select Mini to a E3D v6 hot end. I went with the design from toys in the attic which has a very stable clamping setup. The E3D v6 heat sink is held tightly in place both at the top and bottom thus preventing unintended movement at the nozzle. I also went with a 40mm Noctua fan and wanted air flow at the nozzle to prevent stringing. I couldn't find anything that would suit my needs. I took that heat sink clamp and combined it with a fan mount/nozzle duct from SeanFessenden. It was designed so that the heat sink fits very tightly. Also be aware that Noctua fans do not always play well with the printer's PWM power supply. You can place a capacitor in parallel with the fan wires to smooth out the power supply. I used a 22uf capacitor just because I happened to have some. I have read of other people using 100uf or 300uf with success. I have two files. One has larger holes to fit the screws supplied by Noctua. The other one is for the smaller screws seen on a lot of fans. Starting the screws in the holes before actually attaching the fan helps a lot. The nozzle duct comes really close to the heater block and I was worried about heat warpage. I print in PLA. I used heater block insulation around the block and put an extra piece between the heater block and the nozzle duct. I did this because I also happened to have some already. I also included the zero ofset bracket designed by toys in the attic. There are no changes to that part. One last note. There is only one tie down ring for the various wires in the hot end. It originally had two but the other one bumped into the tower due to the increased width of the 40mm fan.
With this file you will be able to print E3D heat sink clamp with your 3D printer. Click on the button and save the file on your computer to work, edit or customize your design. You can also find more 3D designs for printers on E3D heat sink clamp.