E3D Hemera Ender 3 mount/adapter
thingiverse
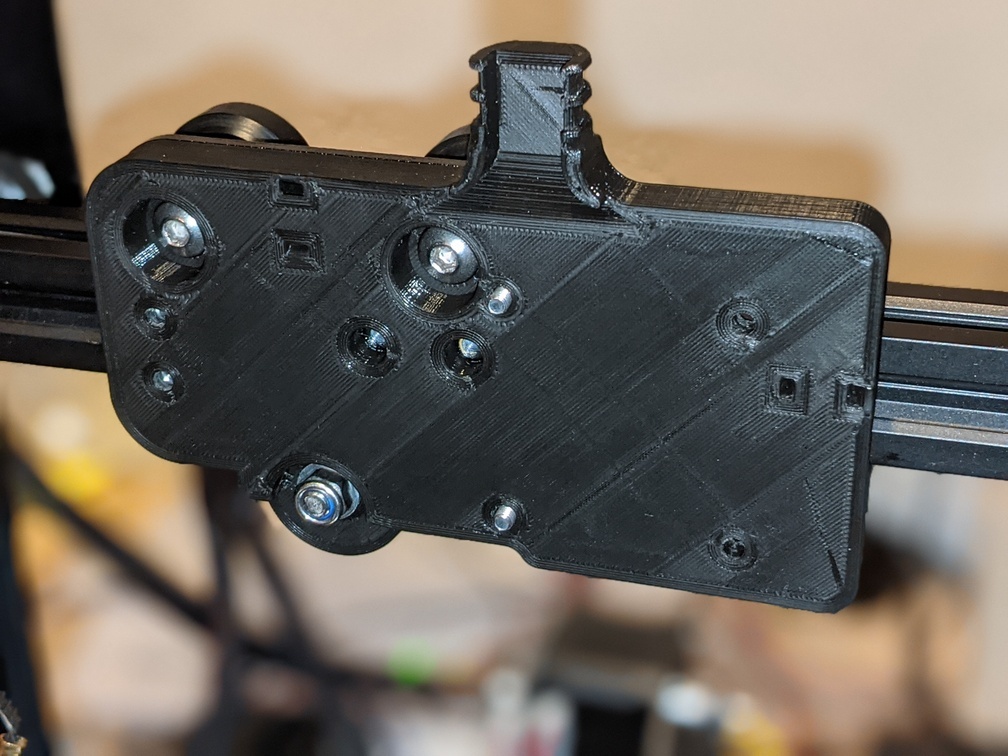
First of all, this is based on https://www.myminifactory.com/object/3d-print-ender-3-e3d-hemera-mount-105802 but is a complete rework with lots of modifications. Things you will need: 4 x original Hemera mounting screws If you're using the BLTouch: 2 x M3x10 bolt 2 x M3 nut 2 x M3x8+ bolt (to hold the BLTouch itself, can be longer than 8mm) 4 x 2.5mm zip tie 3mm drill to open the holes (spares to use supports except for one hole). If you want to use the fourth hole, you will need to modify the original roll carriage of the Ender as is shown in the pictures. You can use a 5...6mm drill to do this. Then take a black marker and paint it :-) Assembly: Put in the left two Hemera screws and mount the printed part onto the roll carriage using the original screws. Leave the lower adjustable screw very loose, mount onto the X rail of the Ender 3. Then mount the Hemera - you will need ball end allen keys, see picture - and route all cables. Mount BLTouch holder and BLTouch. As you can see I use a part cooling duct with it which you can find here: https://www.thingiverse.com/thing:4042492 The EZABL holders are completely untested as I don't own one - leave me a comment if they work or if they have issues. Make sure to print in 0.2mm layer height! I recommend PLA as it's very rigid and won't flex. As usual I also provide the FreeCAD file. Be aware that this was created using the Link branch of FreeCAD, which is developed by RealThunder. This can be found here: https://github.com/realthunder/FreeCAD_assembly3/releases - I used 20210205.
With this file you will be able to print E3D Hemera Ender 3 mount/adapter with your 3D printer. Click on the button and save the file on your computer to work, edit or customize your design. You can also find more 3D designs for printers on E3D Hemera Ender 3 mount/adapter.