E3D Mount for Pittsburgh (Harbor Freight) Digital Indicator
thingiverse
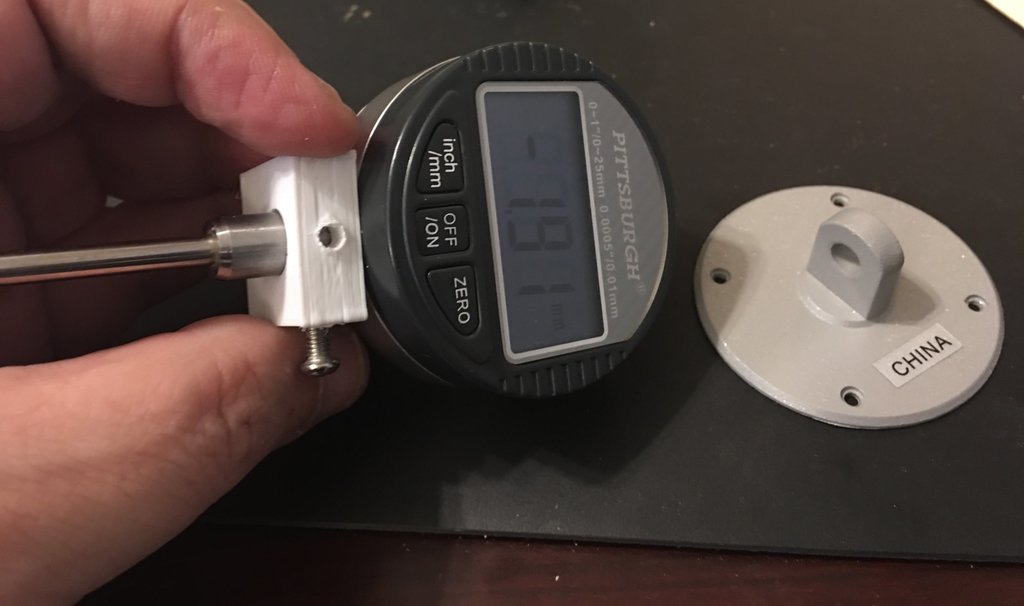
I had two issues with the original. First, the hole for the indicator was too small, so I changed it. Also, I didn't want to heat up an M4 bolt when I have a set of metric taps. So I made the set screw holes much smaller and then did a drill and tap for the holes. By the way, Harbor Freight has the Drill Master bits that are a drill bit up front, a tap in the middle and deburr face at the end. These work pretty well on 3D printed items. Just make a pilot hole smaller than you want and drill it out with the tap. Of course, it is still plastic, so it isn't going to make as good of a connection as a properly threaded piece of metal, but for this purpose it was fine. In addition, the Pittsburgh has a giant hook in the back that gets in the way of everything. So I took off the back, measured the back, and made a new one. Lost a screw. Found a screw. I didn't bother countersinking the holes or beveling the edge because with this mount it doesn't matter. In practice, get one part of your bed level how you like it. Snap this on so that the probe is lower than your nozzle and zero it. Now move to the other corners and make them read zero also. Poof! Bed is level (well, trammed, but everyone says level). Since I have E3Ds on two of my 3 printers (and soon to be on all), this is pretty portable. By the way, this is two separate pieces, so if you just want the back you don't have to take the mount.
With this file you will be able to print E3D Mount for Pittsburgh (Harbor Freight) Digital Indicator with your 3D printer. Click on the button and save the file on your computer to work, edit or customize your design. You can also find more 3D designs for printers on E3D Mount for Pittsburgh (Harbor Freight) Digital Indicator.