E3D-V6 Heat Shield Silicone Mold
thingiverse
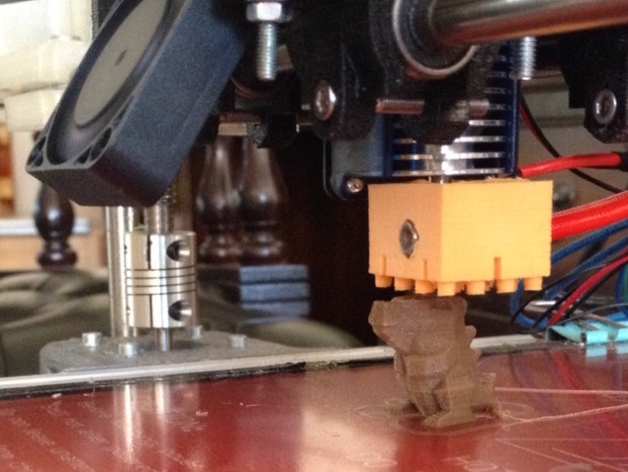
A silicone mold for making a heat shield for the E3D-V6 nozzle. Update 25/9-15: I have now printed quite a few hours with the silicone shield. It is holding up nicely, and prints very well. I run with full speed on the fan after layer one. No jams. Instructions Making the shield: 1) Print the inside and outside. 2) Remove the supports 3) Add clear tape on the underside of the mold, to keep the silicone in. 4) Add some silicone to the mold, ensuring it has filled all the holes. 5) Insert the inside part, and fill up with silicone. 6) Add some weight on top, to prevent the buoyancy of the inside to float up, as the silicone cures. 7) Insert a screw to have something to pull on, and gently pull out the old. 8) Remove the inside from the silicone and trim. Mount it on the hot end: 1) Leave the temperature sensor in, there is room in the silicone for the wires. 2) Loosen the bolt for the heater, and pull it out. 3) Put on the silicone shield. 4) Reinsert the heater, and tighten. The purpose of the pegs at the bottom, is to slow down the airspeed around the nozzle. If you put up a wall in front of it, you might create turbulence behind it, which can cool down very efficiently. Thats the theory anyway,... and why bushes and tree are better for shelter than a wall or building. I use CopyFlex which is rated for 240 C, but I only print PLA. You can probably get something with a higher rating if you need it. I have only printed the one thing in the pictures, so I do not know the long term effects,... but I will keep you posted.
With this file you will be able to print E3D-V6 Heat Shield Silicone Mold with your 3D printer. Click on the button and save the file on your computer to work, edit or customize your design. You can also find more 3D designs for printers on E3D-V6 Heat Shield Silicone Mold.