E3v2 Adjustable Feet
thingiverse
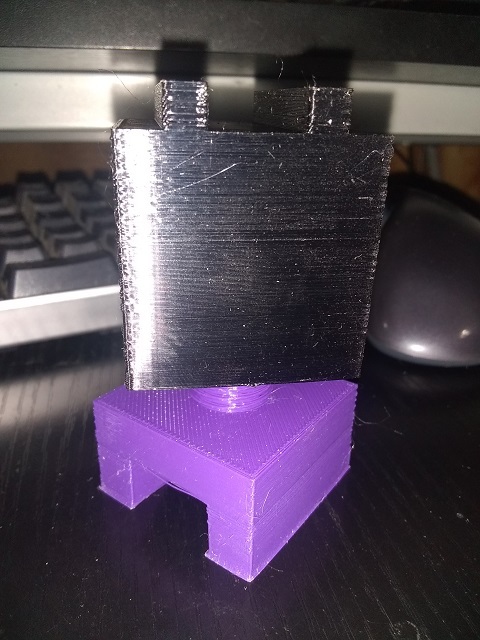
2021/02/15 UPDATE Edited and uploaded Back Left and Right Base Singles and All 4 in a file. Screw tolerance for both sides was increased from 8mm to 10mm, Got a chance to install these, there were about 2mm to short, legs were not flush with the rail. This should fix that. 2021/02/11 UPDATE Am including 2 extra files. 1 File includes ALL 4 Bases. Front Left, Front Right, Back Left, Back Right all in 1 file if you'd rather print all 4 at the same time. 1 File includes ALL 4 Screw Legs, Front Left, Front Right, Back Left, Back Right, All in 1 file if you'd rather print all 4 at the same time. 2021/02/11 UPDATE Included The Back left leg, It appears because of the PSU that BOTH back left and right legs needed to be modified as well. Back left and right leg round the middle to the outside of the short groove leg a 1.5mm groove was added to compensate for the PSU Plate so it'd be flush with the rail because of the rise of the plate. 2021/02/10 UPDATE Included The Back Right leg, Need to do more measurements, this hasn't been printed yet, BUT, should give enough room t compensate for the Screw. Right groove leg is intact, Left groove leg was reduced to 20mm, Will fit in the Rail groove, Then front left added a 15mmx15mmx5mm Cutout for the PSU Screw, Should fit over the screw with some extra room. --------------------------------------------------------------------------------------------------------------------- I decided that I needed some adjustable Feet for my E3v2 because with the redesign of the Ender 3 v2 moving the PSU to the back left bottom of the bed along the rail. This generates more heat because there is roughly around 13mm of room under the machine for air circulation. Having limited space below the machine can cause the mainboard and the PSU to over heat which can lead to issues later on down the like like weak solder on the joints and cause it to crack later so GOOD Airflow is needed to keep things cool. And, because the table (Computer Desk) my printer is sitting on, where the boards are linked together, it's kind of lopsided and I have to shim the left side to keep it flat on the table. Well, with this MOD and accessory to the printer, it enables me to raise it about 50mm off the bed just in general, it'll also raise it another 30mm + unscrewing the adjustable foot. There has been a Groove added to the foot to insert the foot that's on the bottom of the machine, inserted into the groove will help keep it from skidding across the table as it prints and keep it from vibrating as well. This was designed for the Ender 3 v2 with a 40mm x 40mm bottom rail, So if your Lower Rails are this Dimension these should work fine for you.
With this file you will be able to print E3v2 Adjustable Feet with your 3D printer. Click on the button and save the file on your computer to work, edit or customize your design. You can also find more 3D designs for printers on E3v2 Adjustable Feet.