Eachine TX02 Camera mount Parrot mambo FPV
thingiverse
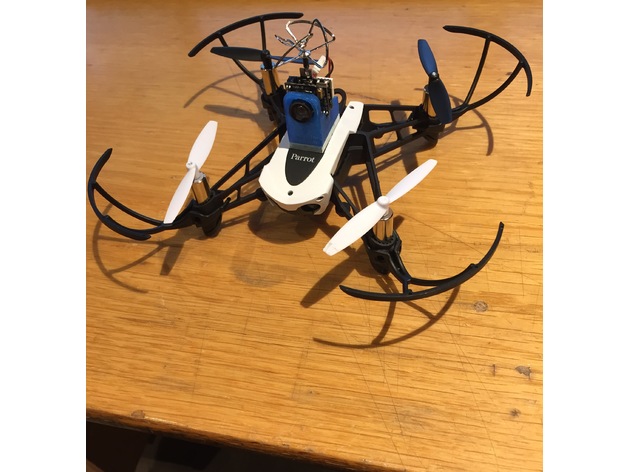
The bottom didnt fit perfect to the mambo, so i glued i white lego pice to the bottom and drilled 2 holes for the wires :) It works great :) Here are the steps I followed to add a FPV cam/vtx to the Parrot Mambo: order the Eachine TX02 5.8G 40CH (~25€, weight is only 5g). Exists in 25/200/600mw get 2 small bullet connectors from one of LEGO (yes you have to destroy one, I was not able to find them on the market) solder the bullet connector to the red and black camera wires get small LEGO bricks and use double-sided tape to place the camera on front plug this on the front LEGO row, and then plug the bullet connectors into the last row (when looking to the drone from the rear, red wire on the left hole, and black on right) configure the FPV channel on the video transmitter and on your receiver (goggles or screen) https://tvi.al/parrot-mambo-fpv/
With this file you will be able to print Eachine TX02 Camera mount Parrot mambo FPV with your 3D printer. Click on the button and save the file on your computer to work, edit or customize your design. You can also find more 3D designs for printers on Eachine TX02 Camera mount Parrot mambo FPV.