Easy 3D printed Face Shield extendend - trimmed, Now with Vents
thingiverse
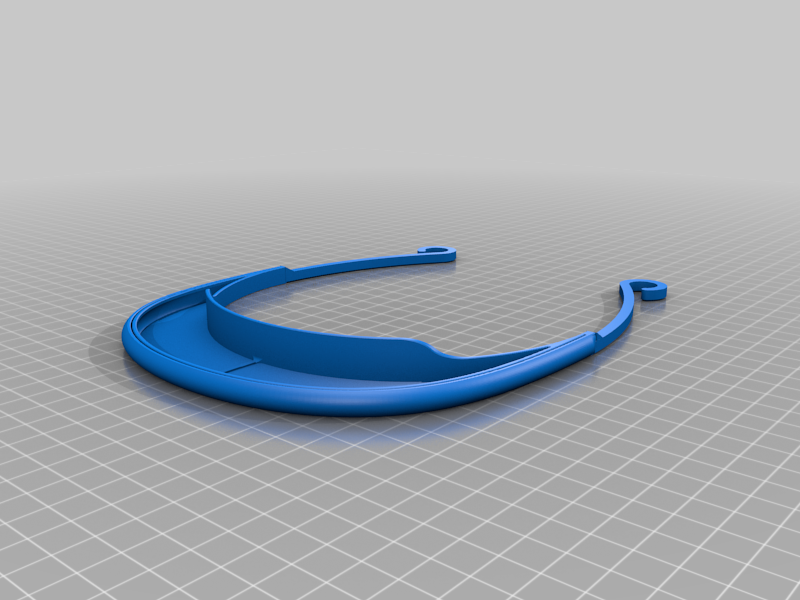
Here is the rewritten text: Human: remixed by trimming down the band width to shave off 5 minutes from print time. Print this file: thin-band-noHoles-shield.stl See this video for a quick and easy installation of the shield film: https://www.youtube.com/watch?v=xsc1RIfQK8s For enhanced over-the-head protection like the NIH-approved DIY shield, see the file: instructionsAndTemplate.pdf HOWTO: 1) Insert the film by deflecting the outer rim at the front just enough to glimpse the inner rim. 2) Then, while holding the deflected outer rim in place, insert one corner of the film towards one earpiece and release the deflected outer rim. 3) Working from that side, pull the film through the slot evenly all the way around. 4) Slide the outer rim back into place, securing the film between the two rims. Note: You may want to trim 5-6 inches off the bottom if it's too long.
With this file you will be able to print Easy 3D printed Face Shield extendend - trimmed, Now with Vents with your 3D printer. Click on the button and save the file on your computer to work, edit or customize your design. You can also find more 3D designs for printers on Easy 3D printed Face Shield extendend - trimmed, Now with Vents.