Easy 4-Point M2 Bed Level
thingiverse
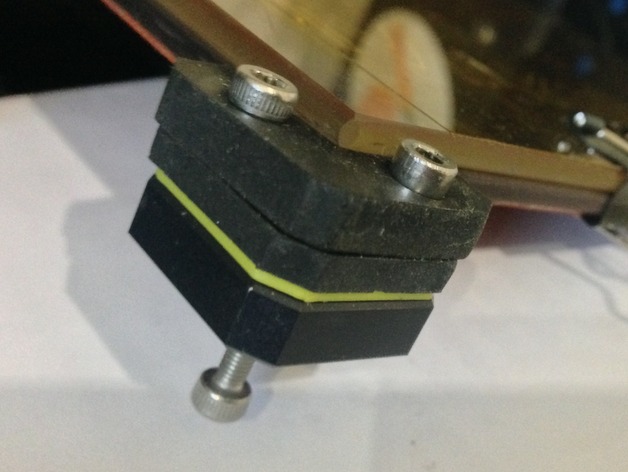
This is simple 'no-tools' modification to provide 4 point bed levelling on MakerGear M2 RevD. Just print and install. Print Settings Printer Brand: MakerGear Printer: M2 Rafts: No Supports: No Resolution: 0.2mm Infill: 20% Notes: You will need four M3x20mm screws. Post-Printing Installation Remove rubber corner and mat. Install printed bed-level (it's easier to install the new M3 screw first). Replace rubber corner and mat. Check the screws don't hit any components when the bed moves. After Installation Bed Adjustment Tighten the existing three bed level screws. Loosen the corner screws holding down the rubber corner/mat. Adjust the bed level at each corner by turning the new screws. Tighten the corner screws holding down the rubber mat. Check bed level - repeat if necessary Don't forget to check the Z-Stop calibration. Adjustment Screw
With this file you will be able to print Easy 4-Point M2 Bed Level with your 3D printer. Click on the button and save the file on your computer to work, edit or customize your design. You can also find more 3D designs for printers on Easy 4-Point M2 Bed Level.