Easy Install Thing-O-Matic Universal X & Y Axis Belt Tensioner
thingiverse
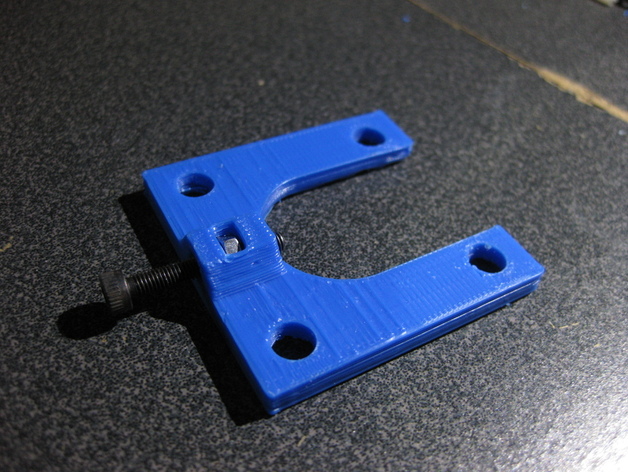
The final version of my X & Y tensioner is now a universal design suitable for both axes. It fits over the four bolts attaching the motor, utilizing existing tension slots. For installation, drill one hole per tensioner; the Y requires a 20mm 3M bolt while the X uses a 16mm one. If the X is too tight, use it on the Y instead. Alternative options include countersunk bolts by Tunell and an addition by M_G that adds plastic under the bolt. Ensure proper bolt and nut tolerances before installing; for the Y, simply slip it over the bolts and screw in, while for the X, partially remove the lower front rail endcap bolt and slide between the rail and motor pulley onto the bolts.
With this file you will be able to print Easy Install Thing-O-Matic Universal X & Y Axis Belt Tensioner with your 3D printer. Click on the button and save the file on your computer to work, edit or customize your design. You can also find more 3D designs for printers on Easy Install Thing-O-Matic Universal X & Y Axis Belt Tensioner.