Easy Spectroscope
thingiverse
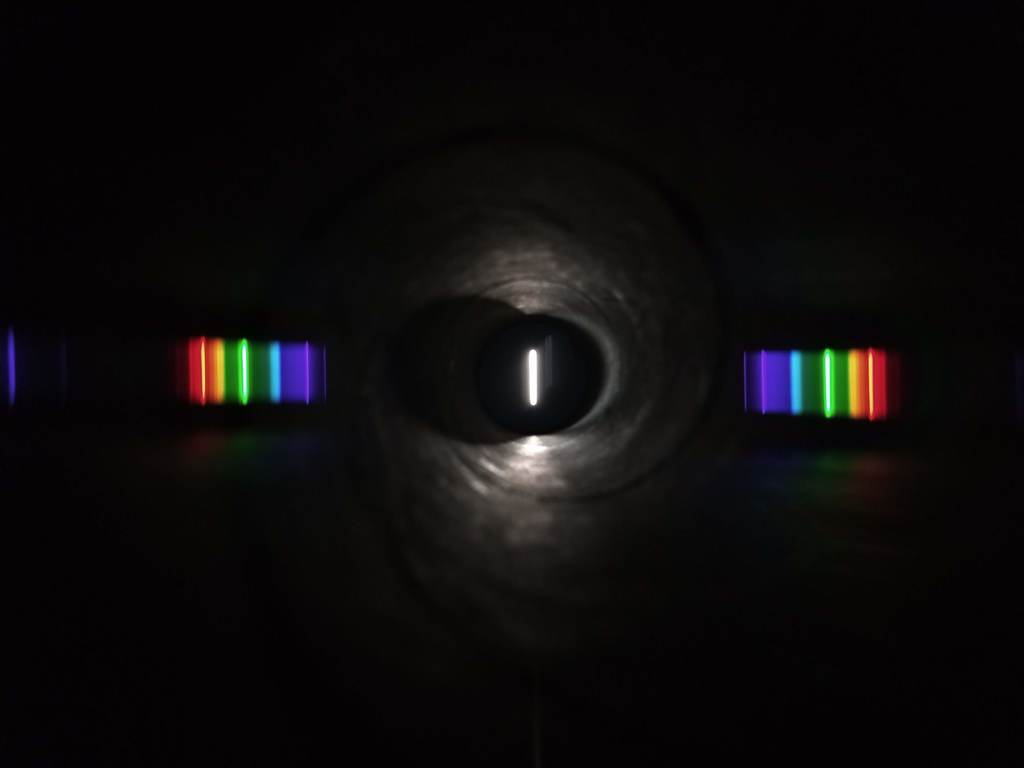
Build a simple DIY spectroscope using an old CD and some everyday items. Begin by taking an empty paper towel roll and attaching two different end caps made from a 3D printer or cardboard. The cap with the larger hole should have the diffraction grating, which is part of the old CD with its metallic top layer removed, glued or taped in place. Place both end caps on the paper towel roll, with one facing outwards to view through. Tips: - Be careful not to look directly at the sun even through the spectroscope. - Choose a CD you no longer want and use sharp scissors to cut it up. - Use duct tape to remove the top metallic layer from the CD by sticking it to the surface and peeling off. - Align the radial direction of the CD with the long dimension of the filter hole for optimal results. - Rotate the end caps so that the two rectangles are perpendicular to each other. - These adjustments will help ensure a clear diffraction pattern, like a rainbow, is visible.
With this file you will be able to print Easy Spectroscope with your 3D printer. Click on the button and save the file on your computer to work, edit or customize your design. You can also find more 3D designs for printers on Easy Spectroscope.