Educational Clock
thingiverse
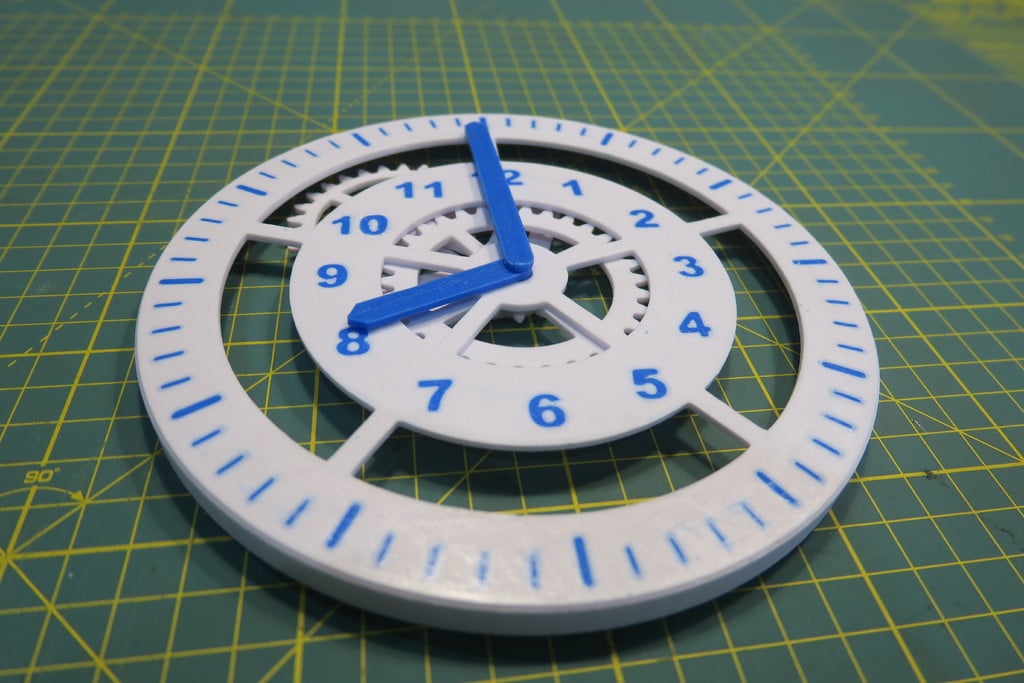
My son have had quite a difficult time learning to read an analog clock properly. The design separates the hour and minute scale, with the hour scale pointed to by the short arm and the minute scale pointed to by the long arm. I am hoping this makes it easier for him to grasp. This designed is made to be an educational aid for him to practice telling time. The gears implement a 1:12 gear ratio, the relationship between the hour and minute hands. I printed this thing using a dual head extruder for vanity sake but this is not required. #### You will need to print three separate sections: * The clock face can either be printed in two colors by importing the **EduClock_face.stl** and **EduClock_face_emboss.stl** models, setting the color for each and then merging. Alternatively simply print the **EduClock_face.stl** in a single colour. * The **EduClock_arms.stl** model contains a priming tower. This is only there to slow the print down enough in order to ensure that the thin 3mm shaft of the minute hand is printed correctly. * The **EduClock_gears.stl**, this contains the 32, 10, 8/30 teeth spur gears and the gear stay. #### Preperation and Assembly A small utility knife can be used to remove any sharp edges or blobs of filament on prints. Make sure that all components fit neatly without needing to force assemble. It might be necessary to use a drill bit or small file to clean holes for proper assembly. Once you have tested that all parts assemble correctly you will need to glue some of the part together in order to make the assembly permanent. I use super glue which works really well with PLA parts. **Be very careful not to spill glue in the wrong place!** Use only the smallest amount of glue required. There are three steps required to glue the clock, please review the attached images with arrows pointing to each of the glue points. 1. Glue the Hour arm to the 32 teeth spur gear, the chamfered edge should point away from the clock face. Do not glue any component to the clock face, only the gear and arm should move in union. 2. Glue the Minute arm to the 10 teeth spur gear. Be very sure not to glue any of the minute components to any of the hour components. 3. During this step make very sure that the gears are aligned properly so that the minute and hours hands can both aligned at 12. Glue the gear stay into place. **Please let me know if you made one or find this useful!**
With this file you will be able to print Educational Clock with your 3D printer. Click on the button and save the file on your computer to work, edit or customize your design. You can also find more 3D designs for printers on Educational Clock.