Egg Separator
thingiverse
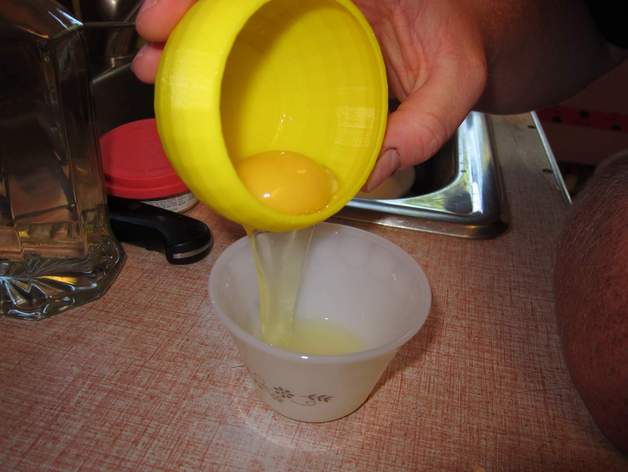
This is based off a mid-60's (we're guessing) egg separator that works very well. However it's now glued together with epoxy :) At first I tried to "clone it" - but decided to make the bowl section more "egg shaped" and seems to seperate the egg better! I wanted to make a replacement and came across Tinkercad (first 3d design ever)! After 7 versions and a lot of plastic as I was trying to calibrate my Replicator at the same time, I came up with this. You may wonder why the walls are so thick... you can easily remove the chalaza without touching the yoke - be very careful when removing this. "Egg Separator" is embossed on the back. Instructions Printed with 30% infill, 1 shell in Print-o-matic (2 shells total), full support no raft. Since support material by default in Skeinforge goes left to right along the x-axis (unless you've changed it), rotate the egg separator 90 degrees counter clockwise/clockwise. NOTE: The plastic/brass nozzles etc.. of 3D printers are not food safe please take this into consideration when printing this. Everyone probably already knows this. Lego is made from ABS and young children chew on them. I personally do not see it being an issue. If anyone is concerned about voids in their prints where water/egg could enter and grow mold, I would avoid printing this. 100% infill or an extra shell might make it safer against voids, however I have not done this and I do not know how it would turn out. 1) Print using the plastic of your choice (PLA is probably a better choice) 2) Carefully remove the support 3) File the mouth/spout area with a small file 4) Wet sand both inside and outside of the mouth/spout area (I used 400 & 600 grit) 5) Crack egg and slowly pour off the white 6) Optionally you use your finger to remove the Chalaza (removed for a more uniform texture in baking) NOTE: If your printing this you probably already know this... But the older the egg the more fragile the yoke is, the yoke should be almost round if it "sags" it's old and can break easily when trying to separate it. If any sharp edges remain after printing smooth them out to avoid any egg damage. Pictures with the egg in the separator are from v5 before I made the walls thicker. Original Tinkercad object:https://tinkercad.com/things/jUdwIispZpa-egg-separator-v7
With this file you will be able to print Egg Separator with your 3D printer. Click on the button and save the file on your computer to work, edit or customize your design. You can also find more 3D designs for printers on Egg Separator.