Elecraft BL2 Enclosure
thingiverse
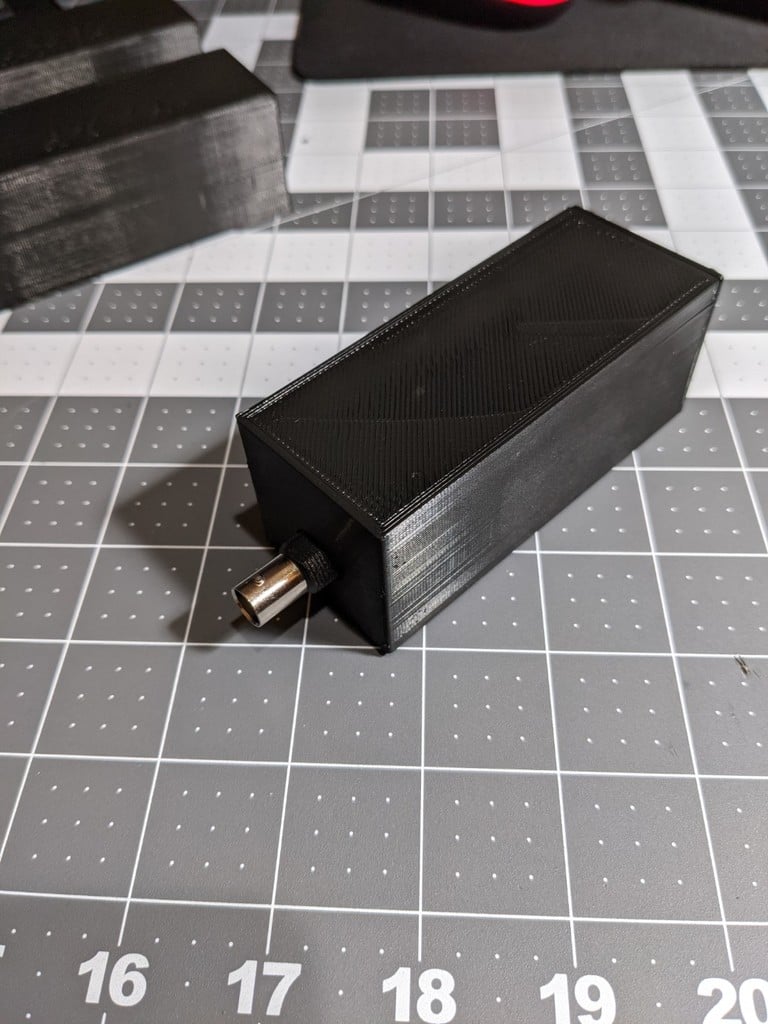
Enclosure for my Elecraft BL2 4:1 / 1:1 Balun I designed this after building my BL2, so it was made to slide a fully completed BL2 into and then screw the rear cap on. As designed, the rubber feet provided with the kit should stick out a couple mm beyond the bottom of the case. I used 2.5mm x 8mm cap head screws, but you should be able to use any 2.5mm cap head screw between 6mm and 12mm. I also had to add 2 4mm washers to each antenna connector screw to space the antenna wire out slightly to clear the case. Your situation may be different, depending on whether you use ring terminals or fork terminals. I left an enlarged semi-circular opening on the rear of the case to access the 1:1 4:1 switch. Initially I printed the test/design prints at .30mm resolution and the final print at .2mm resolution. My .30mm prints are perfectly usable, but fitment is a little less precise. Please disregard the layer adhesion issues in some of the pictures, these are from my printer, not the design. ;) As with all my designs, They were created using OnShape and the models are available to the public if you want to tweak or change anything. https://cad.onshape.com/documents/4df012d691c01a700dd32944/w/16c58d851a4798b2d4da1879/e/0d99ee51be9fdfafbfd408f6
With this file you will be able to print Elecraft BL2 Enclosure with your 3D printer. Click on the button and save the file on your computer to work, edit or customize your design. You can also find more 3D designs for printers on Elecraft BL2 Enclosure.