Elegoo Mars Pro Exhaust
thingiverse
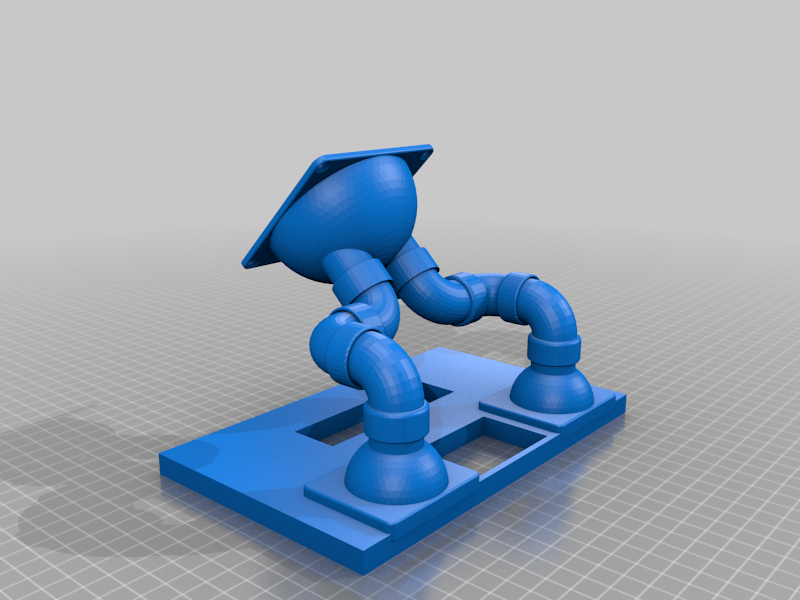
Yet another fume exhaust mod for Elegoo Mars Pro, which I created in June 2021 after an extensive research of different options available here. My goal was to create something that can be easily undone if a need be, something without irreversible damage to the printer. My design uses additional 80mm fan powered from the printer itself to blow the fumes out. **Caution**: you may need to disassemble and reassemble your printer, details below. If you are unsure about it, please do not proceed. You may need to turn your internal 80mm fan that cools the LCD screen upside down to blow the air into the printer from the bottom and blow it out of the exhaust holes at the back of the printer. Afaik, by default both (two) fans blow the air from up to down. I personally replaced a [standard cooler Coolcox CC8015H12S with 35 dBA noise level](http://www.coolcox.com/products/pdf/8015_UV.pdf), with a quiet [Noctua NF-A8 PWM with only 17.7dBA noise level](https://pvb.pp.ru/b.php?item=NoctuaNFA8). If you are installing Noctua fun, please consider printing four (4) of Internal80mmFanWasher unless you have some suitable washers around. Please be careful with disassembling and reassembling your printer. Here is a [blog post](https://www.elegoo.com/blogs/3d-printer-user-guide/elegoo-mars-pro-how-to-replace-the-ventilation-fan) and a [video](https://www.youtube.com/watch?v=RGaDb3vlgZc) on replacing a different fan, but you get an idea of what is inside before you decide to open the printer. At step 8 of the disassembly instructions in the [blog post](https://www.elegoo.com/blogs/3d-printer-user-guide/elegoo-mars-pro-how-to-replace-the-ventilation-fan) you can see both fans inside the printer. Since the fan is blowing from outside to inside the printer, I was worried about the dust getting in, so I replaced the standard grill at the bottom of the printer with [SilverStone SST-FF81B honeycomb grille with integrated filter](https://pvb.pp.ru/b.php?item=SSTFF81B). Parts list: STL file name -- number of parts to print 1. Exhaust -- 2 2. Pipe -- 6 3. 80mmFanIntake -- 1 4. 80mmFanToHose -- 1 **Note**: ExhaustOverview file is not for printing, it is only to give you an idea of the overall design of the exhaust as attached to the back of your printer. I used A2plus workbench in FreeCAD (menu Tools - Addon manager, select A2plus in Workbenches list and click Install) to test the full structure before printing (use Assembly_Exhaust.FCStd together, in the same directory, with Exhaust.FCStd, Pipe.FCStd and 80mmFanIntake.FCStd). It helped a lot with the overall design, but did not prevent me from failed prints owing to incorrect sizes or too tight joints. The current parts should be ok now, at least they worked for me. Part 1 should sit on exhaust holes at the back of your printer (tested with Elegoo Mars Pro model, not sure about a grill design in other models). You put a [carbon sponge filter](https://pvb.pp.ru/b.php?item=CSFilter) inside, cut it to the size beforehand. Part 1 design was inspired by https://www.thingiverse.com/thing:3845007 Part 2 design allows you to point part 3 and the exhaust hose horizontally, vertically and at some angle to your table with the printer. Due to limited space on my table, I use it vertically pointing up and away in the window. You put 80mm fan between parts 3 and 4 above. I used [Noctua NF-A8 PWM fan](https://pvb.pp.ru/b.php?item=NoctuaNFA8), but any other 80mm fan you prefer would do. I powered it from inside the printer, from the same power leading to internal 80mm fan. I drilled a small hole to the side in one of Part 1 to get a wire inside, I used [3Pin Plug wires](https://pvb.pp.ru/b.php?item=3PinPlug) to ensure the fan has good power connection. Once parts 1 - 4 are printed, only 80mm fan needs to be mounted with screws to Parts 3 and 4. All the remaining parts should be plug&play. If you want, you can use a glue to stick the parts together. Part 4 is attached to an exhaust hose. I used [aluminium flexible exhaust hose](https://pvb.pp.ru/b.php?item=AFEHose). It came with two rings, so I did not need to buy them separately. To get the fumes out of the window, I used [window seal](https://pvb.pp.ru/b.php?item=WindowSeal) that was very easy to install. My design was inspired by https://www.thingiverse.com/thing:4737179 and https://www.thingiverse.com/thing:4798087 Thank you all for reading until this point. Your feedback and suggestions on further improvements are very welcomed.
With this file you will be able to print Elegoo Mars Pro Exhaust with your 3D printer. Click on the button and save the file on your computer to work, edit or customize your design. You can also find more 3D designs for printers on Elegoo Mars Pro Exhaust.