Elegoo Neptune 2 BLtouch mount
thingiverse
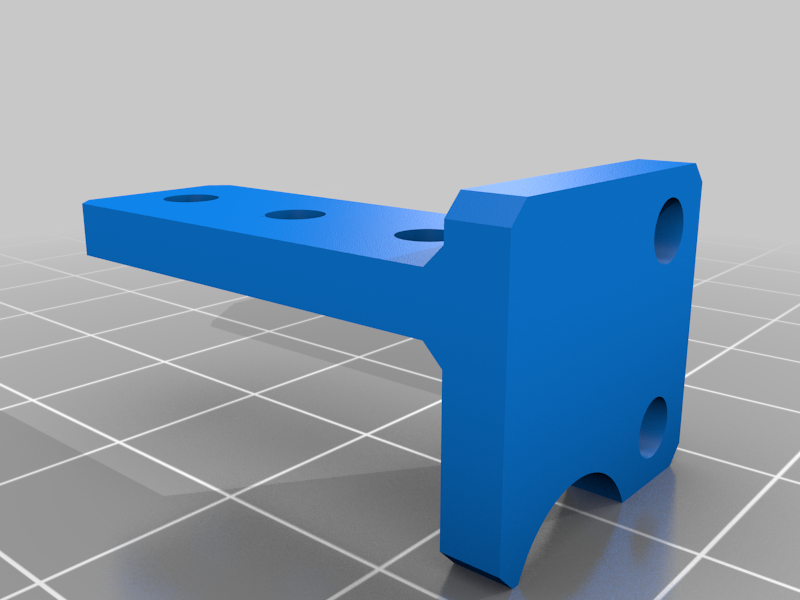
Bltouch mount for the Elegoo Neptune 2. Just need two M3x5 pan head screws to mount it. BLtouch can be configured with MKStool or use the provided configs. Here is the config file I came up with (Wifi enabled): https://pastebin.com/gBUZL08g This is the one provided by Elegoo: https://pastebin.com/Y4UqvyQT Here are all the files I got from Elegoo packed in one archive (includes installation instructions): https://drive.google.com/file/d/1kn7jBoGQ6jBqlJSFuujM4vnpL3SRAP9u/view?usp=sharing Got these files directly from Elegoo via Facebook. Instructions to enable the bltouch: 1. Print the mount and install it with the bltouch to your printer. 2. Plug in the cables. (detailed instructions in the files from google drive) 3. Watch out when reinstalling the bottom plate! One screw is shorter and belongs on the right front of the monitor. If you use the wrong screw it will damage the frame (ask me how I know) 4. Copy the config on the SD-Card and name it elegoo.txt 5. Put the card into the printer and turn it on. If the config has been successfully updated the file will be renamed to elegoo.CUR on the sd-card. In the printers UI it should now say autoleveling. Start the leveling process from pretty far up and use you finger to trigger the bltouch sensor. This will prevent the hotend from slamming the heatbed
With this file you will be able to print Elegoo Neptune 2 BLtouch mount with your 3D printer. Click on the button and save the file on your computer to work, edit or customize your design. You can also find more 3D designs for printers on Elegoo Neptune 2 BLtouch mount.