Elegoo Neptune 2 Power Supply Cover
prusaprinters
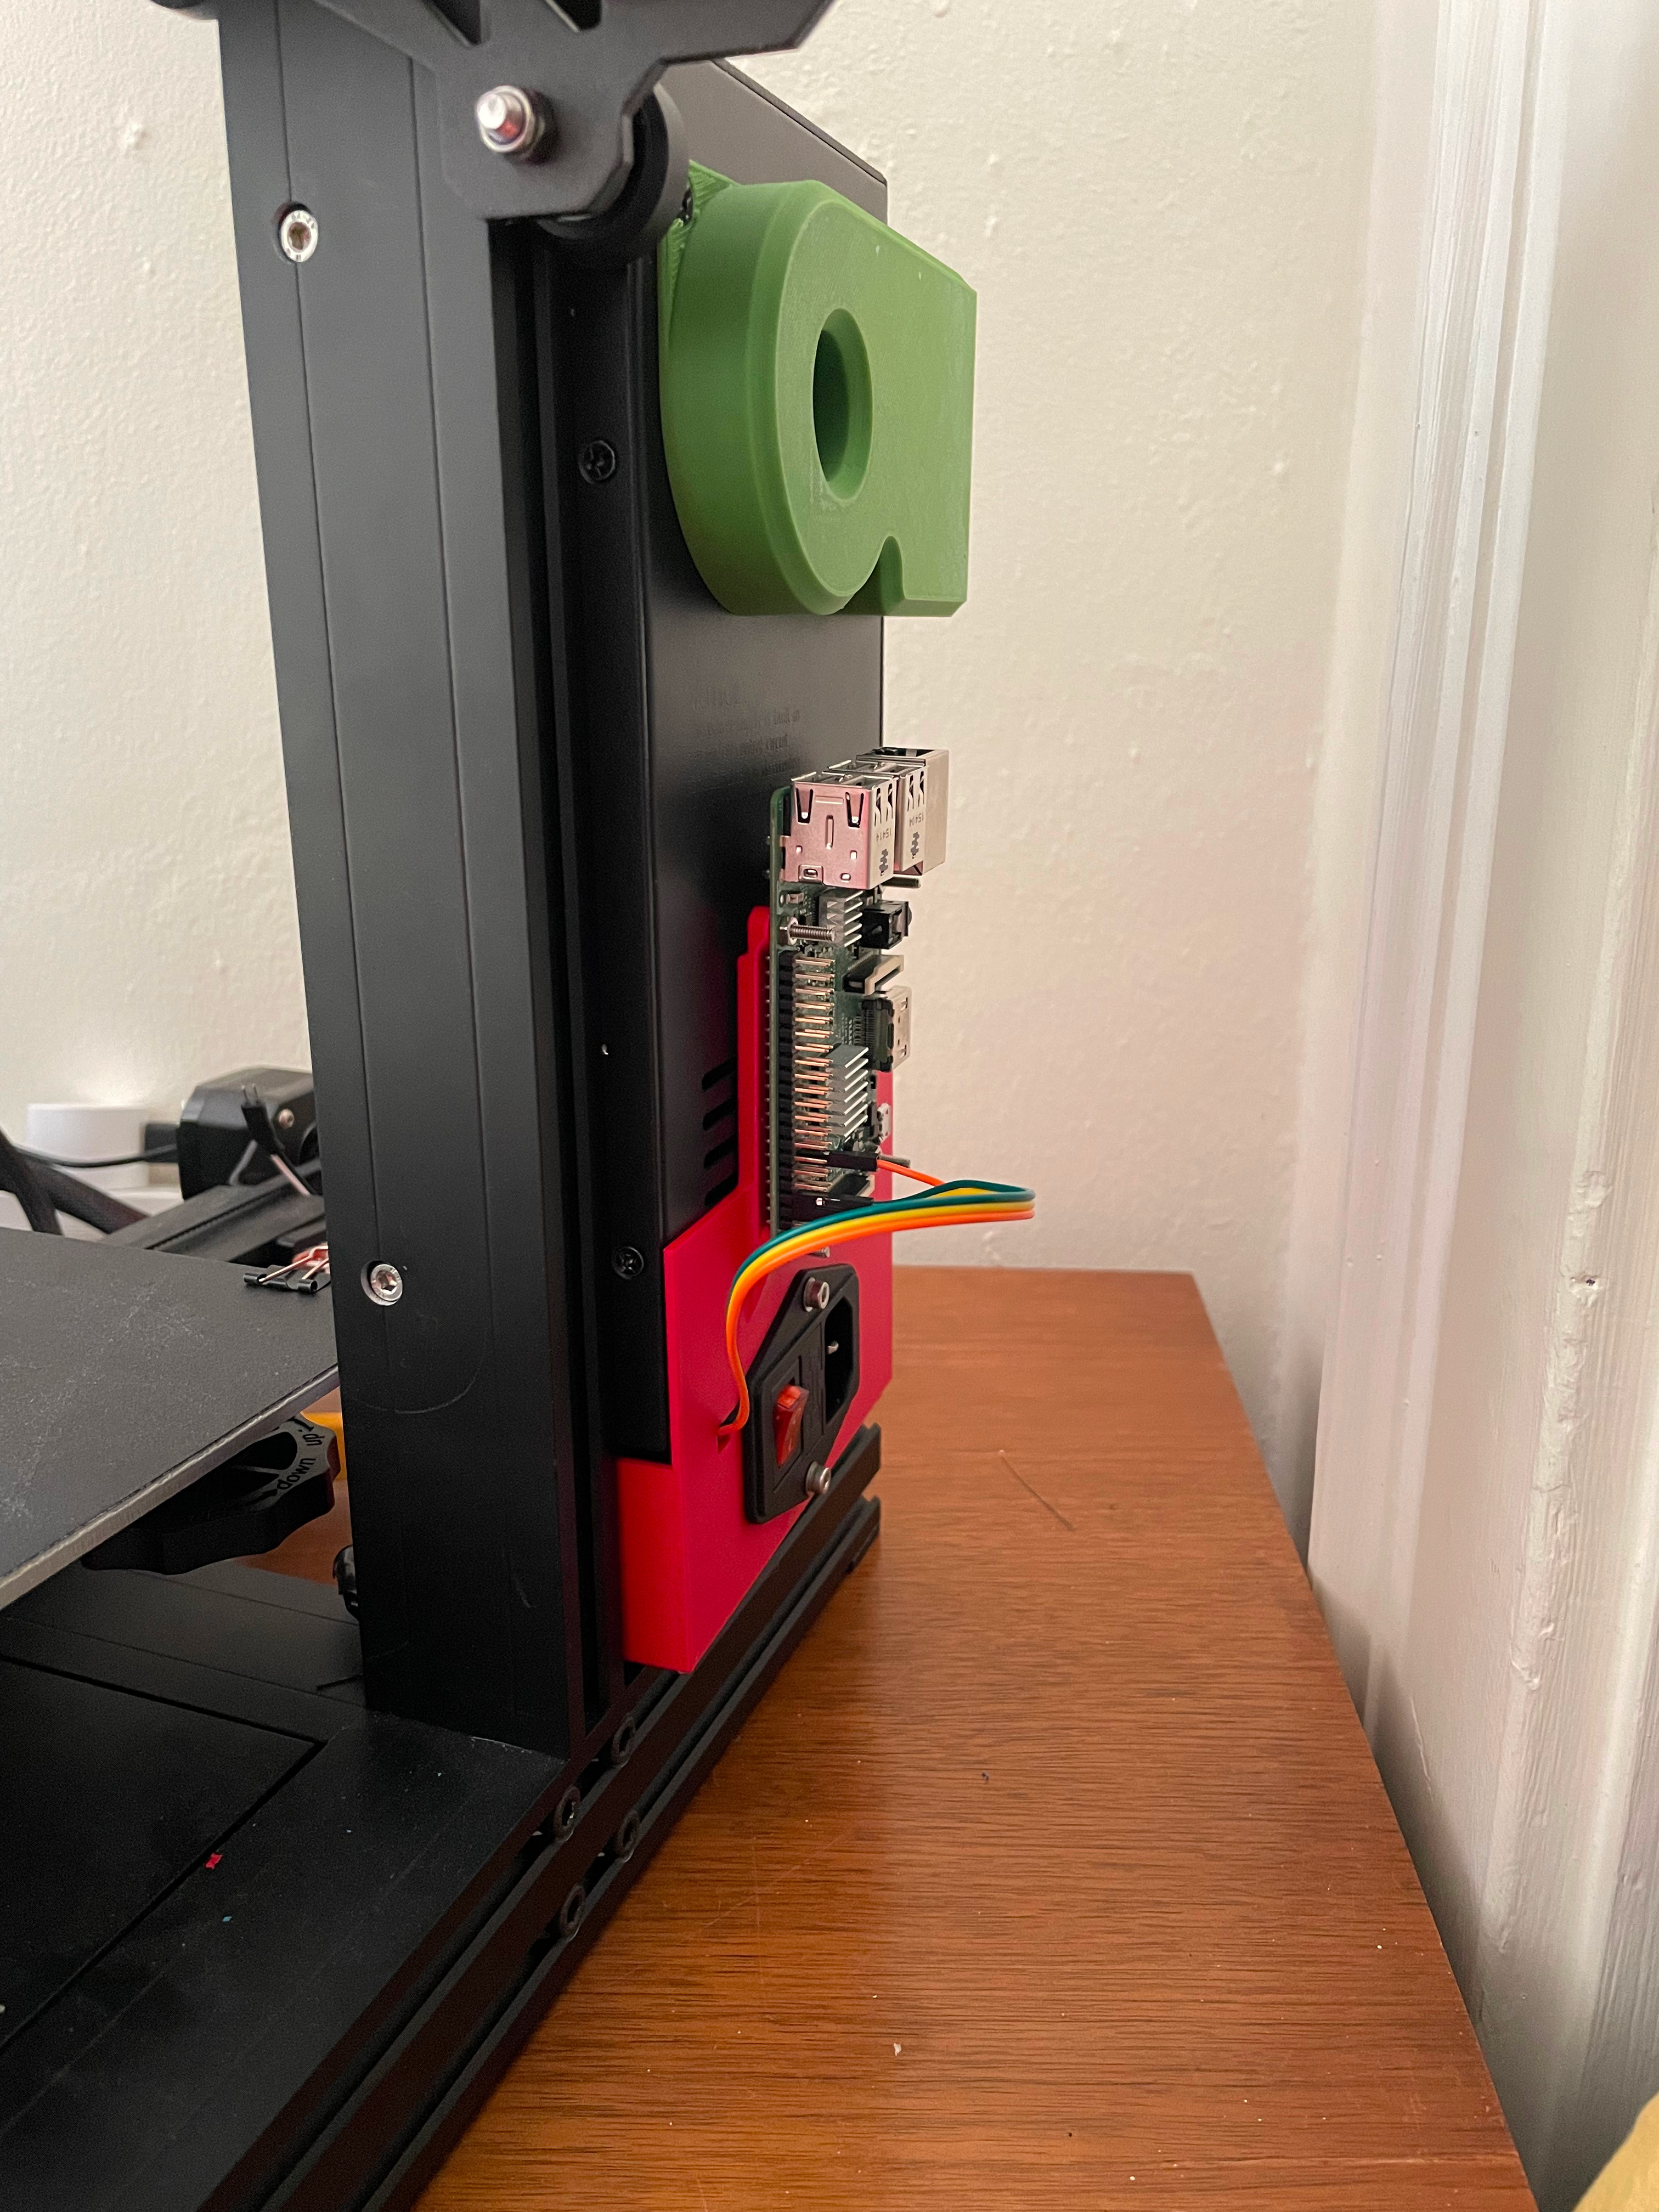
<p><i><strong>Use this at your own risk. You are working with high voltage. If you aren't comfortable or confident with this, don't do it. If done incorrectly, this can start fires.</strong></i></p><p>I didn't like having to splice my power cord with a relay to control printer power so I made this. This is a replacement power supply cover that has mounts for a relay internally and a Raspberry Pi externally. This utilizes all of the included wires to connect to the relay.</p><p>I added a version without relay holes so different relays can be used. Holes can easily be added in Prusa Slicer by adding negative modifiers.</p><p><strong>Printing:</strong></p><p>Below are the settings I used, but this model should print well with coarser settings.</p><p>0.4 mm nozzle</p><p>0.2 mm layer height</p><p>PLA</p><p>No Supports</p><p> </p><p><strong>Extra Hardware:</strong></p><p>Below is the hardware I used, however longer (and potentially shorter) should work.</p><p>6x M3x8 machine screws</p><p>2x M3x10 machine screws</p><p>8 x M3 nuts</p><p> </p><p><strong>Assembly:</strong></p><p>FIRST UNPLUG YOUR PRINTER</p><p>Remove the power supply cover and disconnect everything. Remove the jumpers from the switch. Snip the connectors (from the switch wires) and either tin them or add a crimp cap. Connect the Vin to the NO terminal of your relay and the power supply to the common terminal. Mount the relay, power connector, and raspberry pi. Re-connect the power supply and mount the cover on the power supply. Re-attach to your printer and use your web UI of choice to control your printer power!</p>
With this file you will be able to print Elegoo Neptune 2 Power Supply Cover with your 3D printer. Click on the button and save the file on your computer to work, edit or customize your design. You can also find more 3D designs for printers on Elegoo Neptune 2 Power Supply Cover.