Elegoo Neptune M4 Extruder Mount
prusaprinters
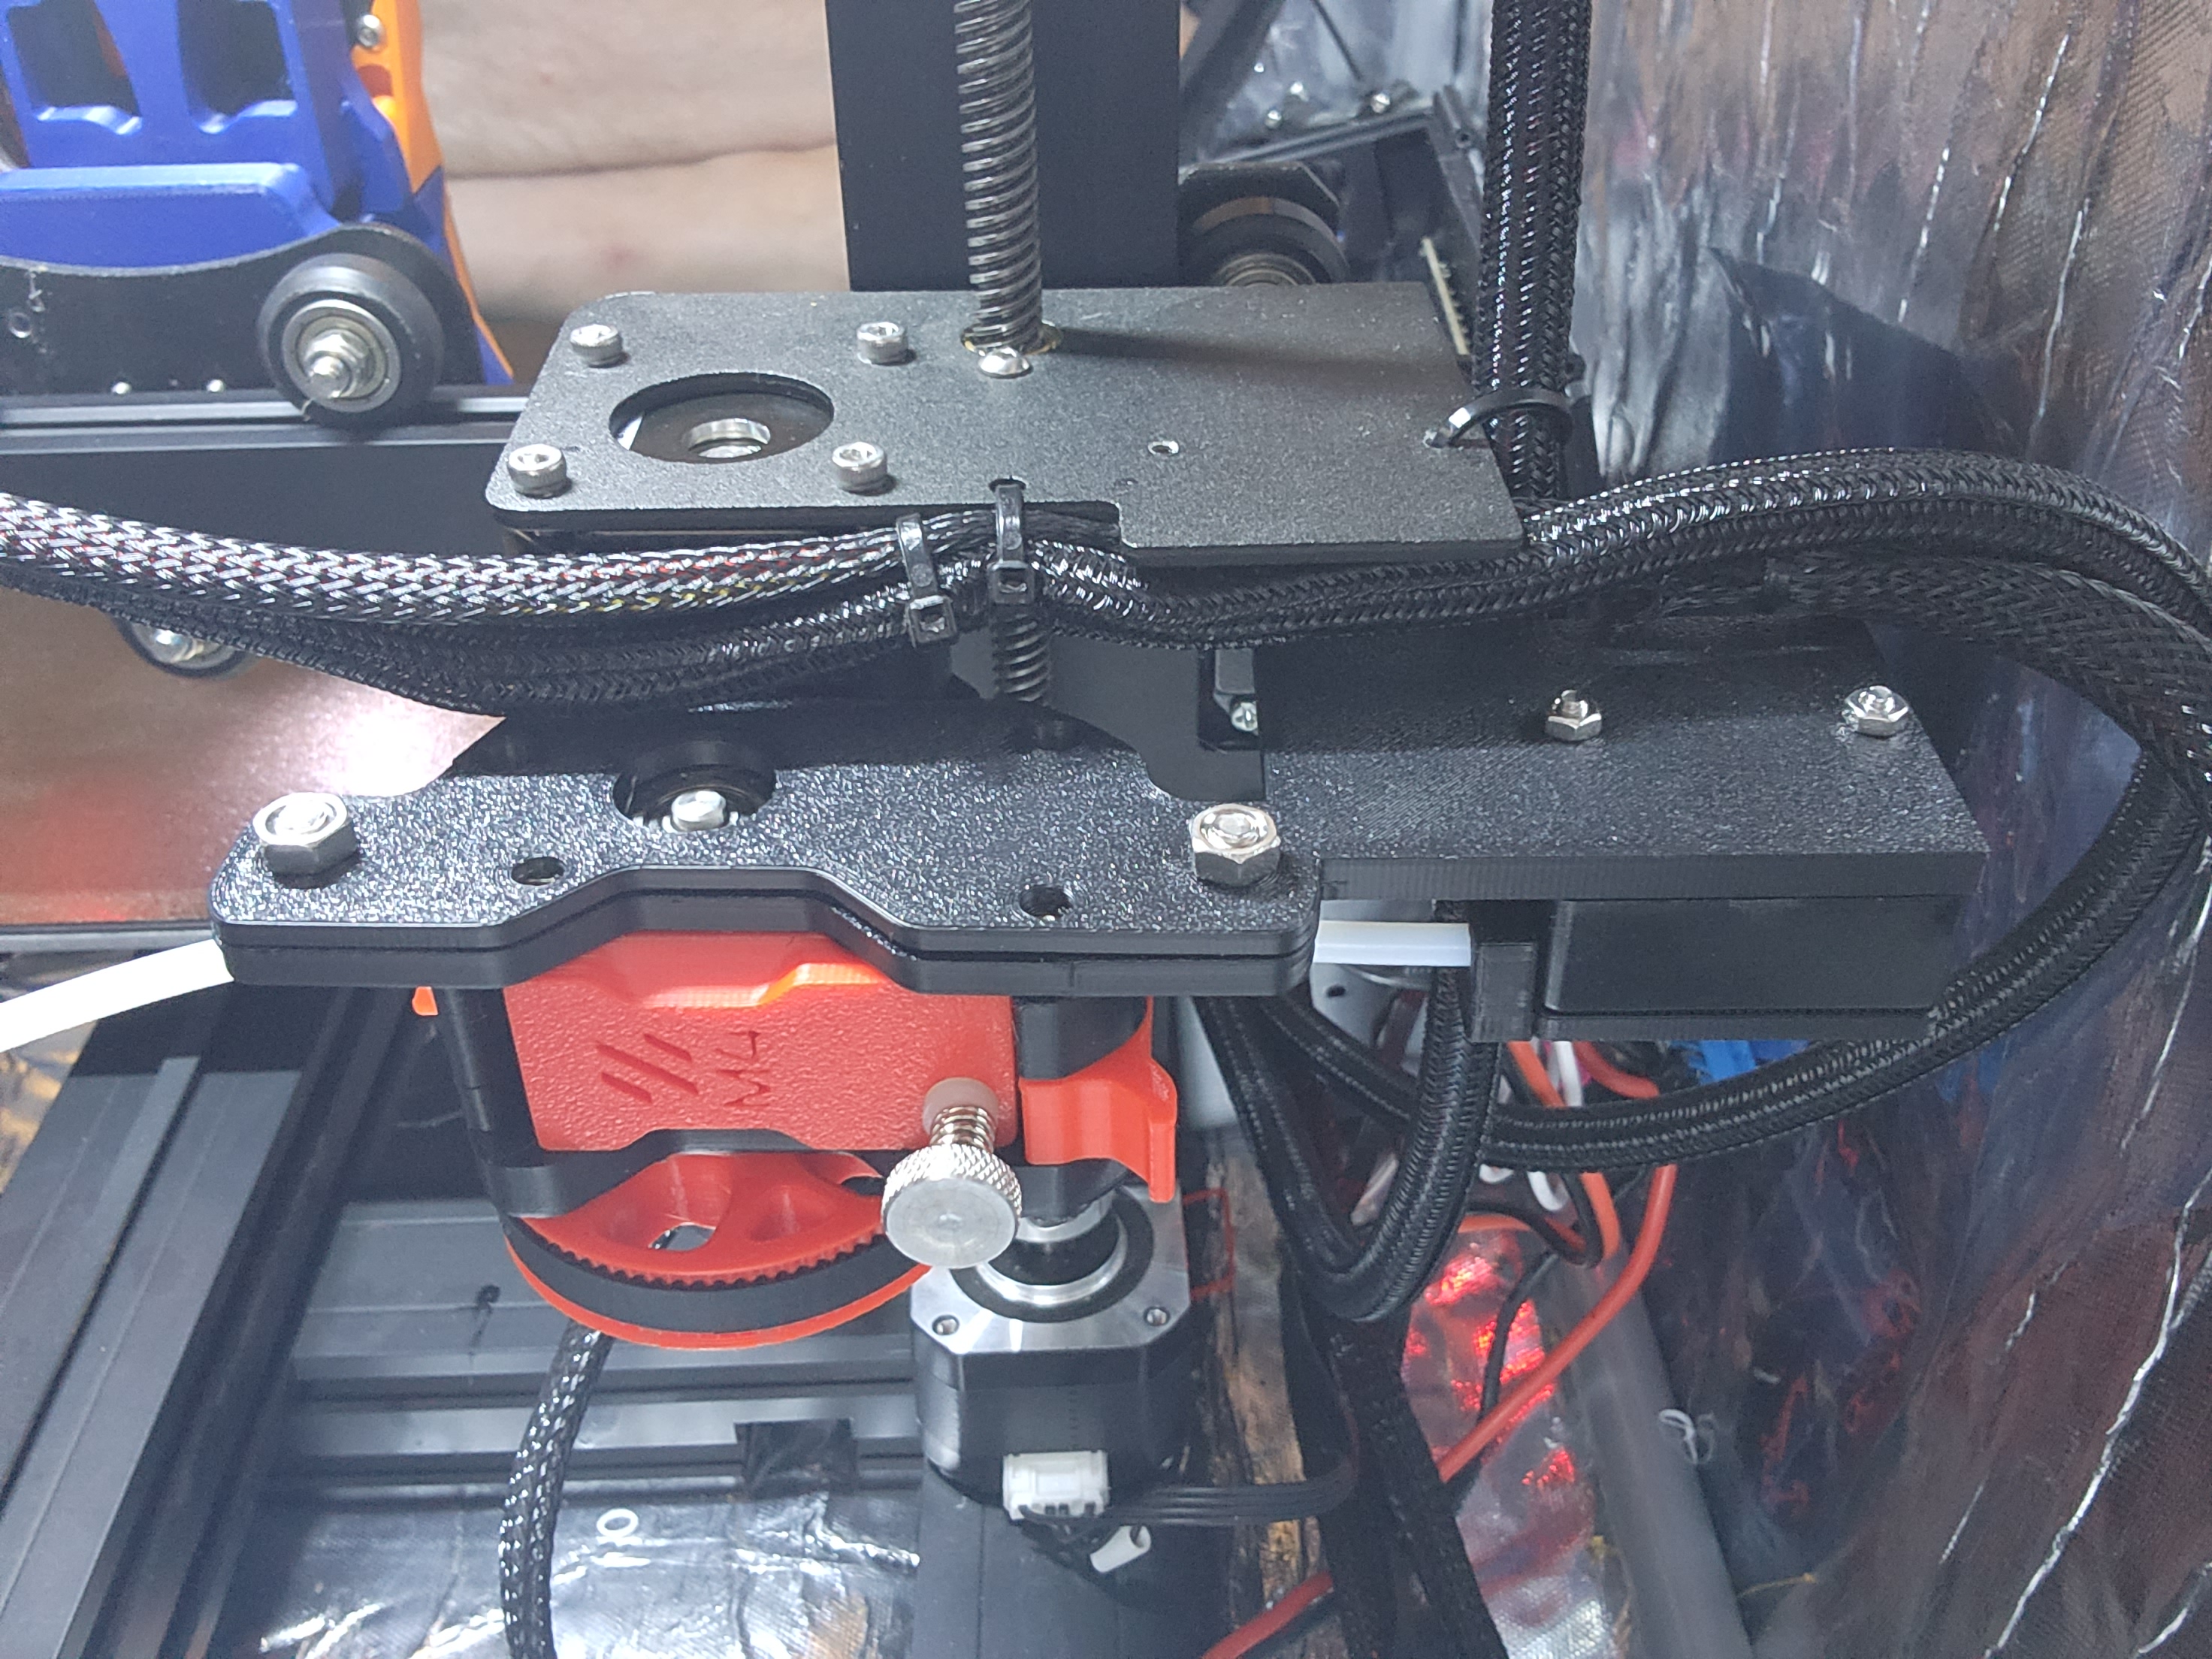
<p>This design allows an inexpensive and easy upgrade from the stock extruder on the Elegoo Neptune printers to a Voron ‘M4’ Mobius extruder. <a href="https://github.com/VoronDesign/Mobius-Extruder">https://github.com/VoronDesign/Mobius-Extruder</a></p><p>This mod will use the stock mounting location for the stock extruder and stepper motor.</p><p>M4 extruder parts kits can be found here: <a href="https://www.amazon.com/dp/B09WQLTY2S/">https://www.amazon.com/dp/B09WQLTY2S/</a> with the standard printed parts in PETG, or you can print your own if you have a decently tuned printer, I highly recommend using ABS / ASA or PETG for the extruder parts if you are printing your own and the hardware kit can be found here: <a href="https://www.amazon.com/dp/B0998ZX92T/">https://www.amazon.com/dp/B0998ZX92T/</a> (note the Fysetc kit uses a smaller 16T drive gear and has 5:1 gearing instead of the 20T drive gear and 4:1 gearing spec'd by Voron)</p><p>You will need to disassemble the stock extruder and remove the drive gear from the stepper shaft. You will then assemble the M4 following the assembly manual on the github. </p><p>Add the printed parts from the files section in order to relocate the filament run-out sensor in line with the M4. You will need the sensor cover with the bowden mount and a piece of bowden tube roughly 65mm in length between the sensor and the M4. (The Neptune X will use the same files as the Neptune 2, the Neptune 3 files have not been tested yet as I don't have an N3 to test fit, let me know if they need modification.) I used 2 m5x12mm screws and nuts to hold the sensor mount to the extruder and 2 m3x25mm bolts and nuts to mount the sensor and cover to the mounting plate. The bowden tube is a slip fit into the inlet of the extruder and into the cover.</p><p>If you want there is also a cover designed to add a PC4-M10 bowden fitting on the inlet of the sensor to allow you to have a nice smooth entry (none of that squeaky retraction nonsense) and the rest of the files for that option are available here: <a href="https://www.thingiverse.com/thing:4880710">https://www.thingiverse.com/thing:4880710</a> (pay attention that you need to scale the arm and support models 1000% for that thing). If you go that route you will also need a PC4-M10 fitting that doesn't allow the bowden tube to pass all the way through for the top, I used these: <a href="https://www.amazon.com/dp/B01N1UWS3C">https://www.amazon.com/dp/B01N1UWS3C</a> . I do recommend this option for the Neptune 2 / 2S / 3, for the X you can get a much straighter path for the filament though you could still add a short piece of ptfe just before the sensor if you want.</p><p>Edit 10/16/22: It seems the sensor cover for the N3 needed some redesign but there is a remixed file that works available here: <a href="https://www.thingiverse.com/thing:5560465">https://www.thingiverse.com/thing:5560465</a> thanks to WilliamH for sharing. :)</p><p>If you have a 2D check out this mounting option instead: <a href="https://www.printables.com/model/235786-elegoo-neptune-2-2s-2d-dual-m4-extruder-mount">https://www.printables.com/model/235786-elegoo-neptune-2-2s-2d-dual-m4-extruder-mount</a> though you should be able to make this work for both extruders if you prefer.</p><p>After assembly you will remove the 4 m3 screws on the bottom of the stepper motor and mount it upside down with the M4 attached in the stock location replacing the screws with slightly longer m3x35mm (m3x40mm for Neptun 3) button head or socket head screws. For the Neptune X you will skip removing the stepper screws and use the normal M4 mounting holes and slightly longer screws with T-nuts (m4x16mm should be sufficient) to replace the whole extruder plate (check photos for an example with t-nuts).</p><p>If you go with the Fysetc hardware kit and the 16T you will need to edit your e-steps to 692, for the standard 20T gear I am not entirely sure what the setting is but I suspect based on math it will be around 554, I would start there and calibrate (let me know what it ends up being and I will modify the description for others).</p><p>If you are running stock firmware on the N2/ N2S you can either connect via USB and use a terminal to edit your e-step values as normal or you can get the firmware files from Elegoo and update the value in elegoo.txt and load it on your sd card and turn on the printer to load the new values. You will need to edit the value for the line labeled: DEFAULT_E0_STEPS_PER_UNIT, I also recommend setting the line that says MACHINE_PARAMETER to 1 instead of 0, this will give you a menu for editing more settings like step values from the touch screen, though the interface is pretty bad but still functional. For the N2D with stock firmware you will need to edit the elegoo.txt file as using the terminal will only let you edit E0 and not E1, you can however edit both from the touch screen if you enable machine_parameter.</p><p>For the N3 I am not sure if step values are available from the touch screen so you will probably have to edit it using a terminal like pronterface or octoprint.</p><p>You could also open notepad and create a .gcode file, on the first line put M92 E<step value> (ie M92 E692) and on the 2nd line M500 name it something easy to find like E_Step.gcode and then “print” it.</p>
With this file you will be able to print Elegoo Neptune M4 Extruder Mount with your 3D printer. Click on the button and save the file on your computer to work, edit or customize your design. You can also find more 3D designs for printers on Elegoo Neptune M4 Extruder Mount.