Elliptical Orrery v1.0
thingiverse
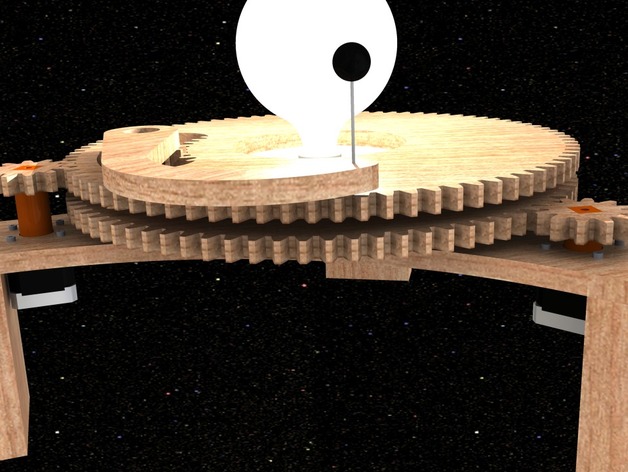
This computer-controlled orbit simulator, suitable for non-elliptical paths, enables physics lab students to practice photometry. Watch how it works in this video: http://youtu.be/okWp-dryx_8. To build the simulator, mill DXF parts from 12mm or 1/2" flatstock, with 6mm or 1/4" deep pockets for steppers and bearings. Use 2x4s for legs, and assemble hardware like old work round boxes, light sockets, big bulbs, M8x50 button head cap screws, M8 nuts, M8 washers, 608 skate bearings, 6" turn tables, and two 608 skate bearings. Install Nema17 steppers onto the Orrery using drive gears assembled with matching printed parts softened in an oven to facilitate pressing on the gears without deforming the plastic. The gear plate assembly requires user-supplied access holes for securing turn tables. Utilize electronics and steppers from a 3D printer, modify firmware for 100mm virtual travel per big gear rotation, and employ a provided Python program to create gcode files.
With this file you will be able to print Elliptical Orrery v1.0 with your 3D printer. Click on the button and save the file on your computer to work, edit or customize your design. You can also find more 3D designs for printers on Elliptical Orrery v1.0.