Emaker Huxley electronics enclosure
thingiverse
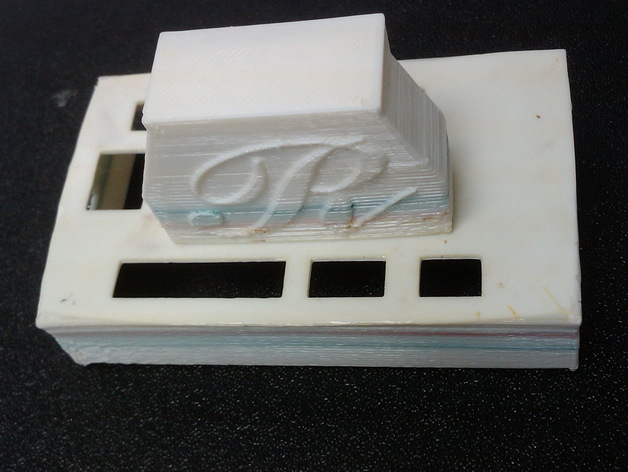
This is a special enclosure customized to work with the Emaker Huxley electronics. It clears the SD card and accomodates the connector orientation used on the Huxley Instructions Install the electronics on the base plate. Zip tie the base plate to the angled M6 screw by the X-axis motor and lean the tab on the nearby Z motor mount. Thread a 1/8" zip tie through the Z-motor mount slot and through the matching slot on the base plate tab. Screw the fan (label side in) to the fan mount. Glue the fan mount to the top of the cover, oriented with the fan toward the limit switch connectors. The side hole on the base fits the power socket supplied with the Huxleys. Fiddle with the wires until you are happy.... The cover snaps on top of the base plate. I reccomend routing your X wires (motor and limit switch) together vertically from the X motor, and tying them vertically to the nearby Z motor; you can see this in the larger printer photo. The extruder wires really want to run straight out of the fan hub, or straight up paralell to the bowden tube. The bowden tube route is hard to get to (and hard to keep from running into the frame). I'm working on a better way to route these wires... There are three versions of the fan mount; #5 is simpler, has integrated holes, but makes Skeinforge complain. #6 needs support but provides a better fan socket and has built in holes.
With this file you will be able to print Emaker Huxley electronics enclosure with your 3D printer. Click on the button and save the file on your computer to work, edit or customize your design. You can also find more 3D designs for printers on Emaker Huxley electronics enclosure.