Enclosure for the Rostock Max
thingiverse
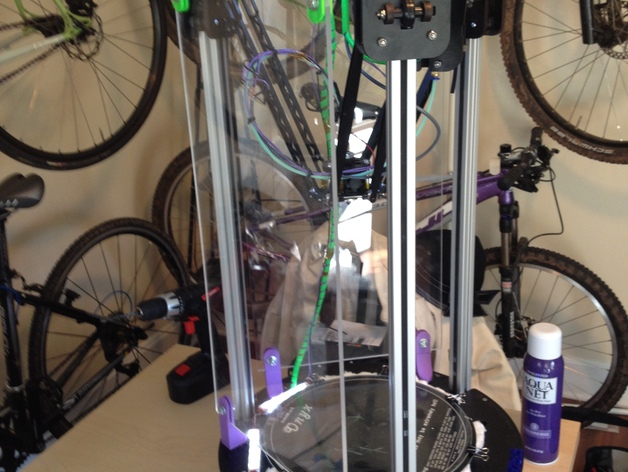
Create an enclosure for your Rostock 3D printer using 12x24" sheets of 1/4" Acrylic. This will prevent drafts and warping of large parts while also serving as a demonstrator at events with children and adults. To assemble, print the provided enclosure brackets and door bearing parts. Attach the enclosure brackets to the top of the acrylic sheet, marking and drilling 1/4" holes. Mount this assembly onto your Rostock Max, ensuring clearances between the acrylic and skate. Secure the enclosure bottom brackets to the base and attach them to the acrylic using epoxy. Once cured, bolt the Acrylic to the enclosure bottom brackets. A door handle and locking latch are coming soon!
With this file you will be able to print Enclosure for the Rostock Max with your 3D printer. Click on the button and save the file on your computer to work, edit or customize your design. You can also find more 3D designs for printers on Enclosure for the Rostock Max.