Enclosure for usb device (RF-MQTT Bridge)
prusaprinters
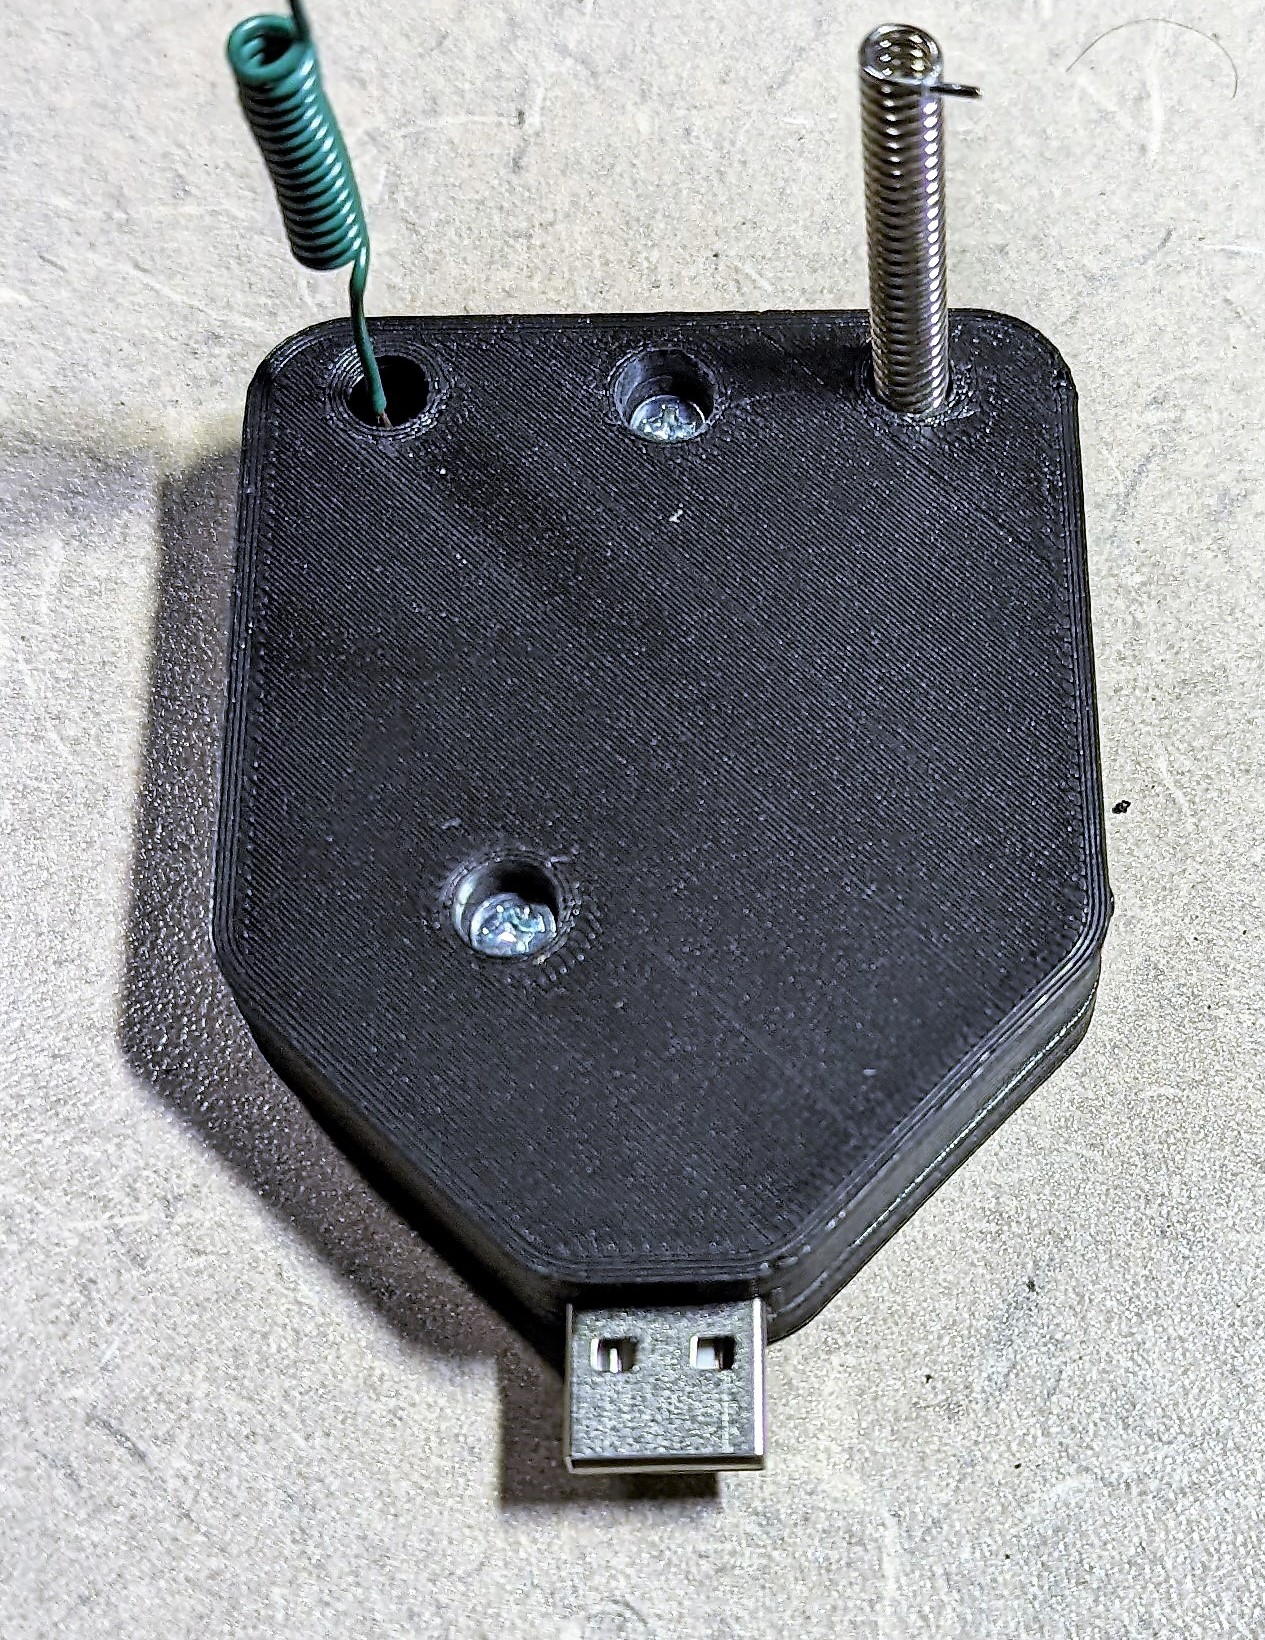
<p>This enclosure holds:</p><ul><li>ESP8266 flashed with Tasmota</li><li>RF (315mhz) receiver and transmitter</li><li>3.3 stepdown voltage regulator (AMS1117)</li><li>12v boost converter for the transmitter</li><li>USB-A plug for power</li></ul><p>The enclosure has holes for a USB-a male plug, two holes for the antennas to stick through the top, and holes for two M3 hex bolts and nuts.</p><p>It transmits all RF signals it receives to my Home Assistant server via MQTT so any 315mhz RF devices can be used as sensors or triggers in Home Assistant (motion detector, contact sensor, key FOB remote, etc) My use case is rather specific but if you cut a perfboard the same way you could lay out your own circuit to fit within it, or modify the file to move the screw holes or whatever else.</p><p>Note:</p><ul><li>Make sure you flip the models so the largest surface area is face down on your print bed. I printed without any supports.</li><li>I tried to size the bolts for 8mm M3 but they are too short unless you a lot of material, better to go with 10mm or something.</li><li>Also you may need to do some drilling/filing/scraping to get the bolts and nuts to go in properly. Adjust the file according to your needs.</li></ul>
With this file you will be able to print Enclosure for usb device (RF-MQTT Bridge) with your 3D printer. Click on the button and save the file on your computer to work, edit or customize your design. You can also find more 3D designs for printers on Enclosure for usb device (RF-MQTT Bridge).