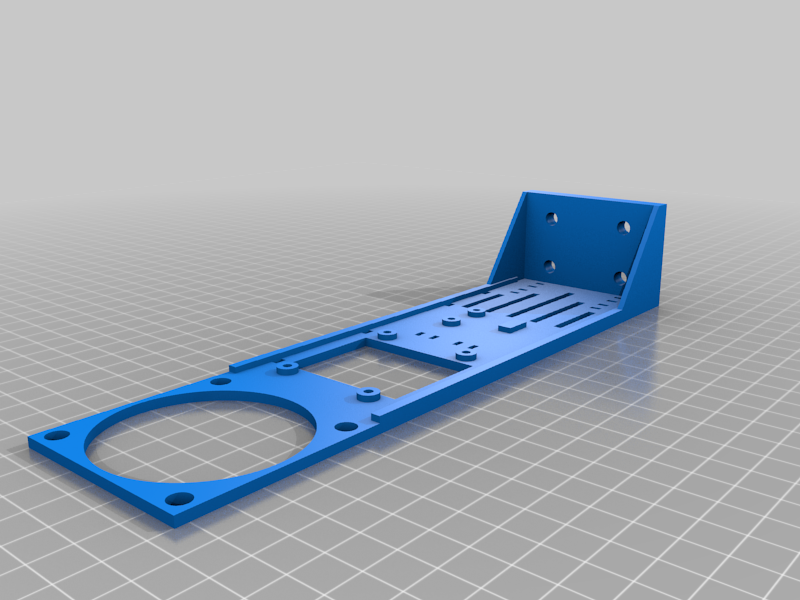
Enclosure Heater
thingiverse
I have been printing ABS since I got my Ender 3 back in December. My printer is inside an enclosure, as it should be when printing ABS, and have had no issues until recently. Once summer hit and I turned the AC on, printer issues started occurring. We usually have the heat set to 74, but the AC is set to 72. The 2 degree difference in the ambient temperature outside the enclosure apparently is an issue. I decided to build this enclosure heater to remedy the problem. I am now able to maintain 50c inside the enclosure. <b>Parts needed:</b> DS18B20 Temperature Sensor: https://tinyurl.com/zckd5csw 24v 250w Heater: https://tinyurl.com/4uhu4st8 Relay Module: https://tinyurl.com/ny6svazd Mosfet Module: https://tinyurl.com/7d8f6fk7 24v Power Supply: https://tinyurl.com/ps77zrta Please reference this documentation for configuration examples: https://github.com/vitormhenrique/OctoPrint-Enclosure Reference the above document and look for heading "For the DS18B20 sensor:" The temperature sensor needs GND-GND, VCC-3.3v, and DAT-GPIO 4. Reference the above document and look for heading "Hardware: Relay" Removed the jumper between VCC and JD-VCC and connect GND-GND, VCC-3.3v and JD-VCC-5v, connect a GPIO to IN1 or IN2 - depending which relay you are using. You will need the 24v power supply to run the heater. <b>DO NOT</b> use the printer power supply to run the heater as it will not have enough power to run the printer and the heater. I am using one 24v 250w heater and reach 50c without issue. If your enclosure is larger than mine, I have included an adapter to stack a second heater. If you stack a second heater, you will need a second power supply and a second mosfet module. You will be able to use the second relay on the relay module to control the second heater. <b>How to connect it all together:</b> 1. Connect the 110v from printer power supply terminals to heater power supply terminals using at least 14 AWG wire, recommend 12 AWG wire. This way, when the power for the printer is turned on, the heater power supply is also turned on. 2. Connect 24v from heater power supply to mosfet power "in" using at least 14 AWG wire, recommend 12 AWG wire, additionally connect heater fan with power input this way the fan runs constantly. 3. Run 24v positive from mosfet power "in" to relay module middle terminal. 4. On the relay module, one outside terminal is normally closed and one is normally open, connect mosfet red control wire to normally open on relay module. 5. Connect mosfet black control wire to the ground wire of mosfet power "in". 6. Connect heater to mosfet output. 7. Make sure jumper on mosfet module is set to 24v 8. Plug mosfet control wire into B-CTL on mosfet module This seems complicated and you may be thinking, "Why not just connect the heater to the relay module?" The reason for this configuration is that the relay module is only rated at 10 amps which is too low for the power draw that the heater will create. Connecting the heater directly to the relay module will burn up the relay module (I know because I tried it - less than 24 hours of printing and relay burned up). The mosfet is rated at 30 amp which is sufficient for the 24v 250w heater - 250w/24v = 10.42 amps. The mosfet that I used requires 12v or 24v for the control wire. The Raspberry Pi does not provide this much power, therefore I am using the double relay configuration. <b>Within the Enclosure Pluggin configure input</b> Label: Enclosure Temperature Input Type: Temperature Sensor Sensor Type: DS18B20 Sensor Pin: 4 DS18B20 Serial: <see-documentation> <b>Within the Enclosure Pluggin configure output</b> Output Type: Temperature/Humidity Control Label: Enclosure Heater IO Number: <GPIO-pin-number> Auto Shutdown Shutdown on Failed or Cancelled Temp Control Type: Heater Maximum Temperature: <set-mine-to-5c-above-target> <b>Within the Enclosure Pluggin, Advanced Option, Enable gcode control</b> I have included the mosfet module mount that I am using. I take no credit for this mount as I downloaded the STL some time ago when I installed mosfets for my hot end and heated bed, I can not figure out where I got the original file from or I would just post the link and give the original creator the credit. If you are printing with ABS, I would highly recommend this Hot End Cooling System: https://www.thingiverse.com/thing:4561720
With this file you will be able to print Enclosure Heater with your 3D printer. Click on the button and save the file on your computer to work, edit or customize your design. You can also find more 3D designs for printers on Enclosure Heater.
