Enclosure with fan Gen6
thingiverse
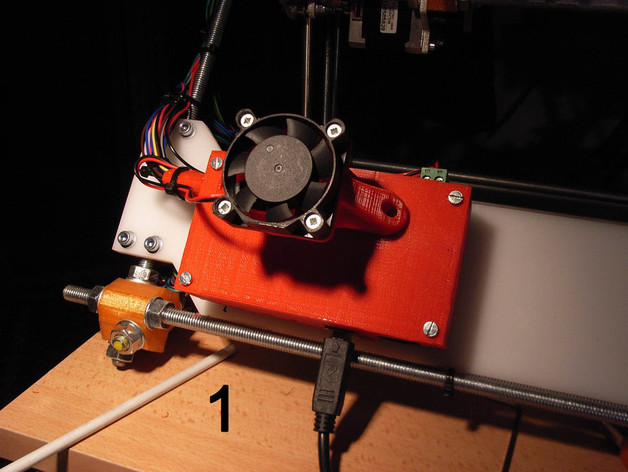
An enclosure for Gen 6 is not nothing new. Even other people have designed cooling systems for "GEN6 electronics" http://www.thingiverse.com/thing:12302, but this provides some additional feature. The air flow is conveyed on the GEN6 heatsinks, and in particular, with two wings (Fig. 3 and 4), concentrated on the heatsink of the extruder motor. This is because it is the most critical, that heat up more. Even the air outlet holes are more focused on that side to facilitate cooling. in addition, the part "2" is not limited to lean on the cover, but joins in it. In addition, the wires are all internally, at the top and are fixed to the output (Figure 6) and this, I like the most. This project is expected to GEN6 installed with screws from the bottom and four spacers (Fig. 5). This in order to remove the cover with more ease. This project requires a 40mm fan, four 3mm screws and two 2mm screws (like wood) Instructions Print the parts (four spacers) without support. Practice in Part "2" two incisions with a small file or a knife, in correspondence the fins Screw the spacers on the screws of 3 (you can also alternatively use long bolts) Group the wires Mount the enclosure by passing the wires of the engine at the top, behind the two wings and the bolt hole to the exit. Check the correct position of the wires from the opening (Fig. 4) so ​​that they are above the heat sinks. Fit the part "2" and the fan Secure the wires with a or two tie Cable Use it
With this file you will be able to print Enclosure with fan Gen6 with your 3D printer. Click on the button and save the file on your computer to work, edit or customize your design. You can also find more 3D designs for printers on Enclosure with fan Gen6.