Ender 2 Pro - KlipperScreen Box (Klipper, Display, Screen, LCD)
thingiverse
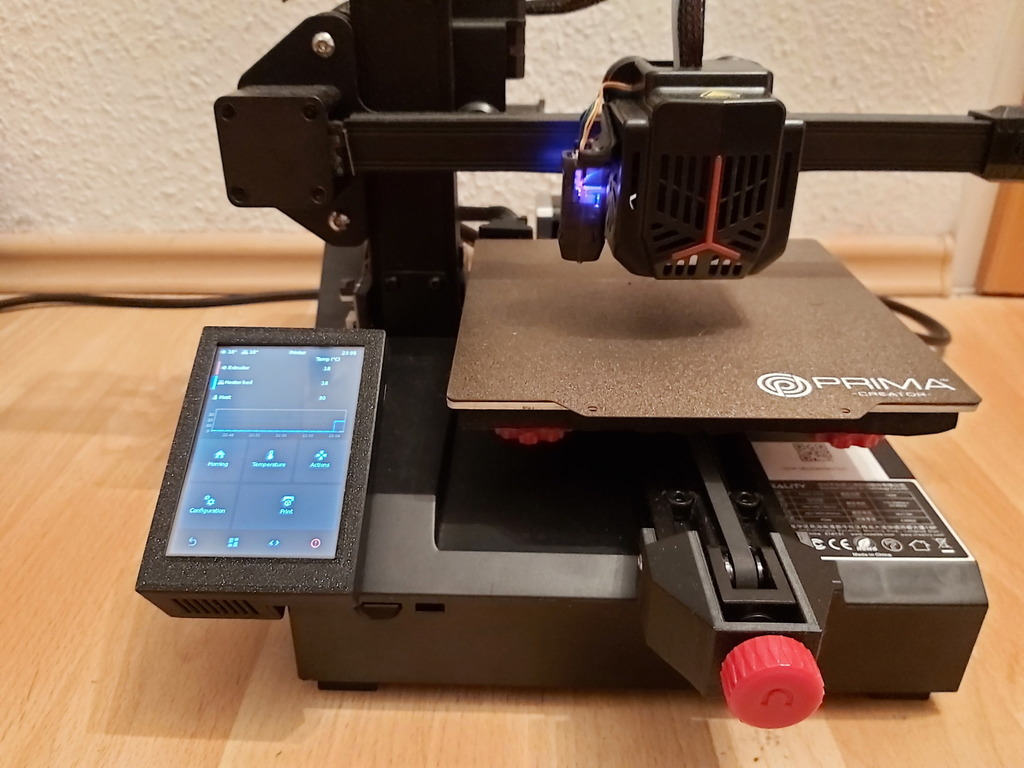
This is a "KlipperScreen Box" for the Ender 2 Pro to replace the stock display. The box can be inserted and fixed to the printer's original mounting holes. The Raspberry Pi (2) Zero and the Raspberry Pi 3.5" LCD touchscreen are mounted together into the box. The whole thing is connected via a serial connection to the mainboard, which is also used to provide the power supply. I recommend paying attention of using an "IPS" display so that the widest viewing angle is guaranteed – a high value of FPS is not important for the intended use. For the assembly you need: • 1x Raspberry Pi (2) Zero • 1x Raspberry Pi 3.5" LCD touch screen • 6x M2x6 screws • 6x M3x5 screws Assembly: Screw the Rapsberry Pi Zero onto its mounting plate (4x M3x5). Place the touch screen upside down into the frame and screw the back cover onto the back of the frame and touch screen with 2x M2x6 screws. Then put the two parts of the box (frame & mounting plate) together and screw it with 4x M2x6 screws. Finally, insert the bracket and fasten it with 2x M3x5 screws. Important: The standoffs for the touch screen have small gaps - so please insert some pieces of foam between the standoffs and the touch screen. Tinkercad Project: https://www.tinkercad.com/things/2piaqWIEdQY
With this file you will be able to print Ender 2 Pro - KlipperScreen Box (Klipper, Display, Screen, LCD) with your 3D printer. Click on the button and save the file on your computer to work, edit or customize your design. You can also find more 3D designs for printers on Ender 2 Pro - KlipperScreen Box (Klipper, Display, Screen, LCD).