Ender-3 Bed-leveling procedure
thingiverse
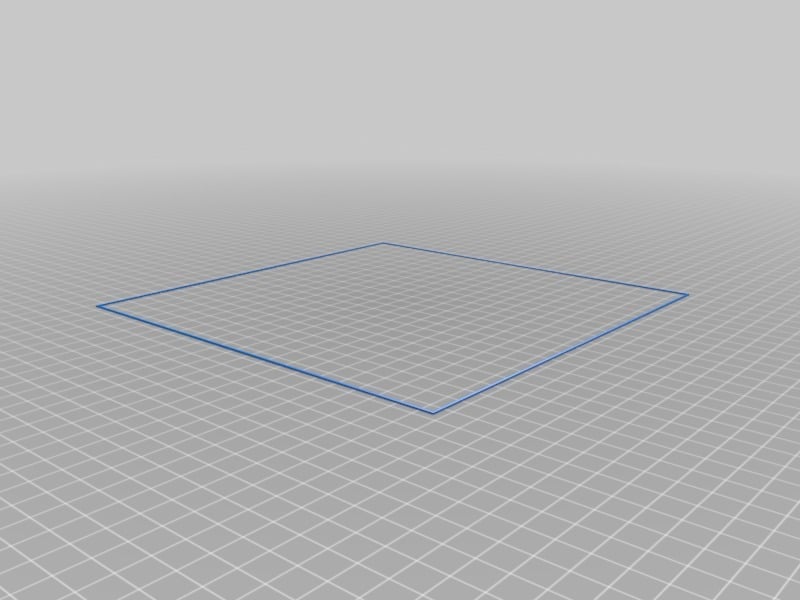
This is an Ender-3 Bed leveling procedure. It will start with a 4 point bed leveling which is run twice. Copy the gcode provided to your SD card and insert into the printer. Turn on the Ender-3 and go to "Print from SD" and select the bed leveling gcode. Basically it will move your nozzle to a point above the first bed leveling screw. Put a piece of copy paper under it and adjust the leveling screw until it it gripping the paper. Click the control wheel on the display to move to the next screw location. Repeat the above until all 4 points are gripping the paper. The bed leveling will then be checked once more. After that, the Ender-3 will print a large square on the bed, This takes about 4 minutes. You must load PLA before the test. The square should stick to the bed. See video for detailed instruction (Note: Video is from the original Ender 2 three point bed leveling but the concept is the same). https://youtu.be/DI-yhPi53mQ Credit to Weitling (https://www.thingiverse.com/weitling/about) for his original code and idea. Note - you do not need the STL that is uploaded here - its the only way I can upload to thingiverse though. I am not a GCode expert - just someone trying to help the community. If I have something wrong please let me know and I will update it.
With this file you will be able to print Ender-3 Bed-leveling procedure with your 3D printer. Click on the button and save the file on your computer to work, edit or customize your design. You can also find more 3D designs for printers on Ender-3 Bed-leveling procedure.