Ender 3 CR-10 Adjustable Spring Nut
thingiverse
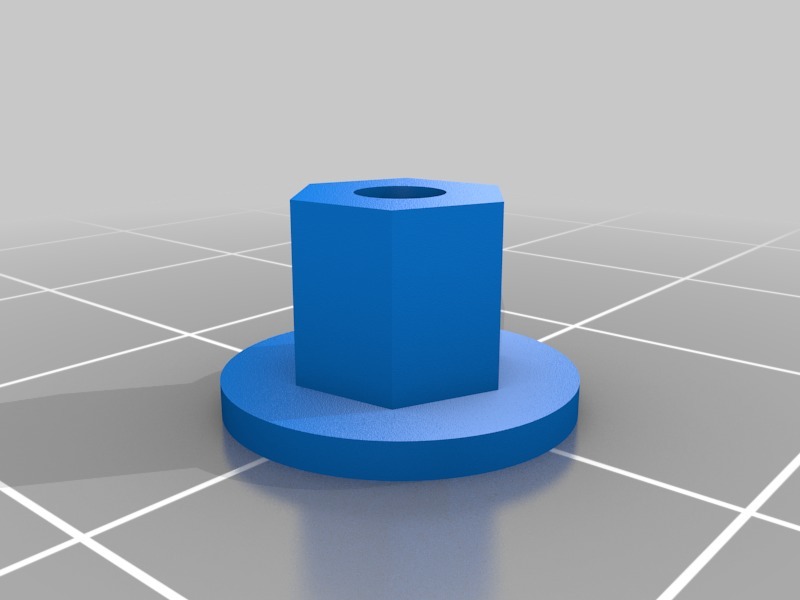
You will need the aluminum creality extruder for this and the following hardware. (1) 16-20mm M3 screw (1) M3 Nut Directions 1. Remove the arm and spring from the extruder. 2. Screw the M3 screw all the way into the extruder 3. Screw the printed part on to the screw just far enough to allow the M3 nut to fit onto the end of the screw. 4. Tighten the nut against the printed part. 5. Unscrew the M3 screw until the flat part of the printed piece touches the extruder. 6. Reassemble the extruder arm and spring. 7. Tighten the screw to tighten the spring.
With this file you will be able to print Ender 3 CR-10 Adjustable Spring Nut with your 3D printer. Click on the button and save the file on your computer to work, edit or customize your design. You can also find more 3D designs for printers on Ender 3 CR-10 Adjustable Spring Nut.